Inter-Container Communication Using Docker Bridge Network on AWS EC2

I'm a cloud and DevOps upskilling candidate focused on building practical skills through real-world AWS projects. I enjoy getting hands-on with core services like EC2, EBS, S3, and IAM, and documenting my learning journey through blog posts and GitHub repositories. Every project I complete is a step toward mastering cloud fundamentals and developing automation skills that align with DevOps practices. My goal is to grow into a confident, capable engineer who can design and manage scalable infrastructure. GitHub: https://github.com/abhishek-balaji-2025
Step 1: Log in to Your AWS Account and Access EC2
Go to https://aws.amazon.com and sign in to your AWS Management Console.
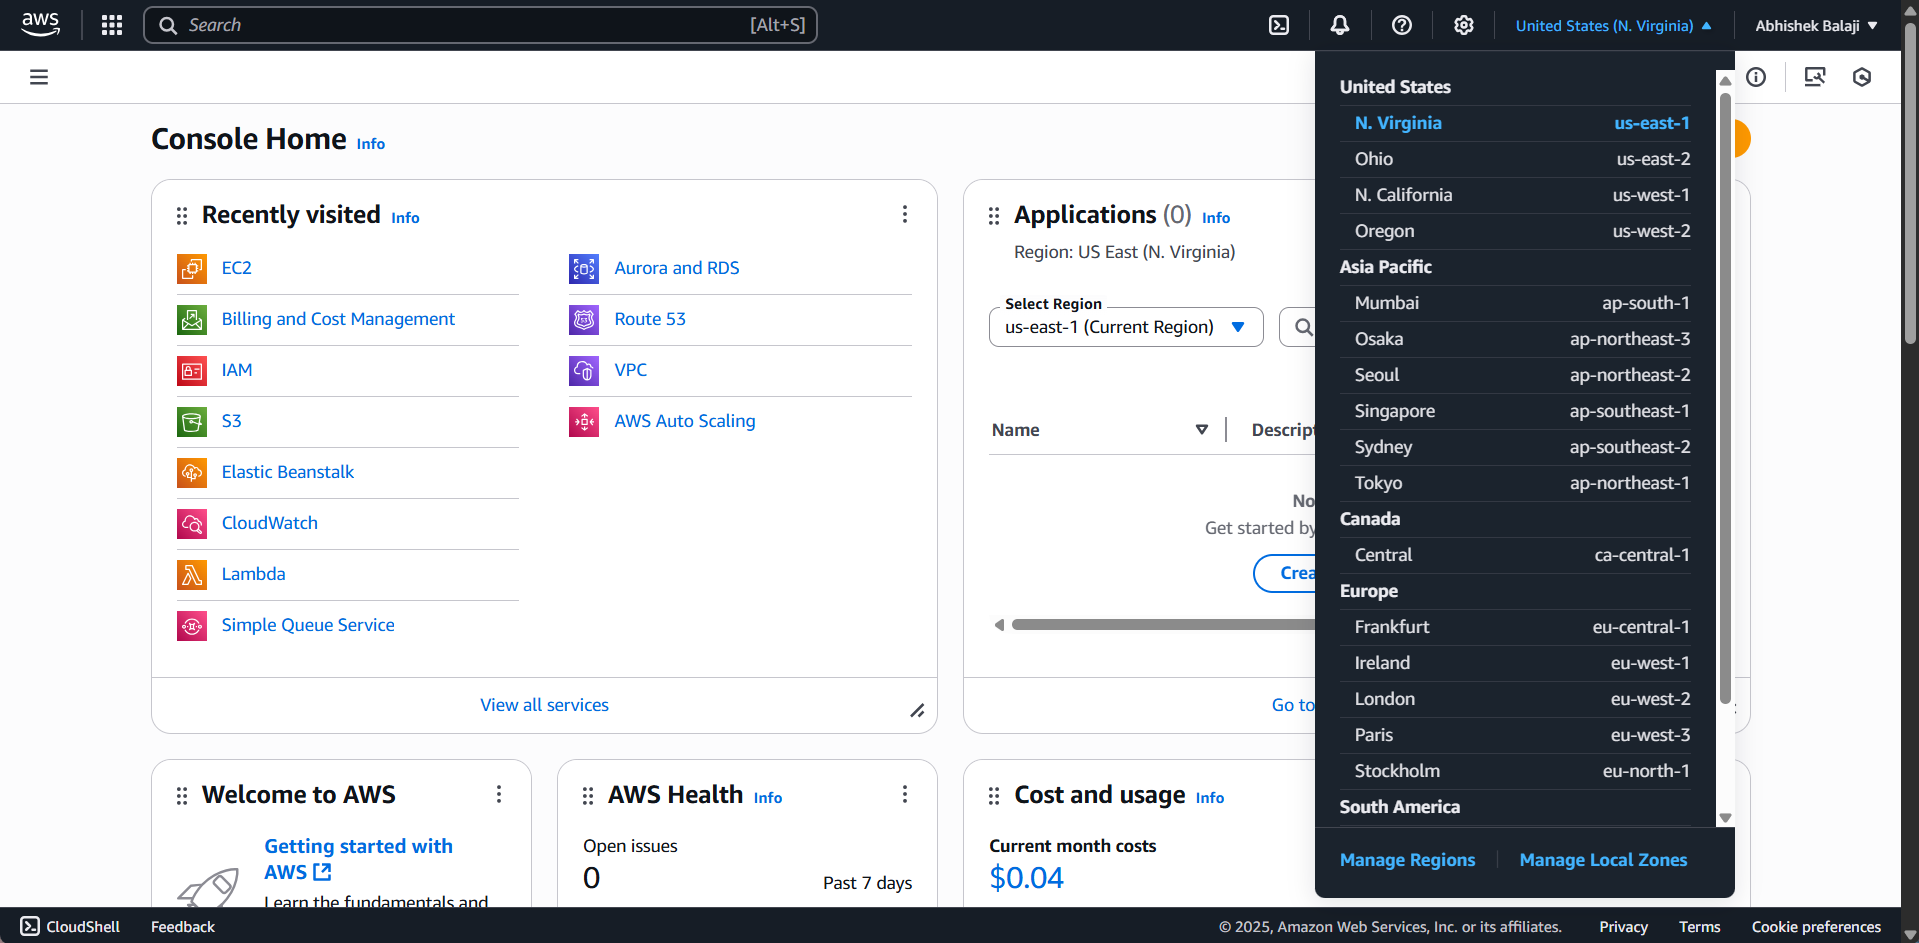
From the AWS services dashboard, search for and open EC2 (Elastic Compute Cloud).
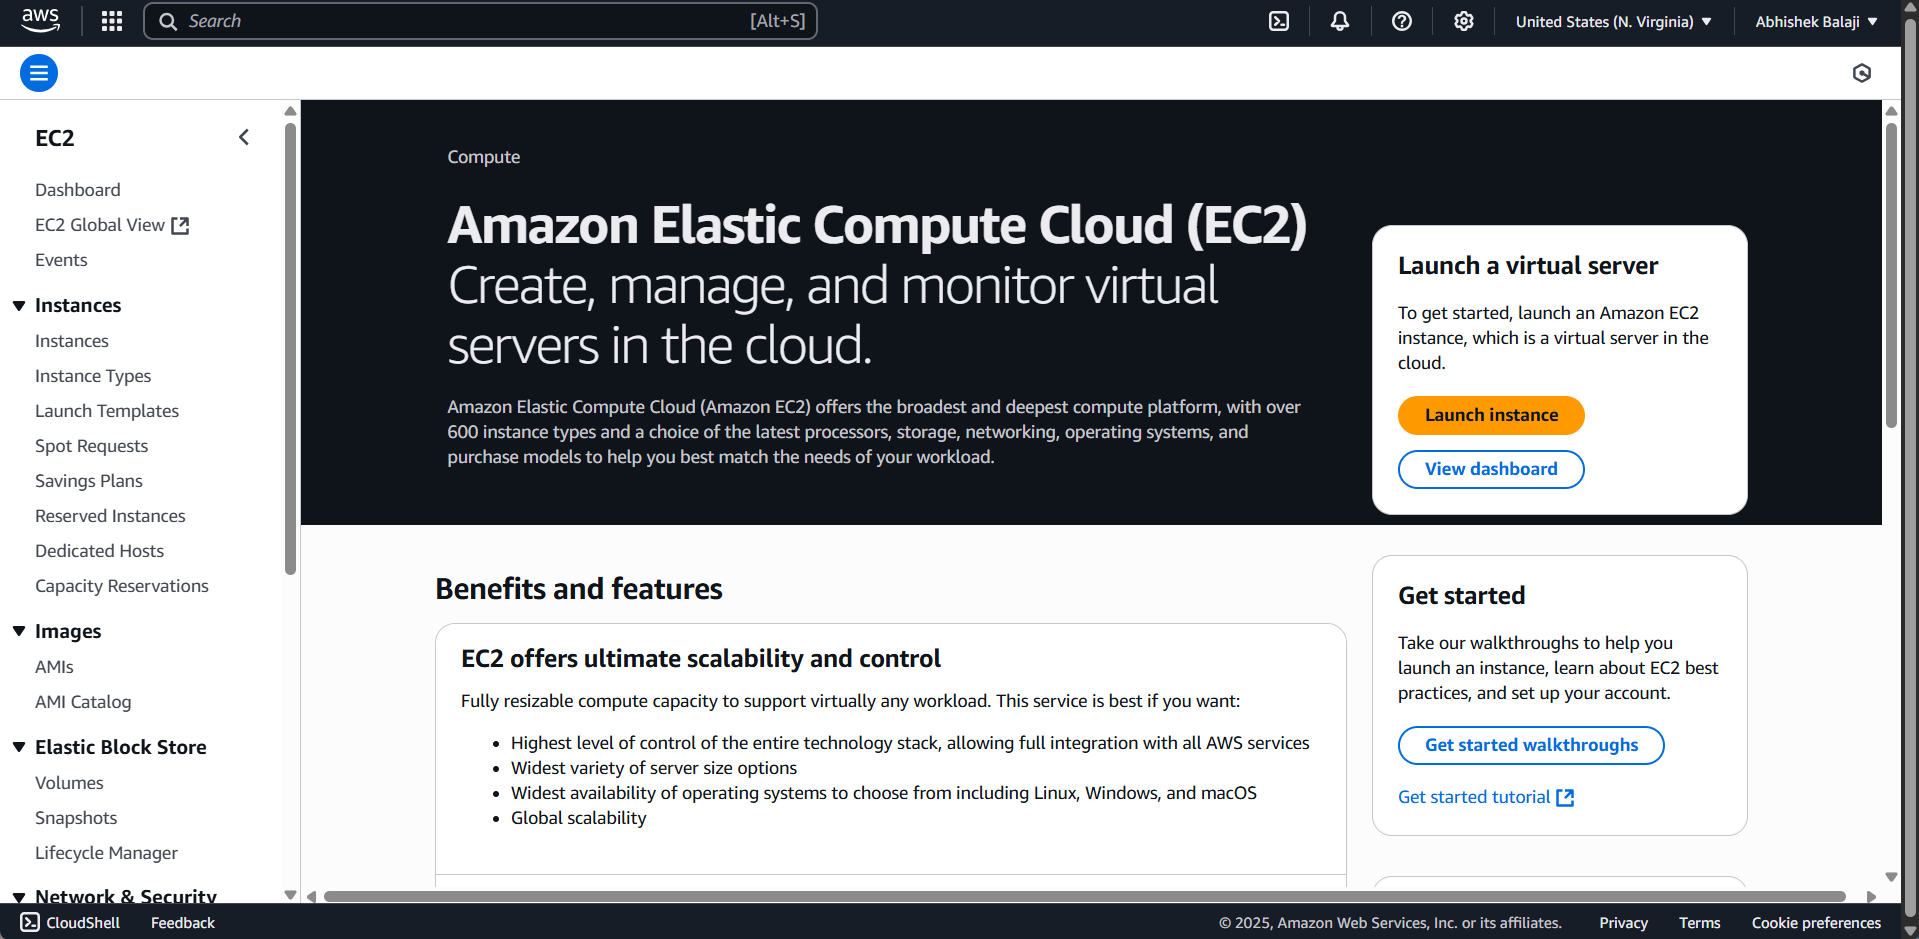
You will be directed to the EC2 dashboard where you can launch and manage instances.
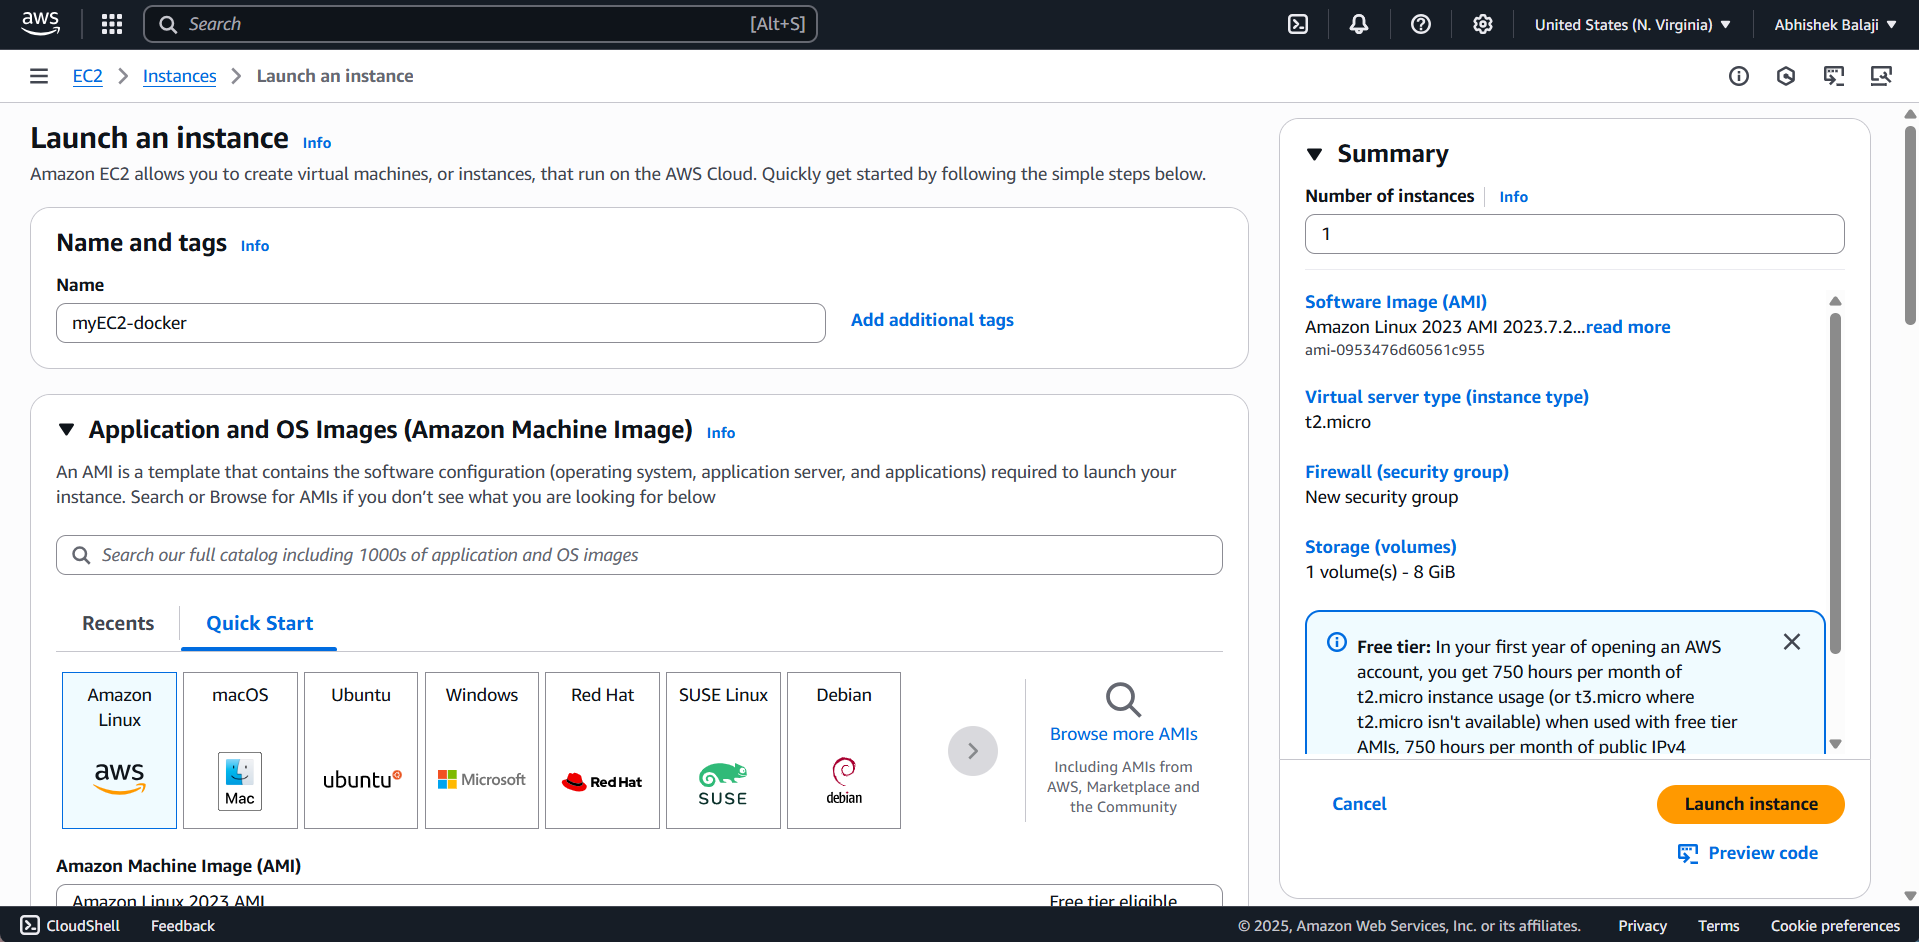
Proceed to assign a name to your EC2 instance for easy identification
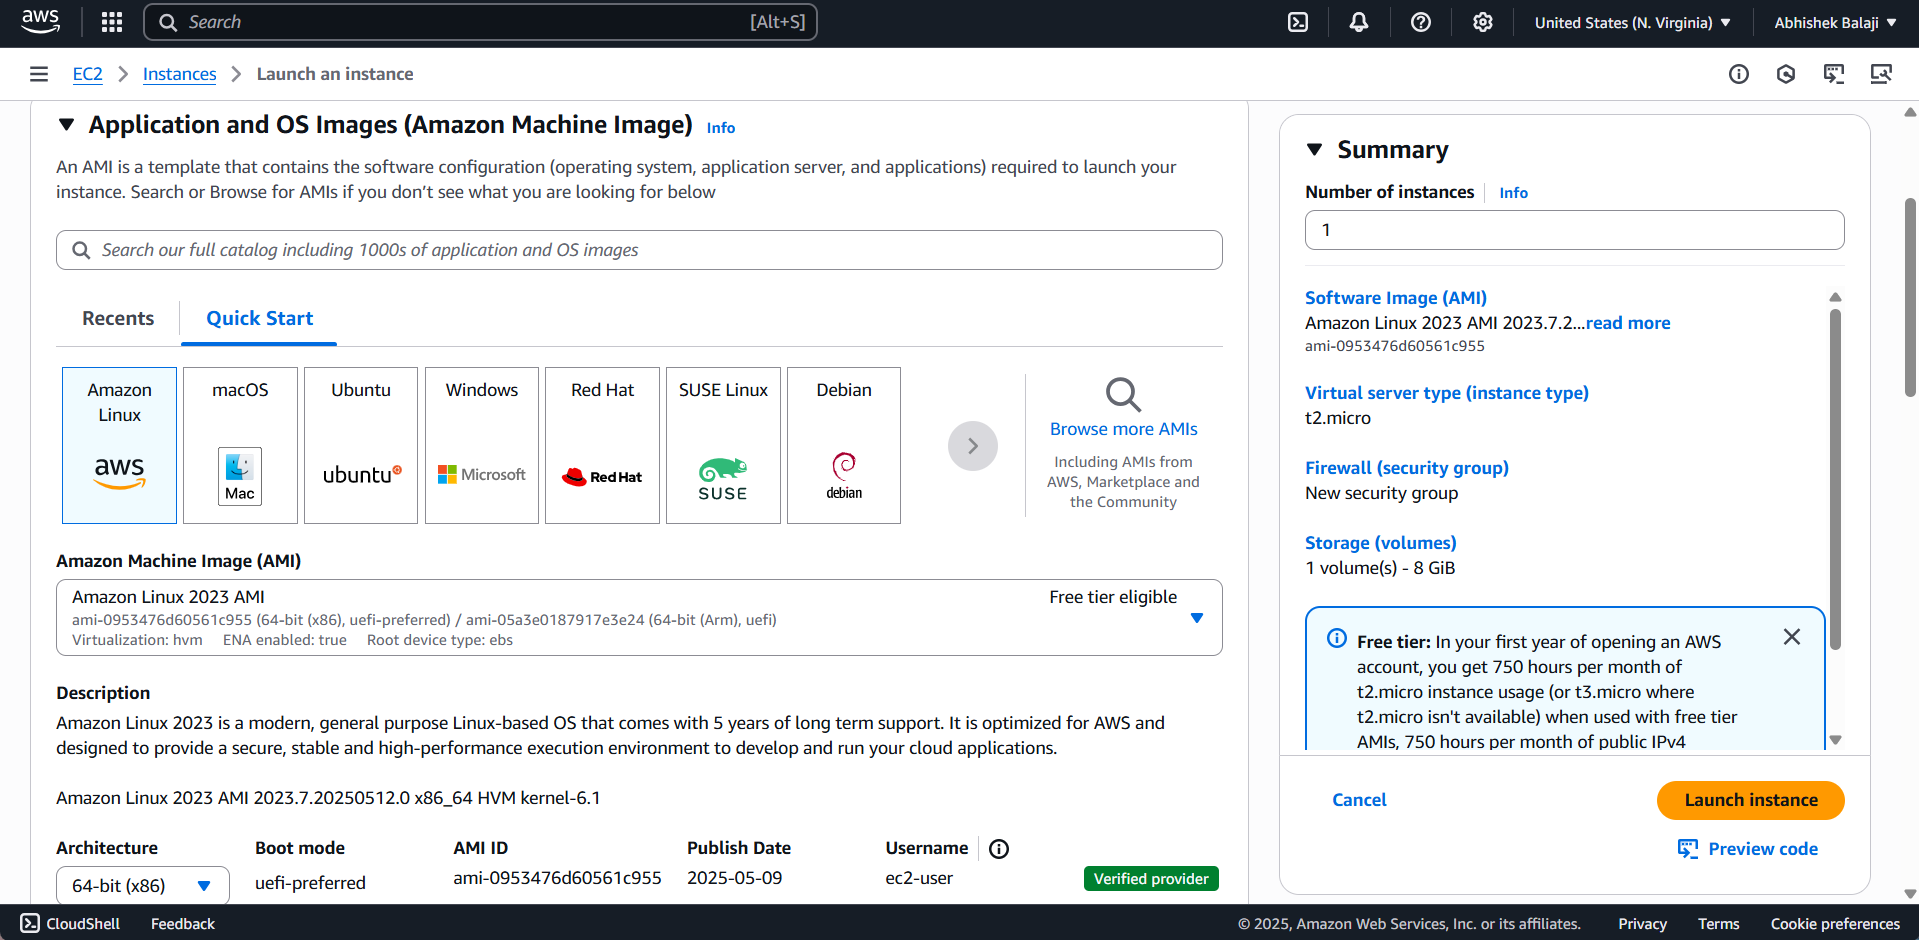
For this mini project, I will be using Amazon Linux as the AMI. However, you may choose a different AMI based on your preference.
Select an instance type; for this mini project, I will use t2.micro (Free Tier eligible), which is sufficient for our requirements
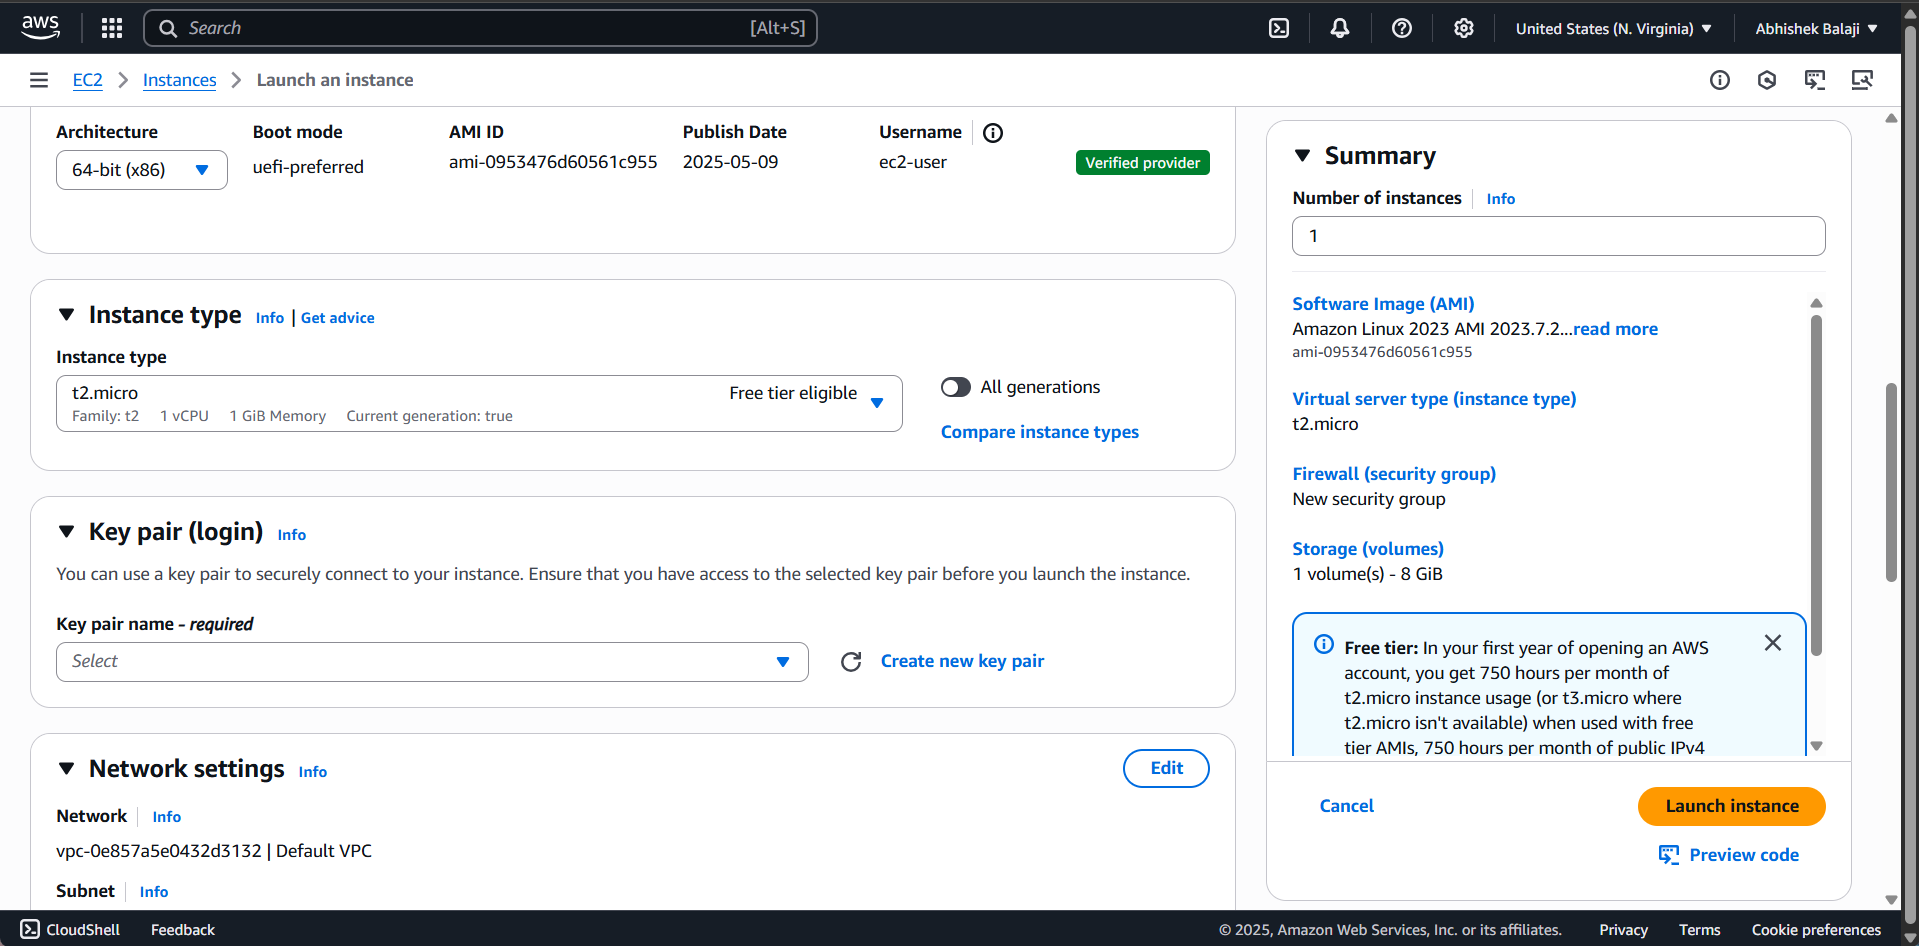
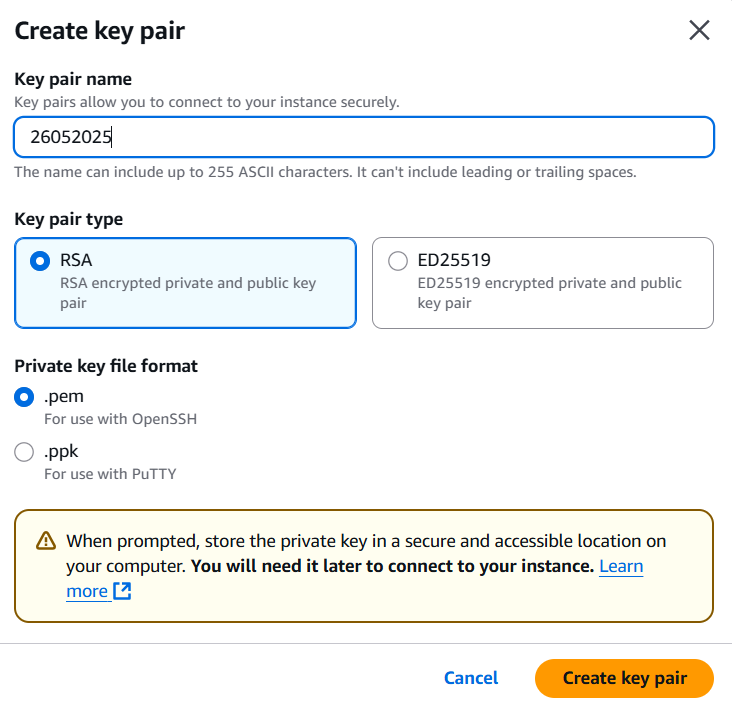
If you don’t have a key pair yet, create a new one now. Alternatively, you can use an existing key pair from your previous AWS setups
For network configuration, I will create a new security group tailored to this mini project’s needs, including firewall rules to allow all IPv4 ICMP traffic. SSH access will remain allowed by default.
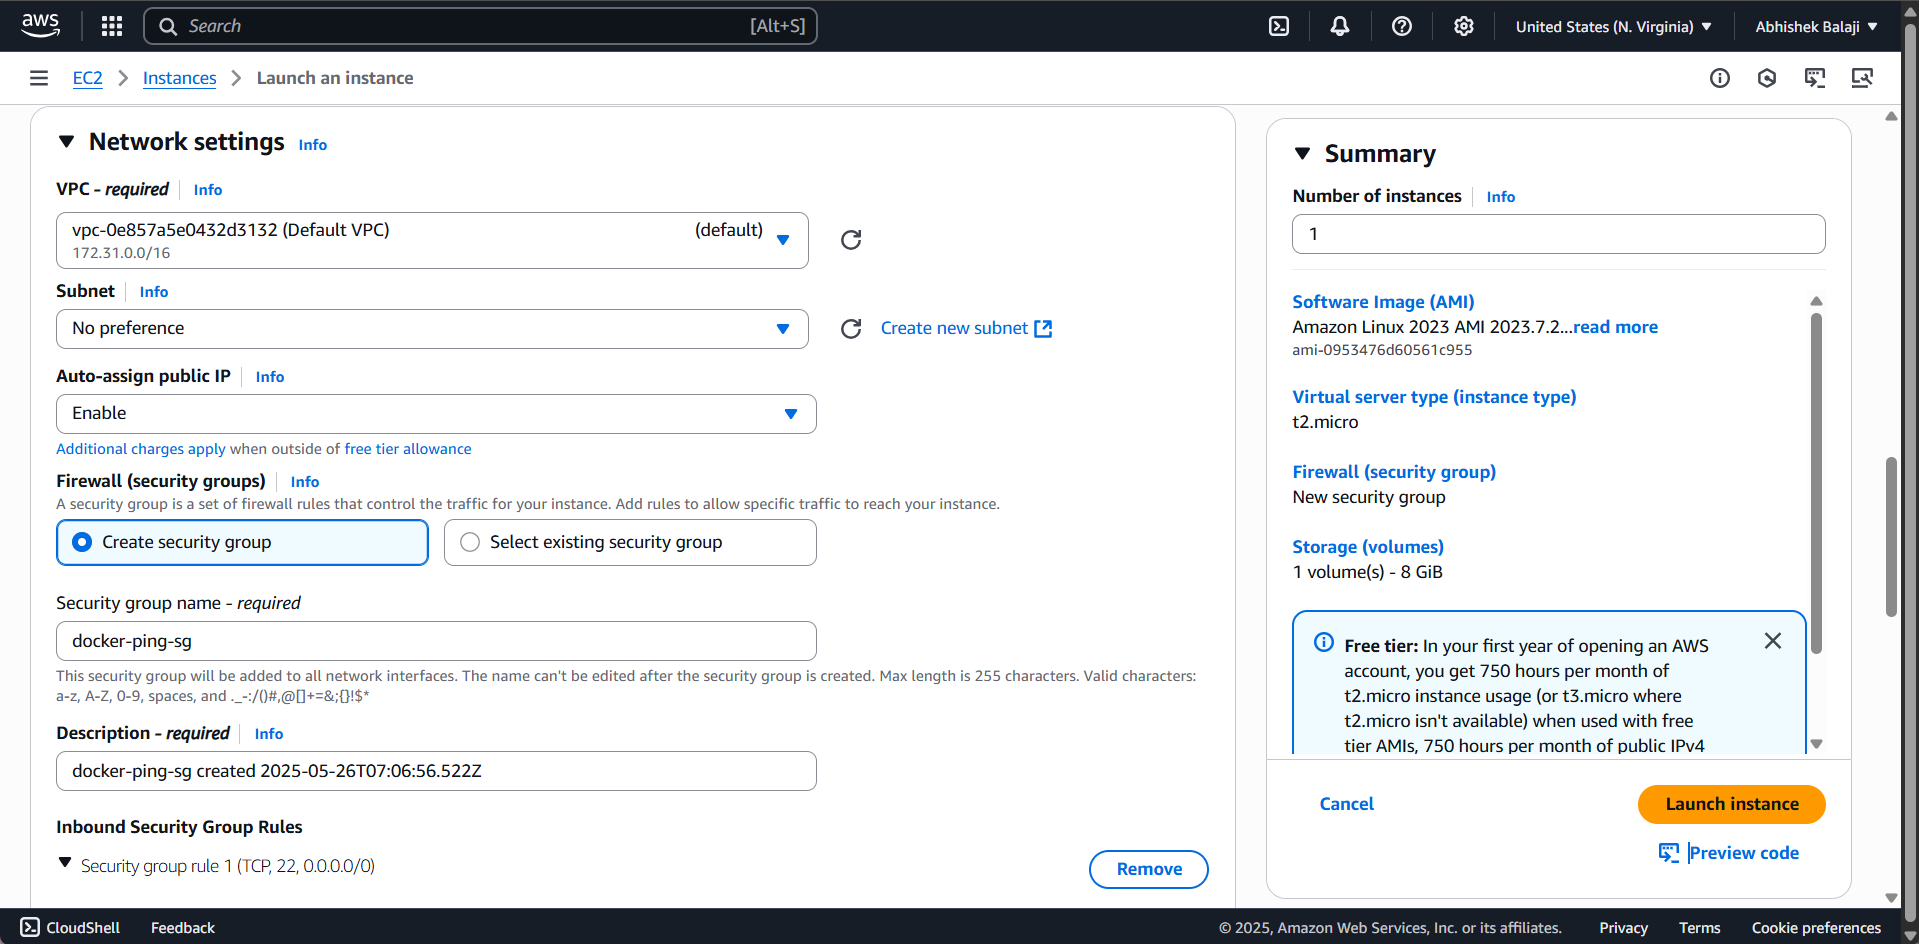
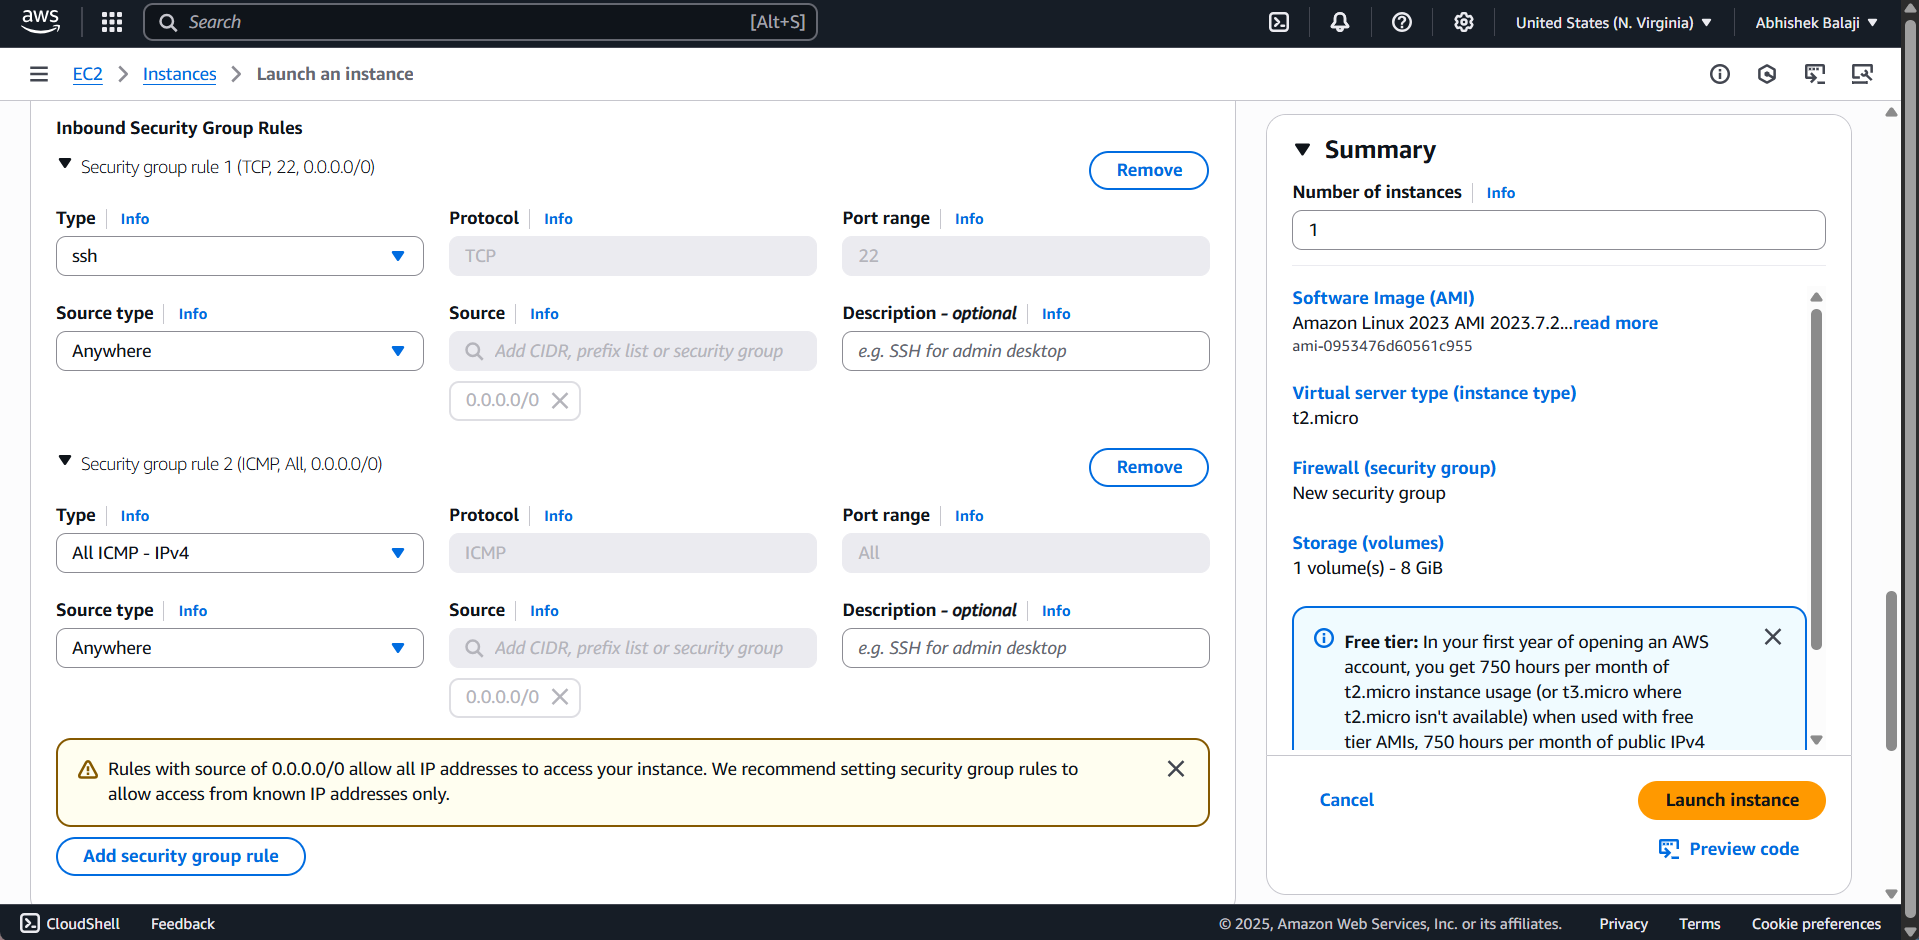
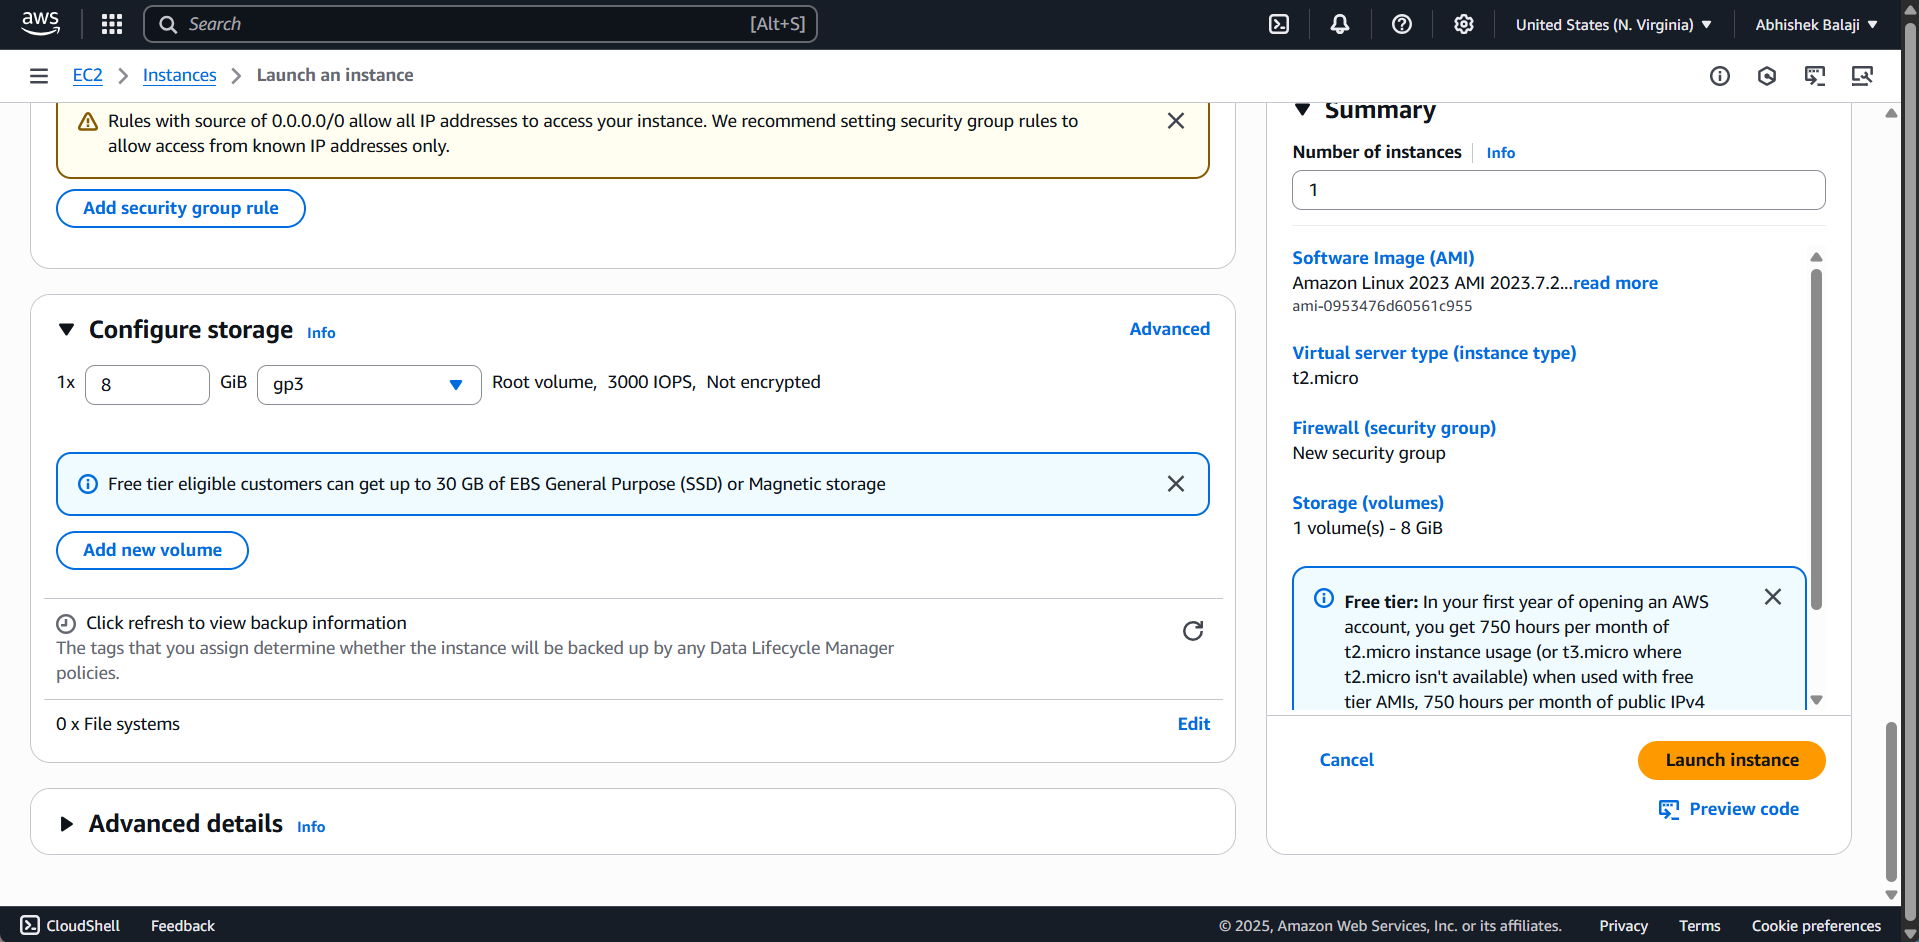
Review the summary carefully, and if you’re satisfied with the EC2 configuration, proceed by clicking ‘Launch Instances.’
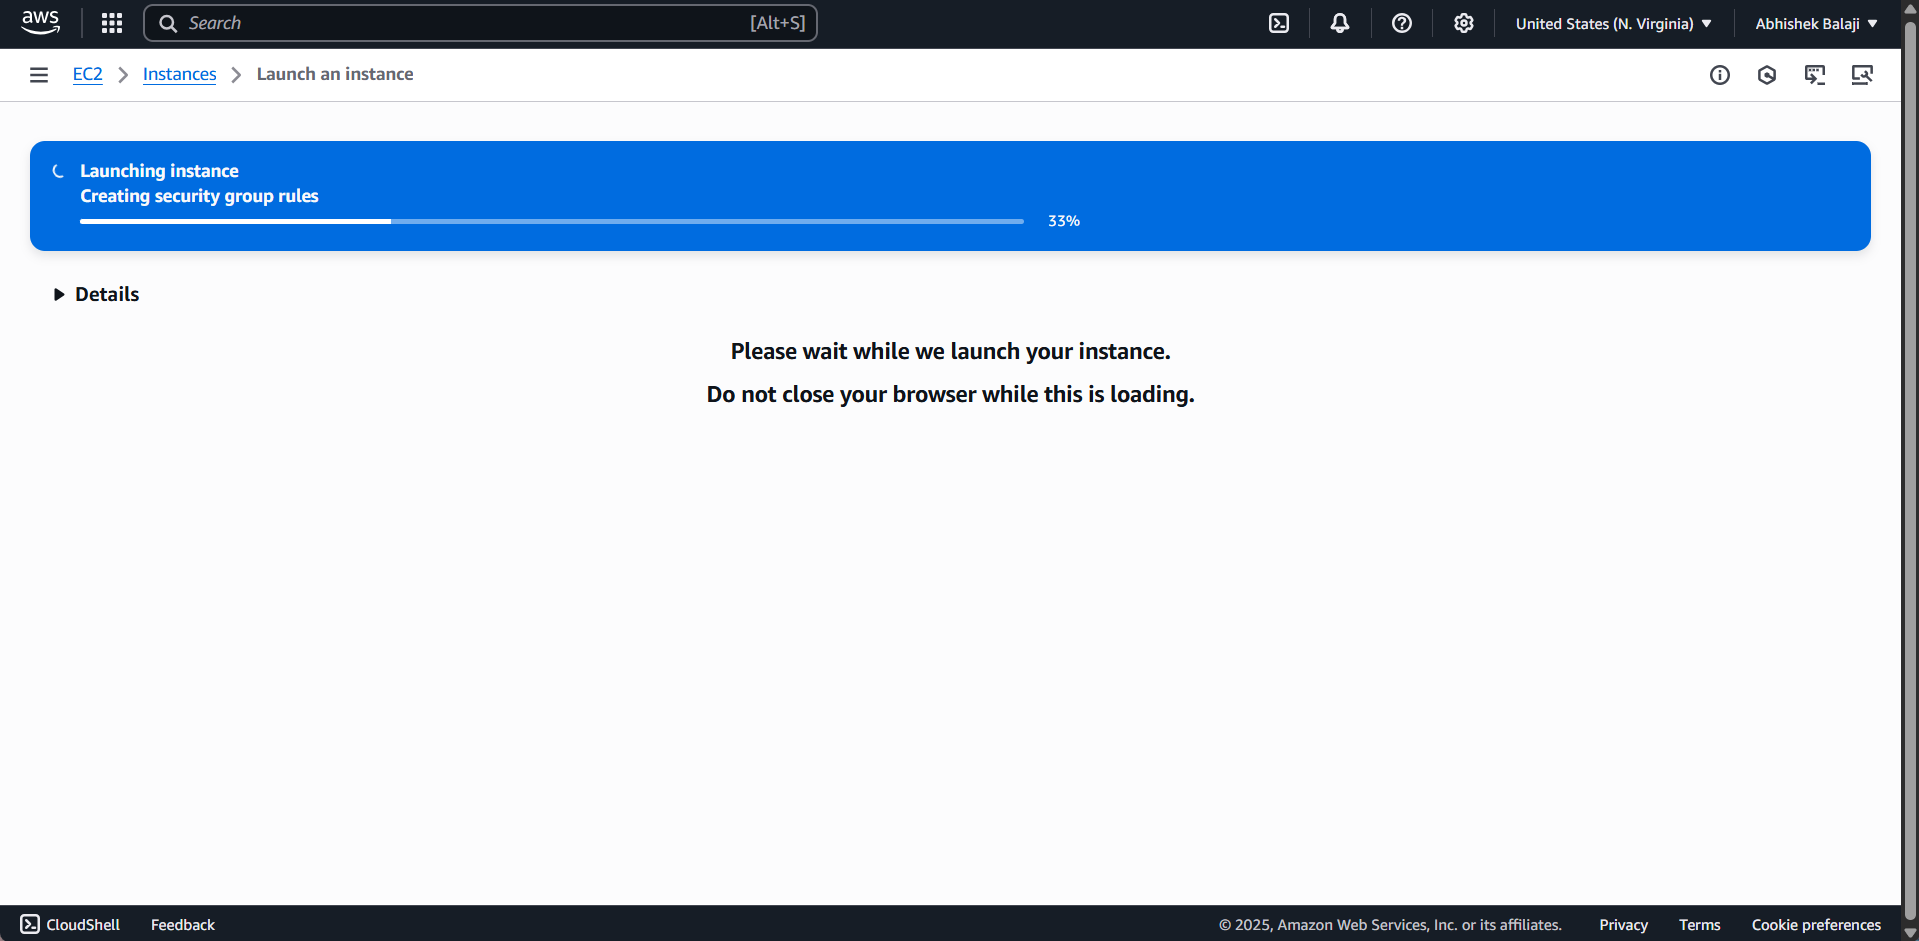
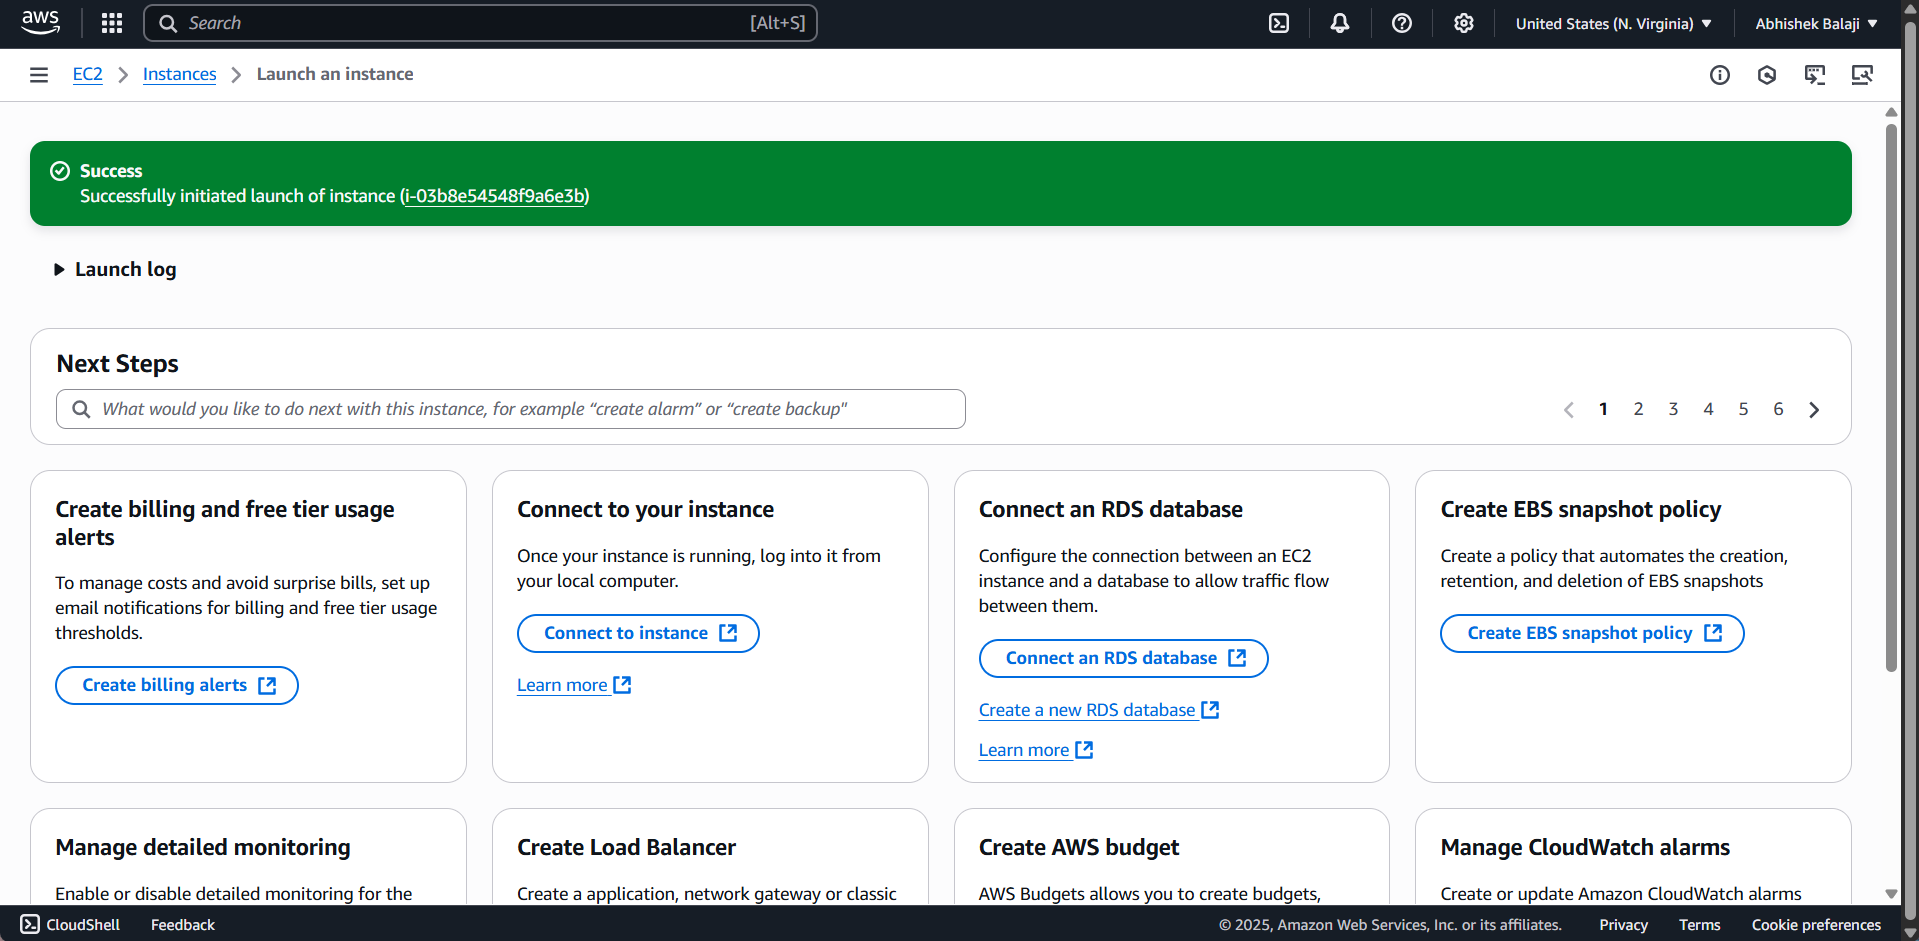
Click on ‘Instances’ to be redirected to the Instances tab
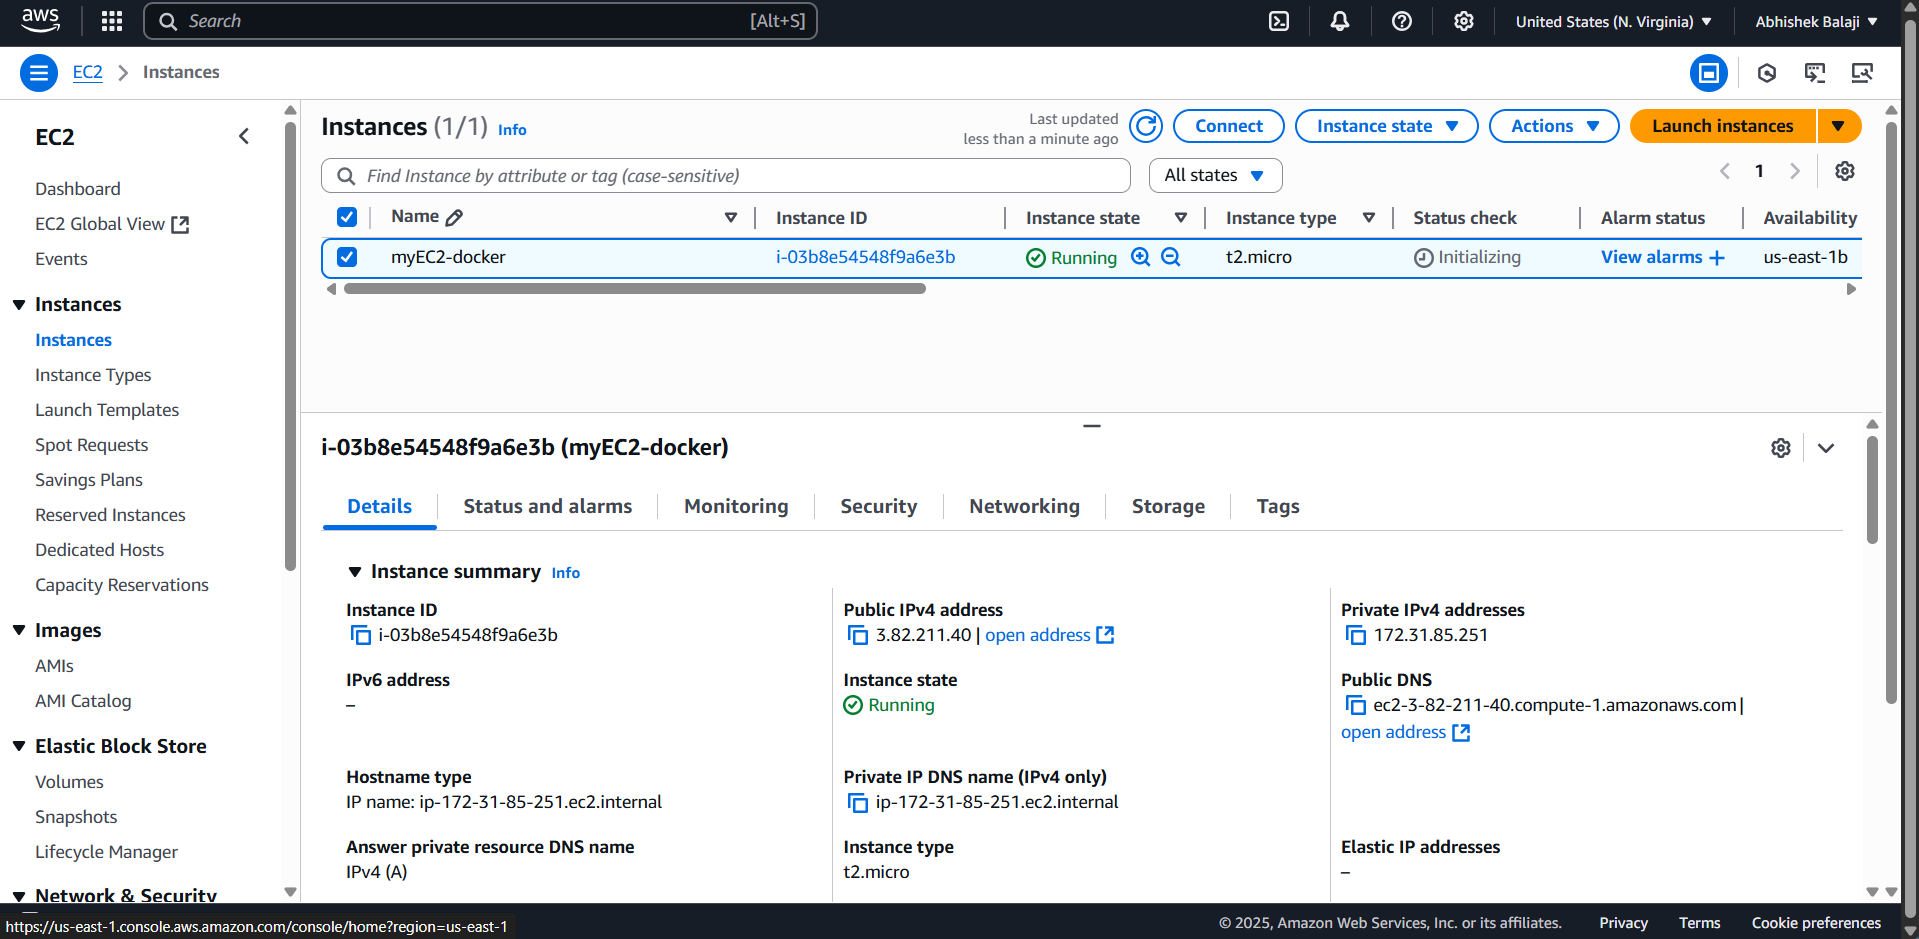
In the top right corner, click the ‘Connect’ button to establish a connection to your EC2 instance. Several connection methods are available; I will use the EC2 Instance Connect feature.
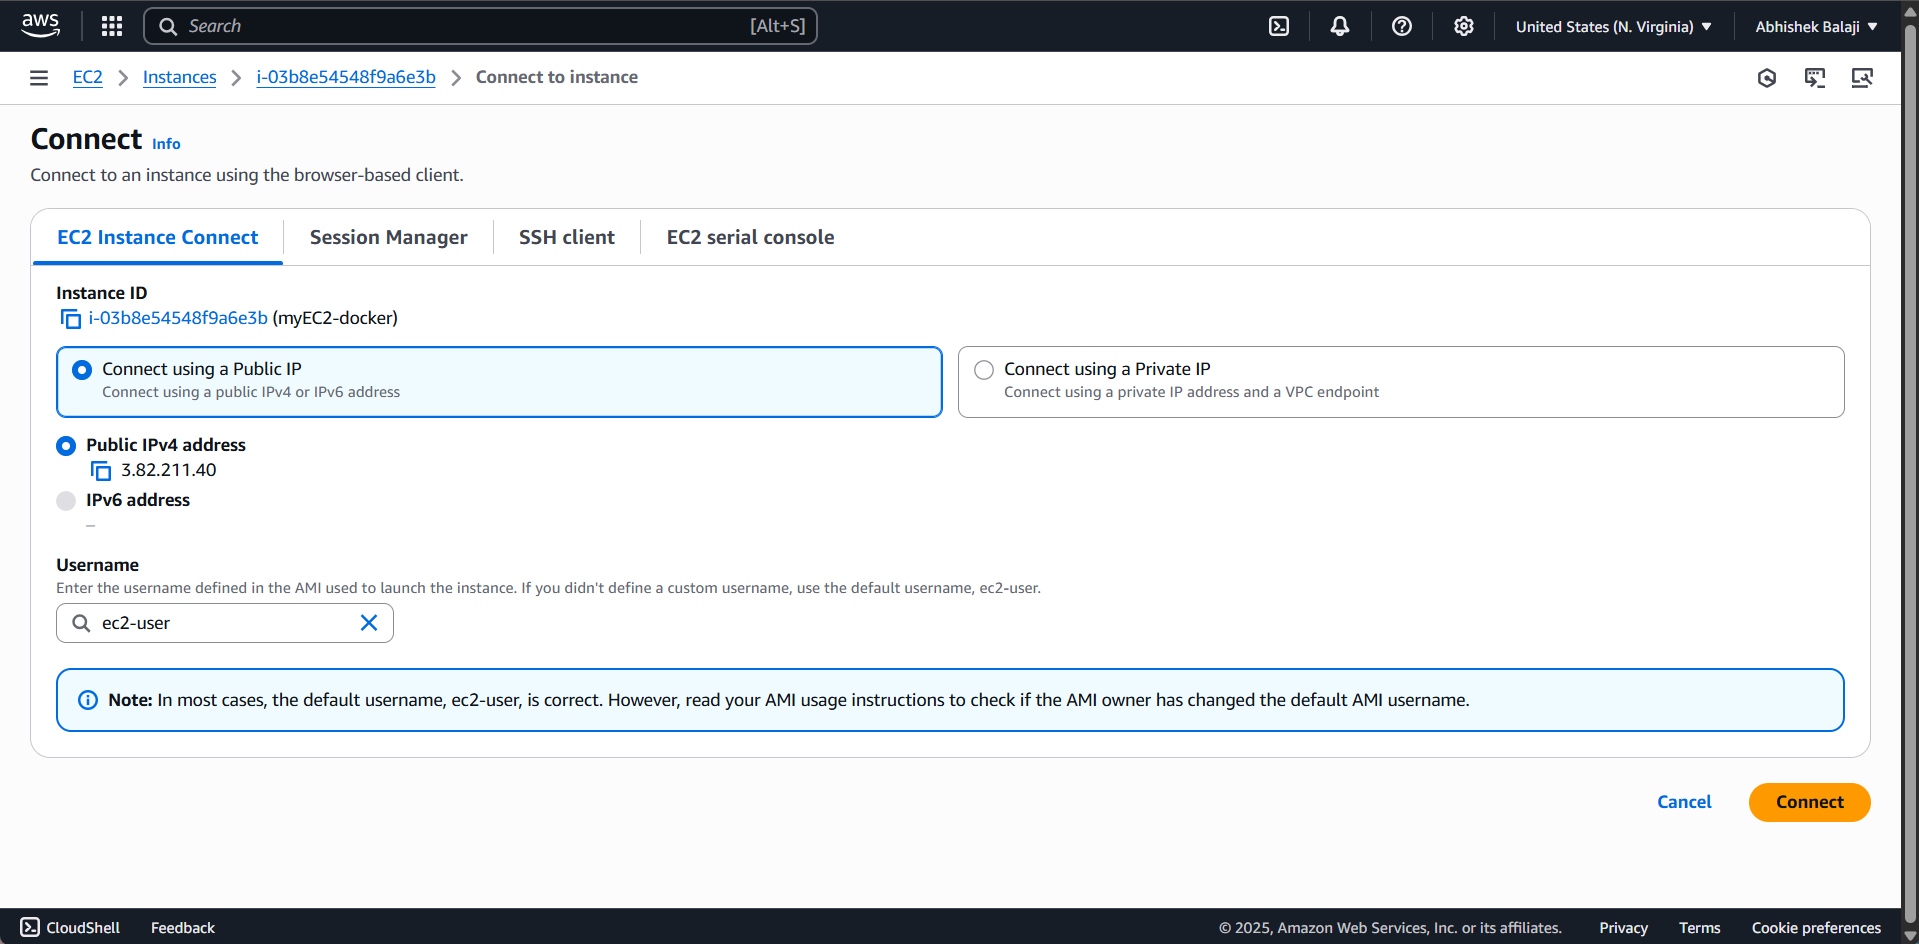
Go ahead and click on connect button
Alternatively, you can use an SSH client by first setting the correct file permissions for your key pair using the following command:
sudo chmod 400 "26052025.pem"
Then, copy and paste the SSH command into your terminal to access your EC2 instance. In my case, the command is:
ssh -i "26052025.pem" ec2-user@ec2-3-82-211-40.compute-1.amazonaws.com
Using the EC2 Instance Connect feature, I have successfully accessed my EC2 instance.
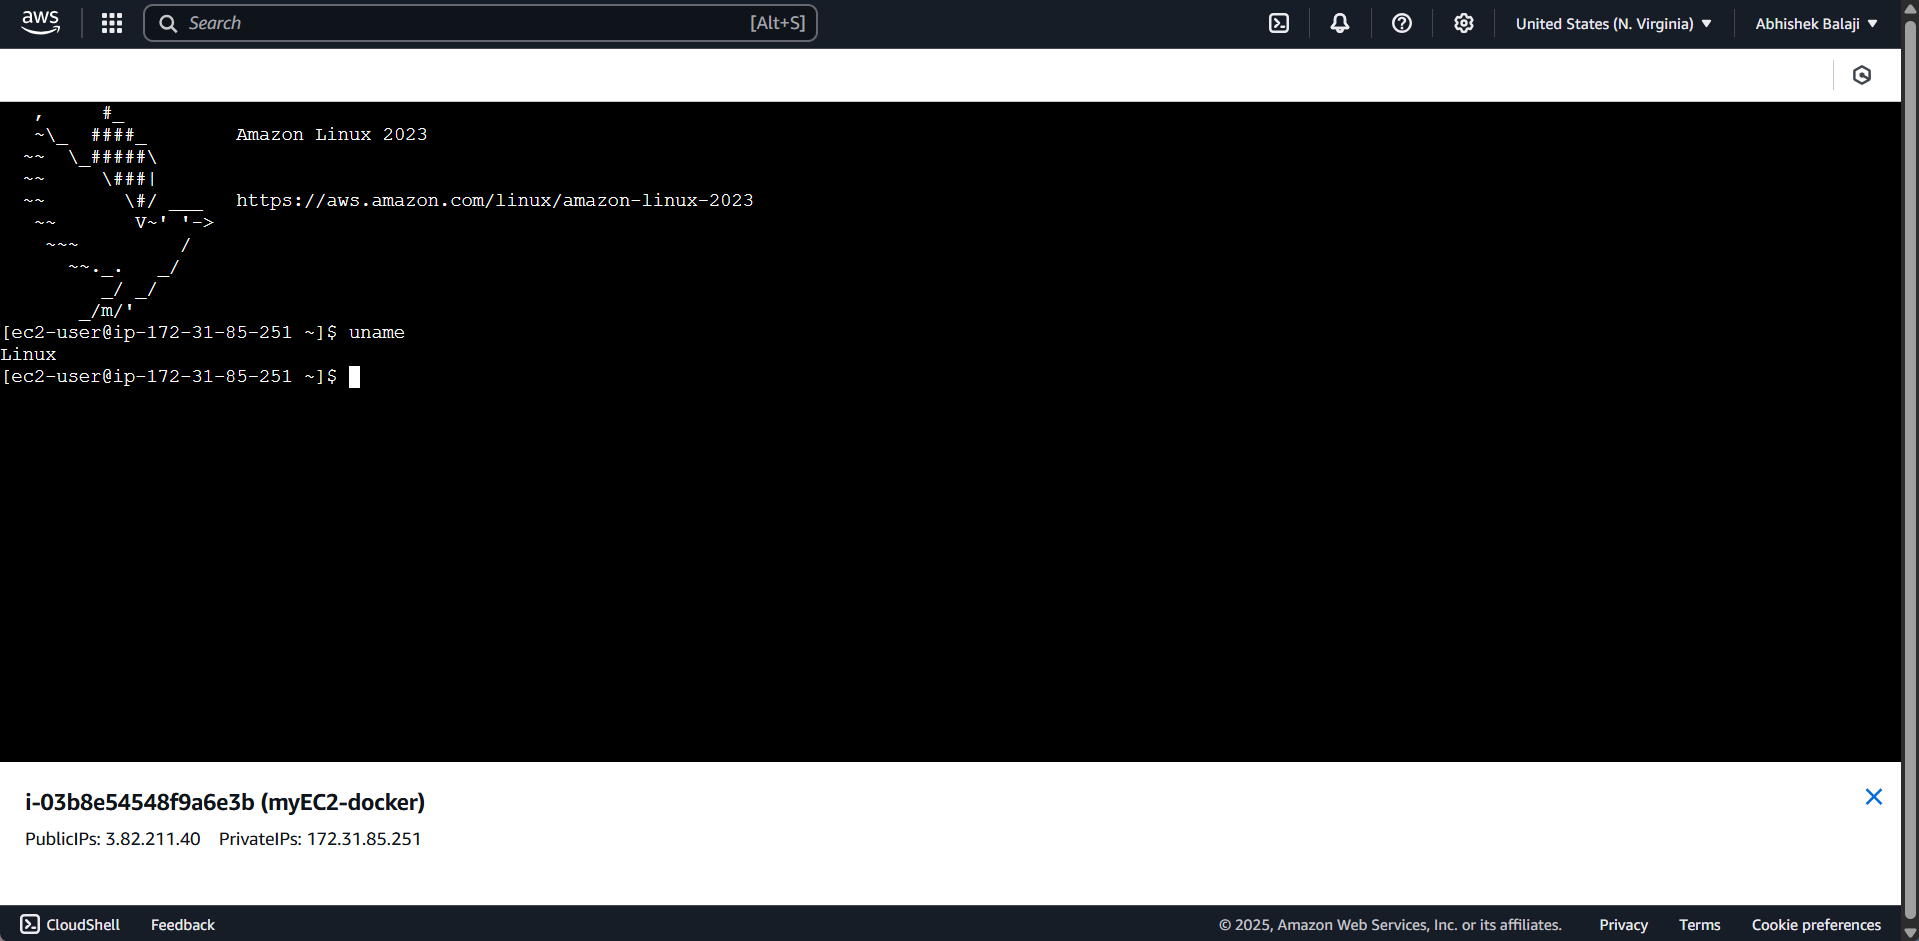
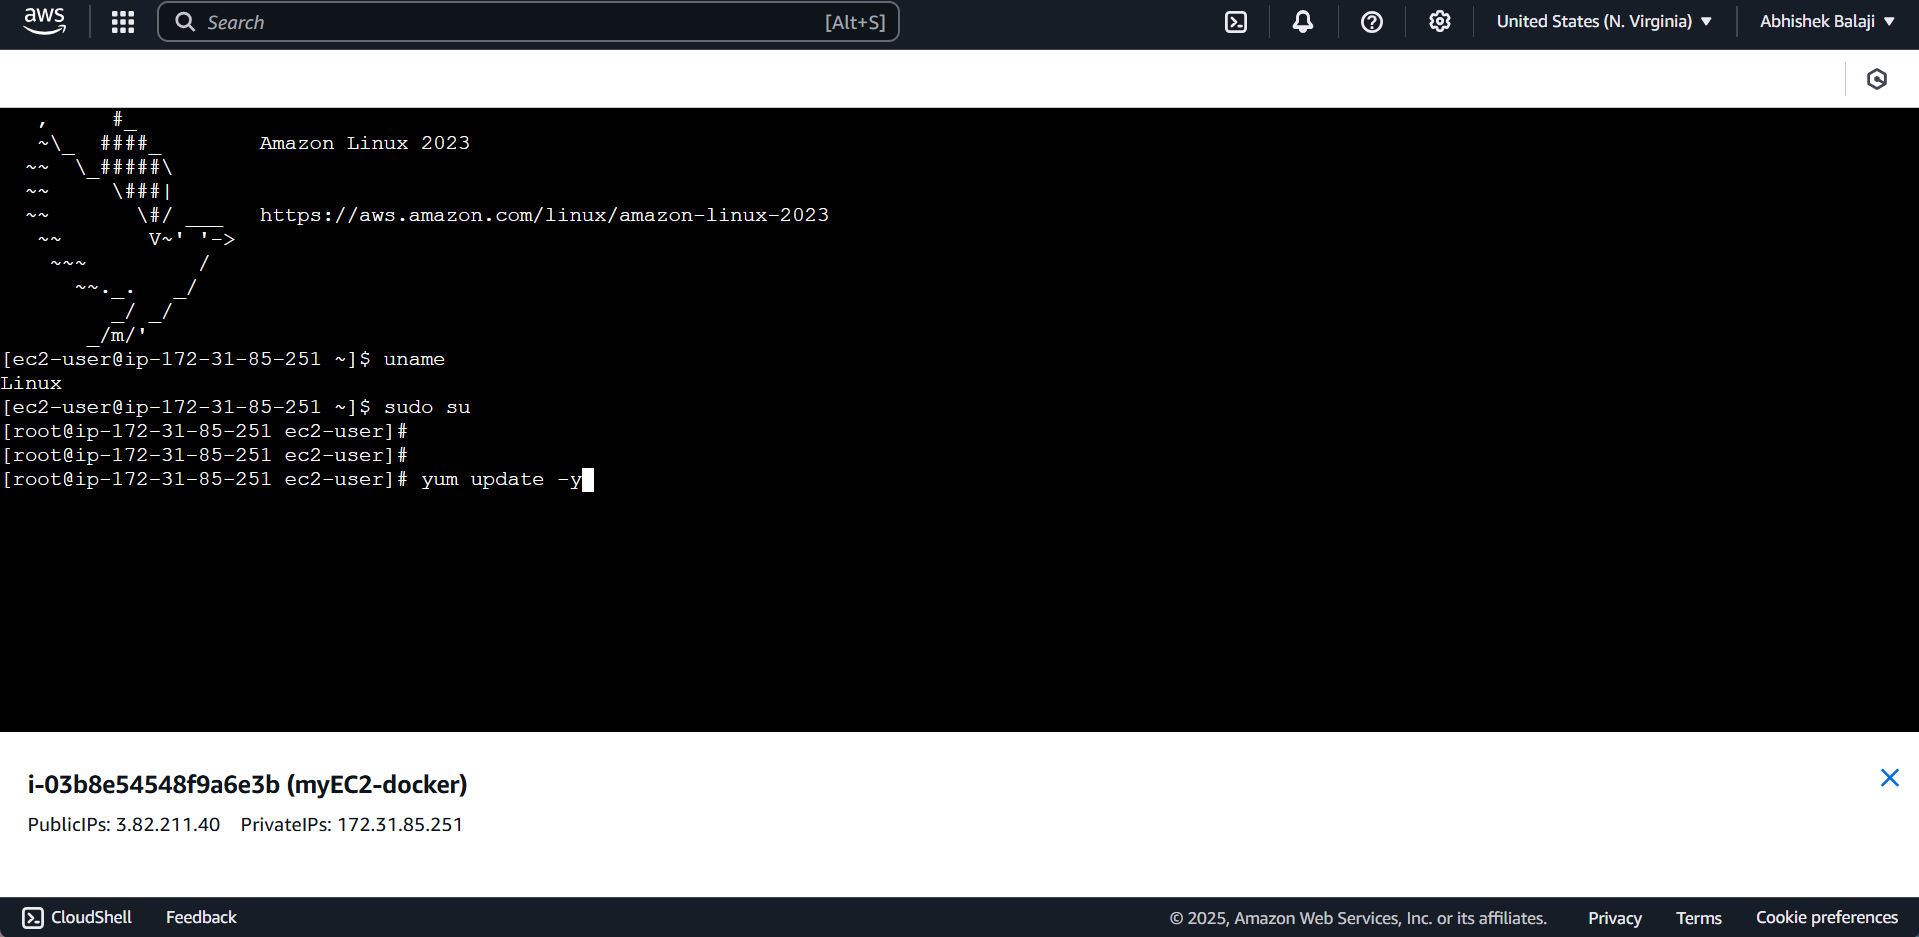
sudo su
Gain root access to simplify the execution of commands. It’s also a good practice to update your system packages to their latest versions
yum update -y
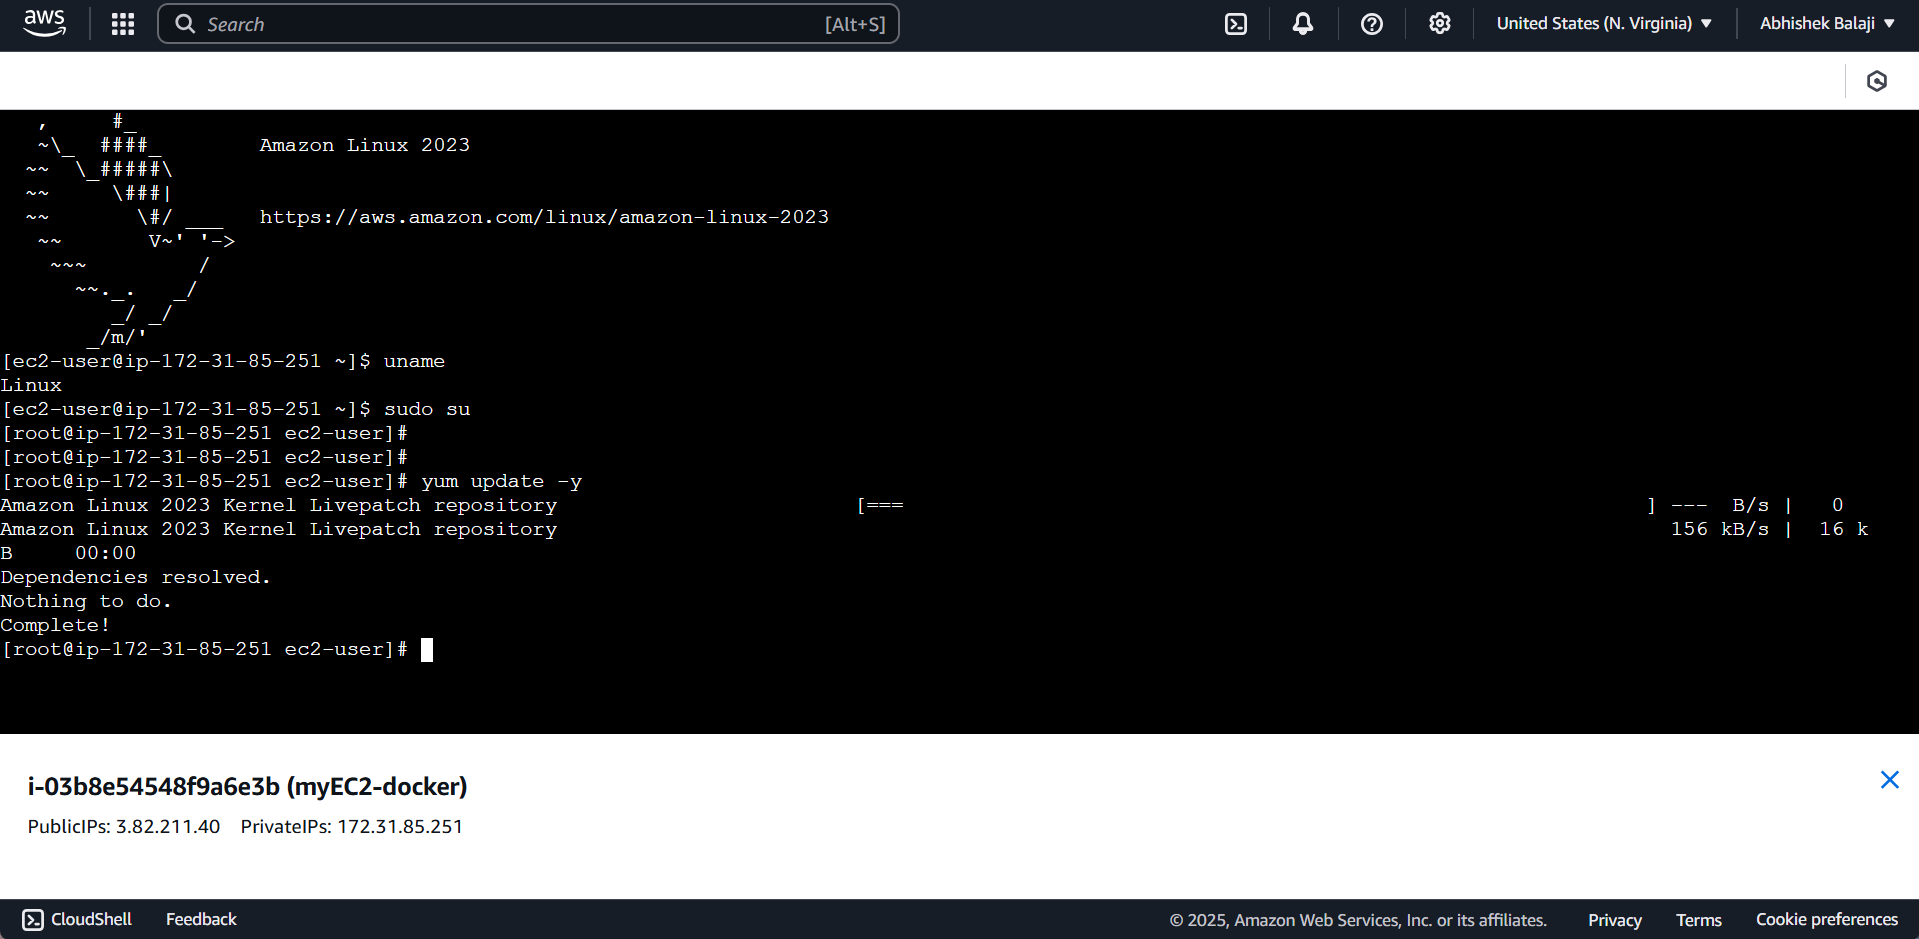
Now, let's proceed to install Docker on this EC2 instance using the following command:
yum install docker -y
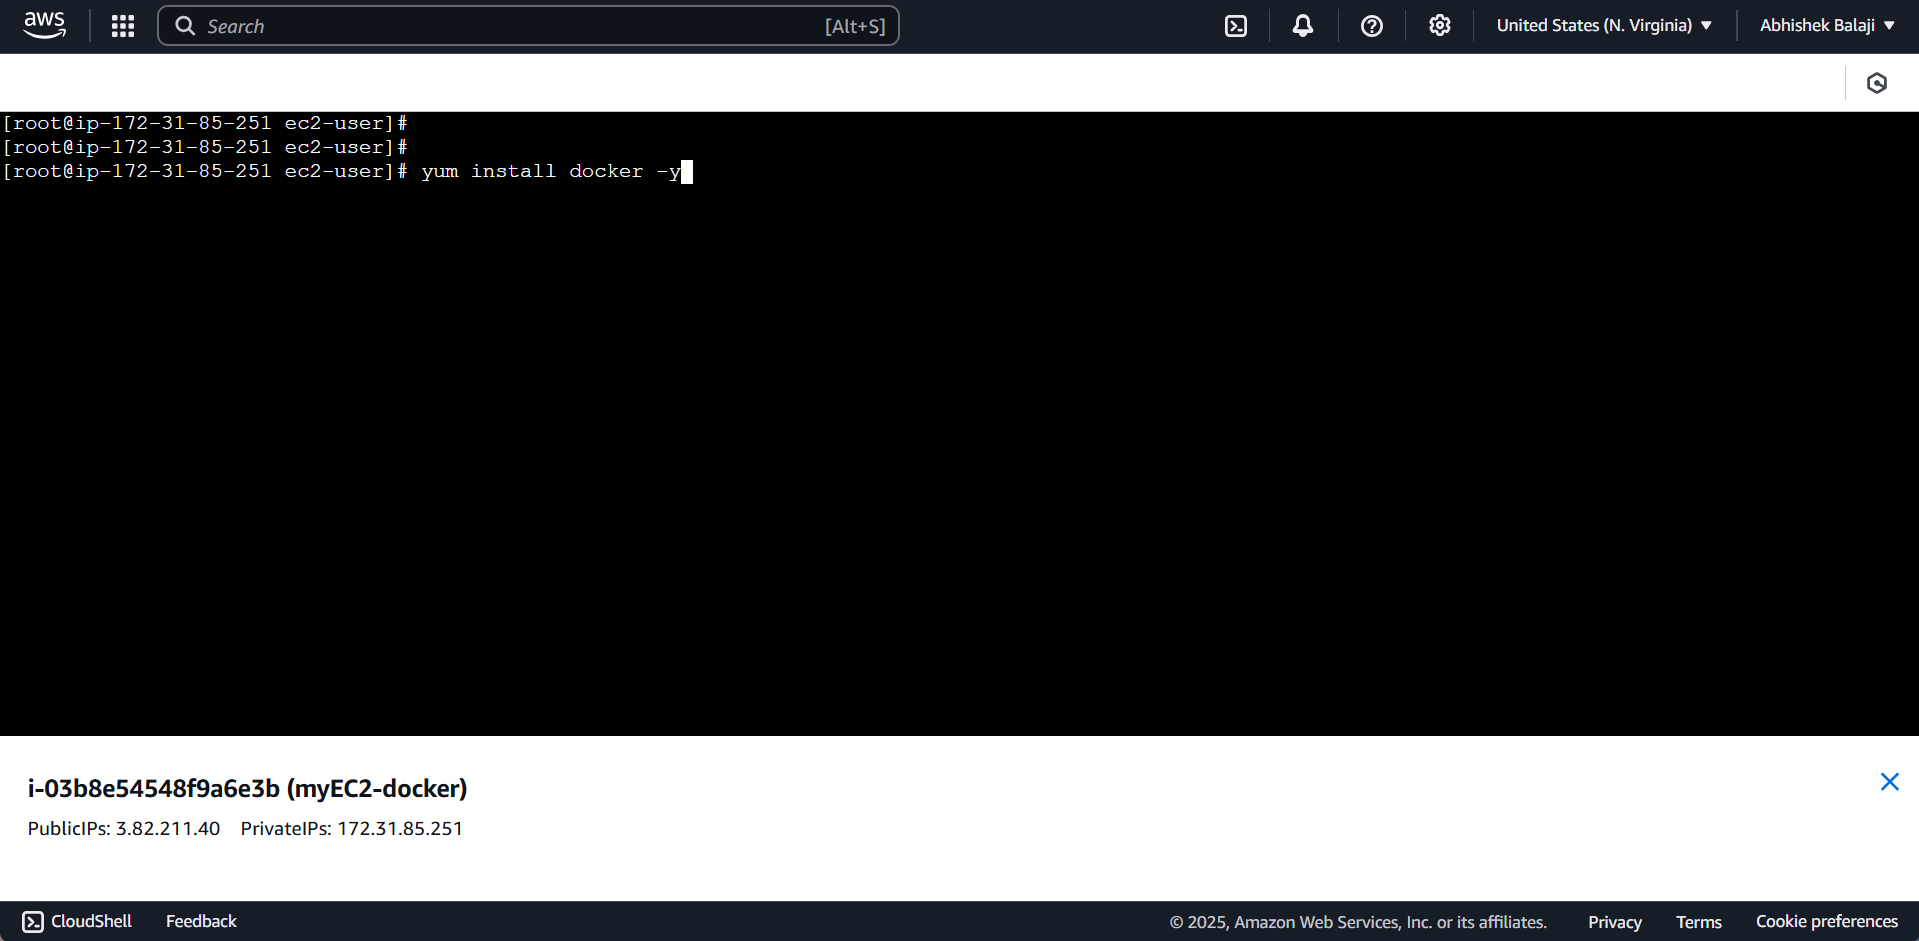
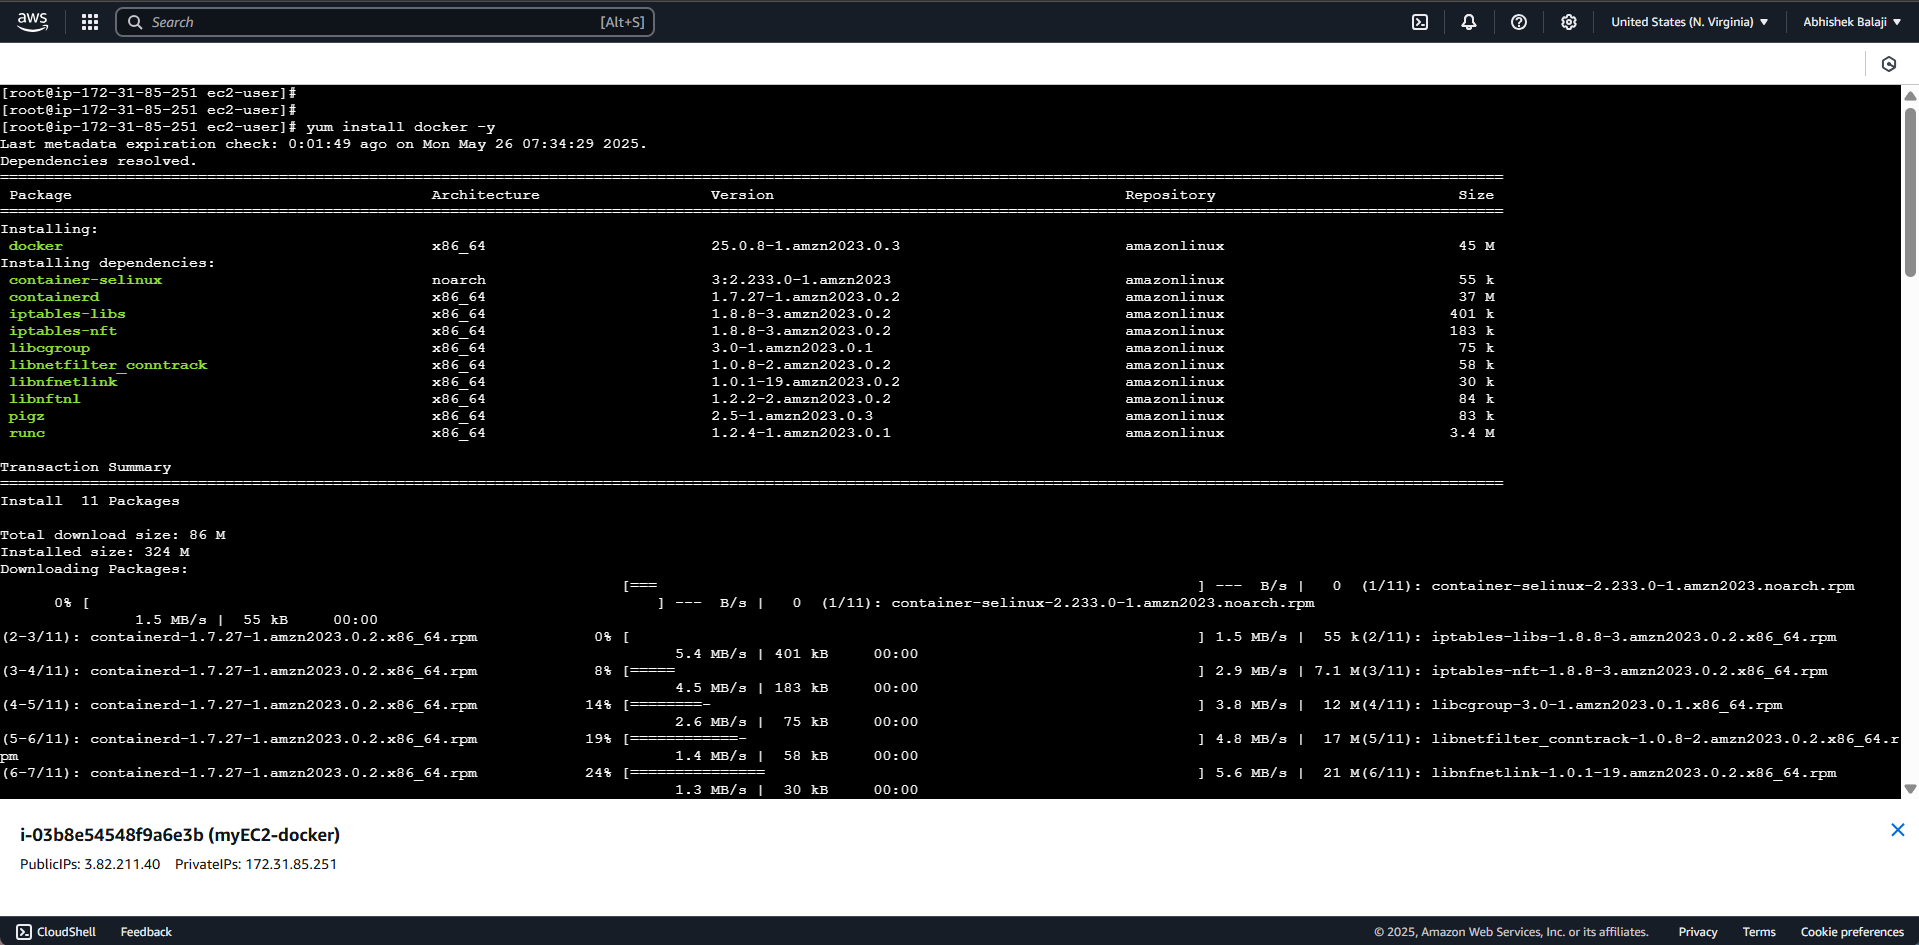
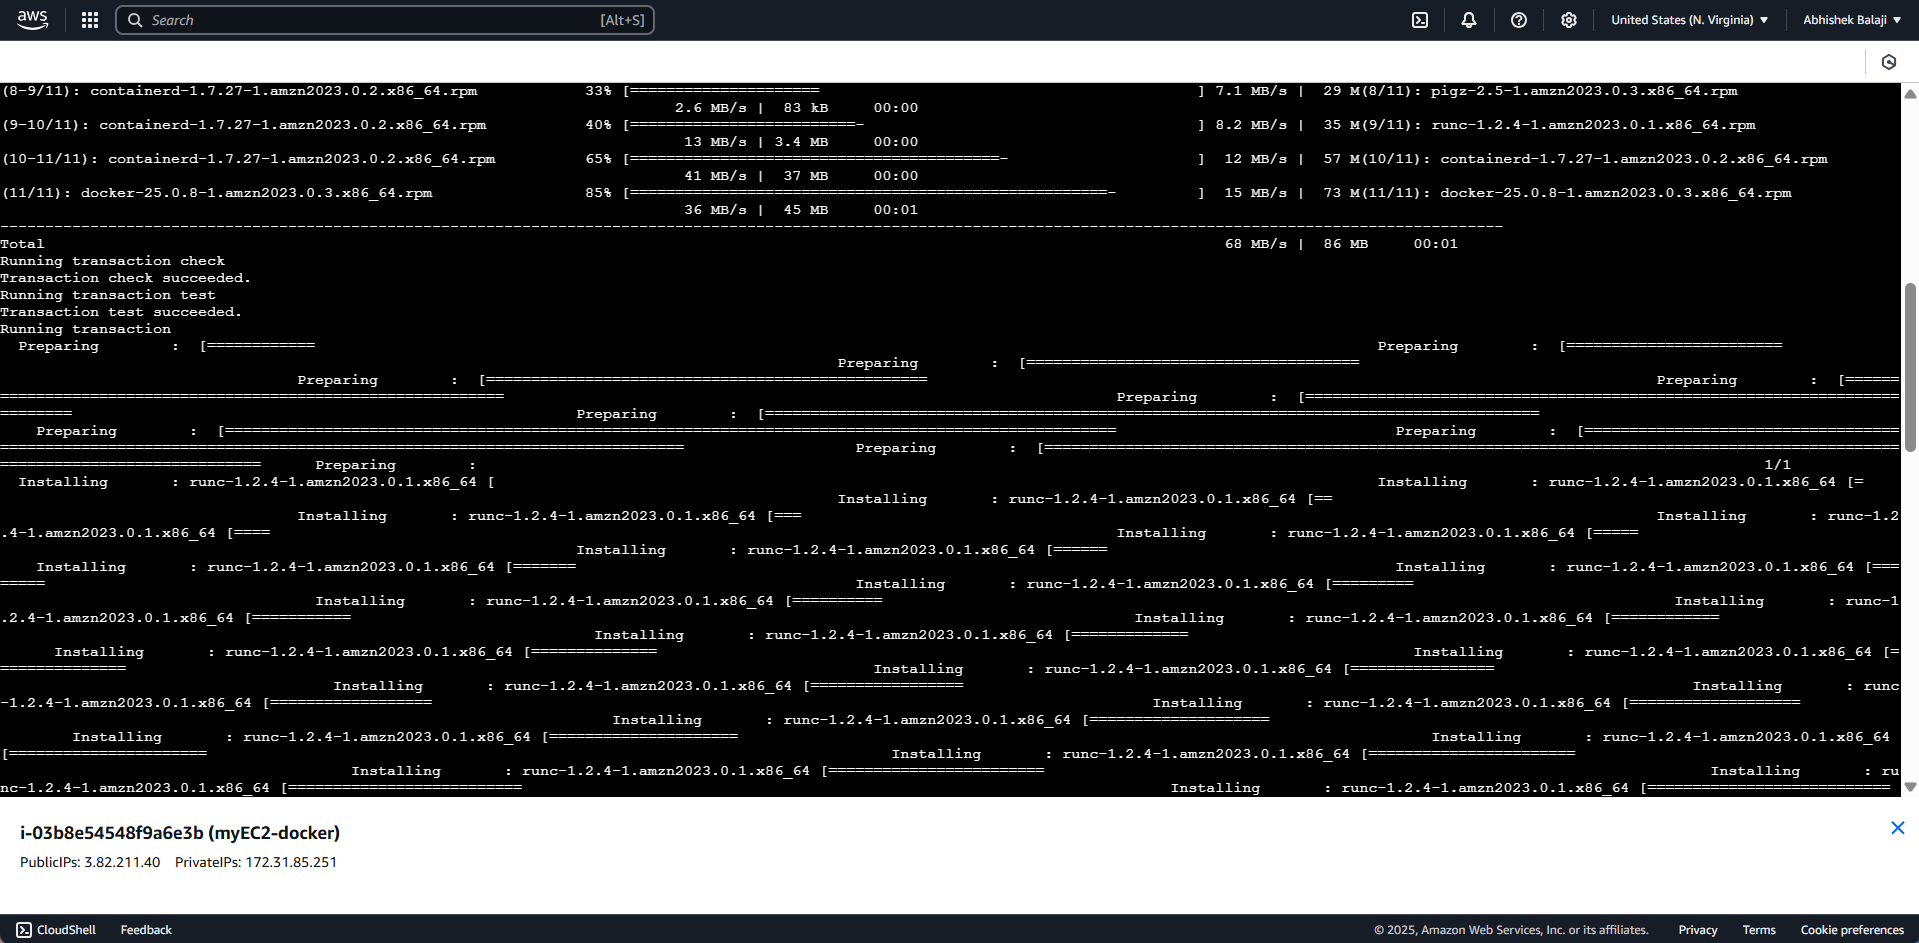
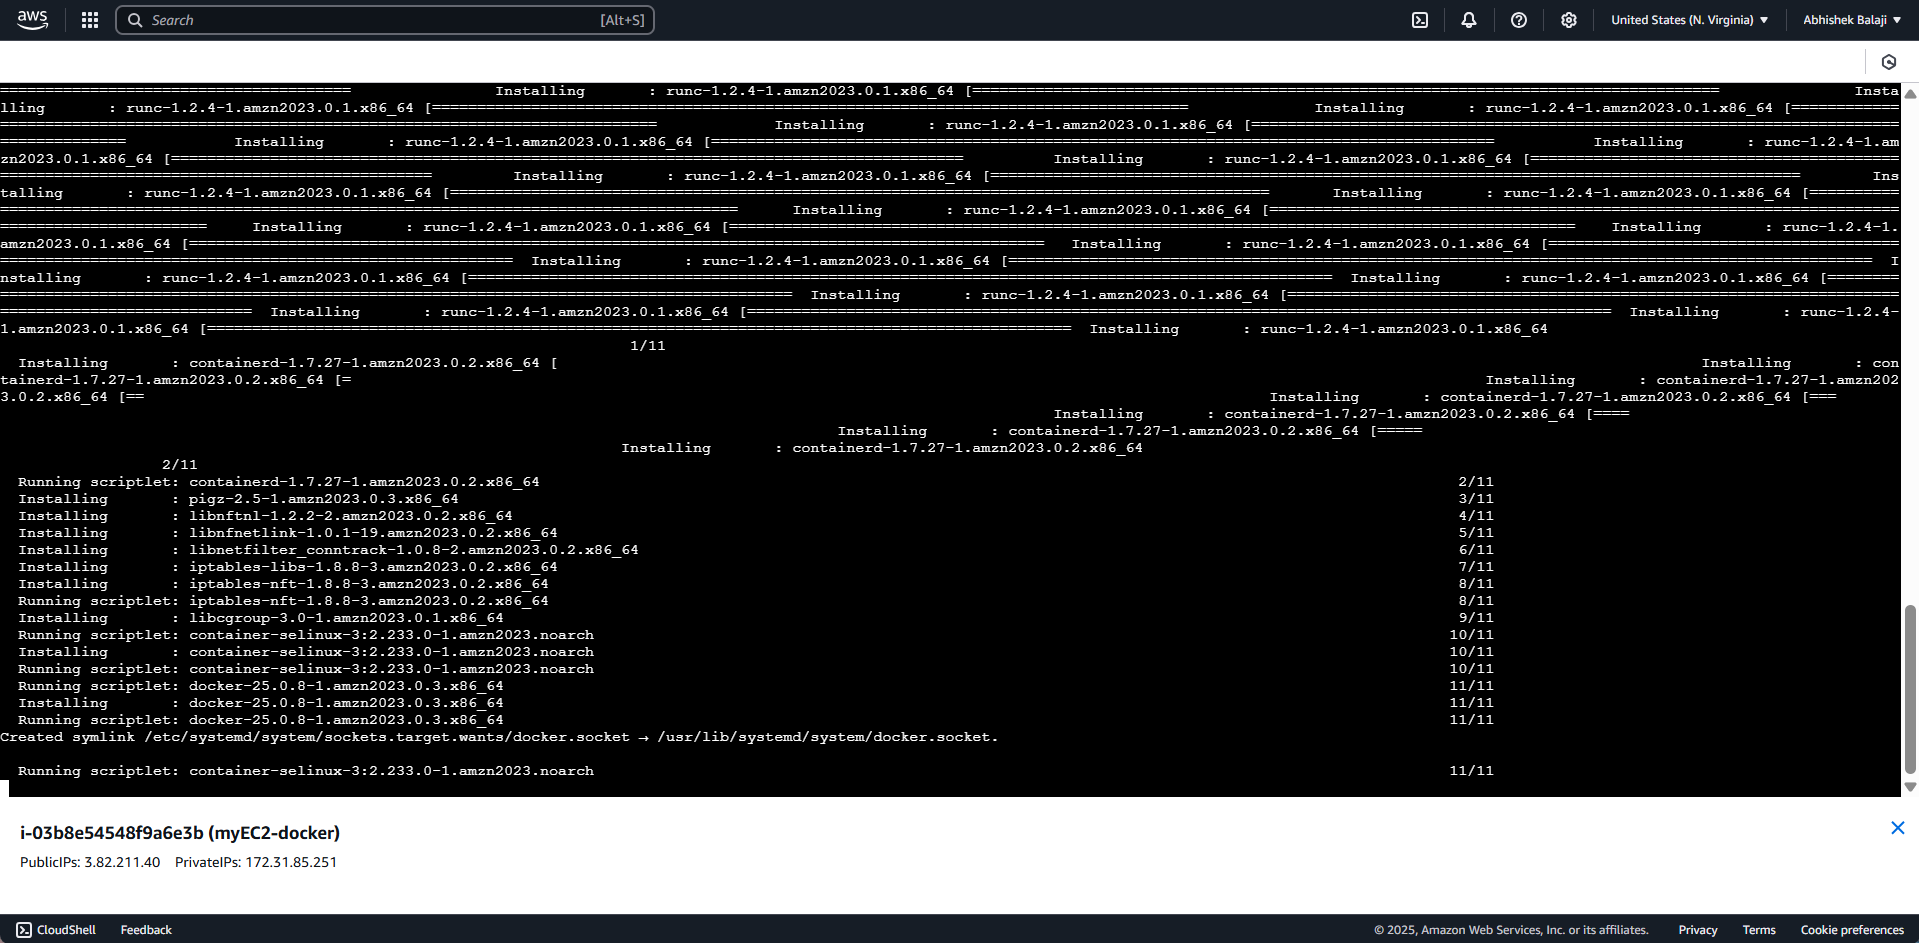
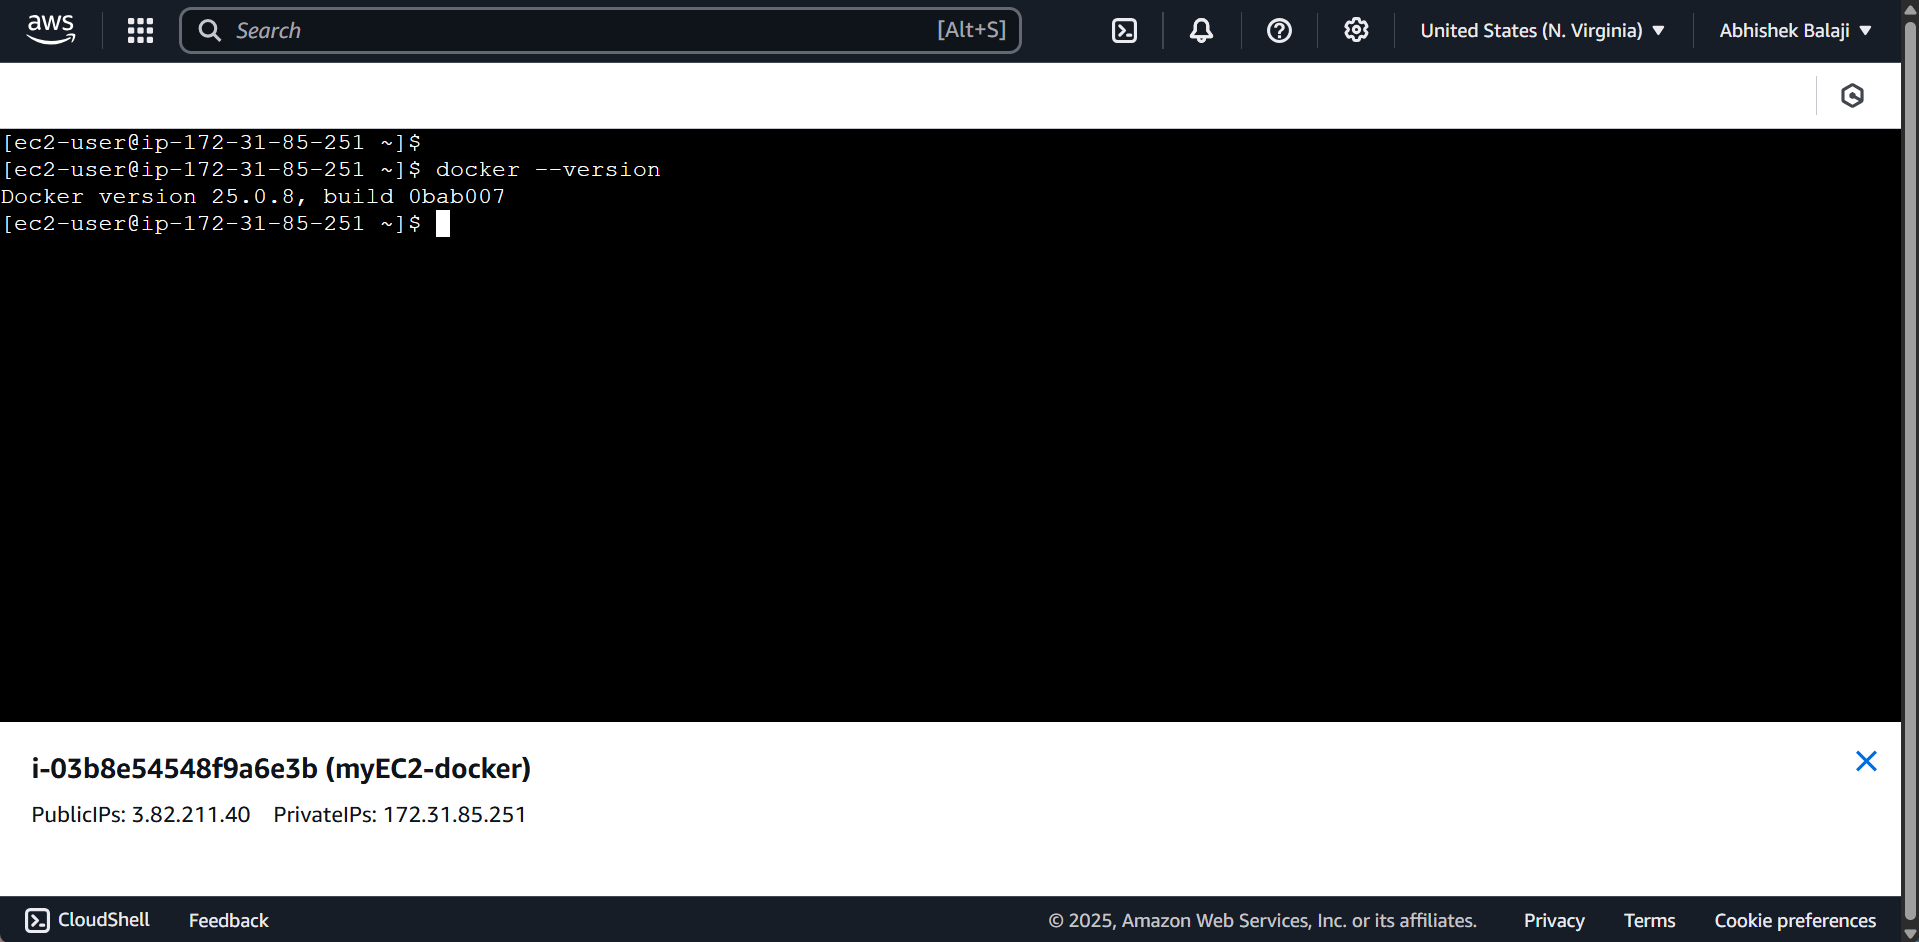
Once Docker is installed, verify the installed version by running the following command:
docker --version
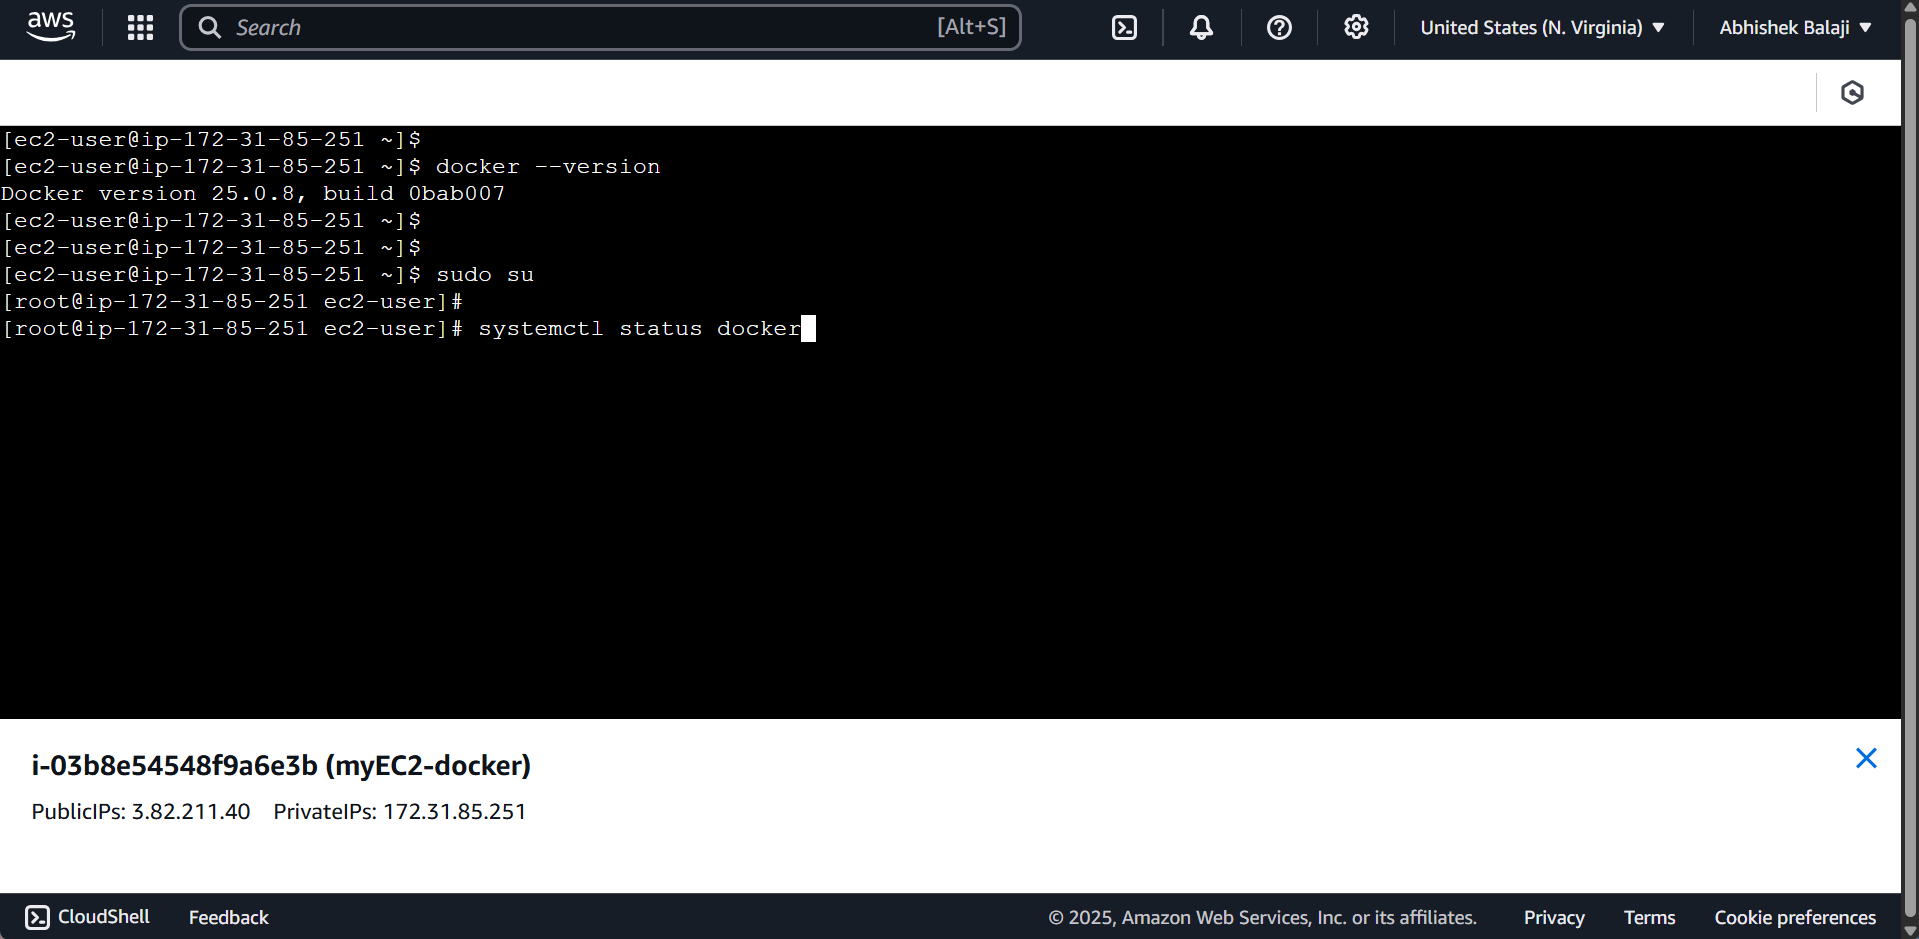
sudo su
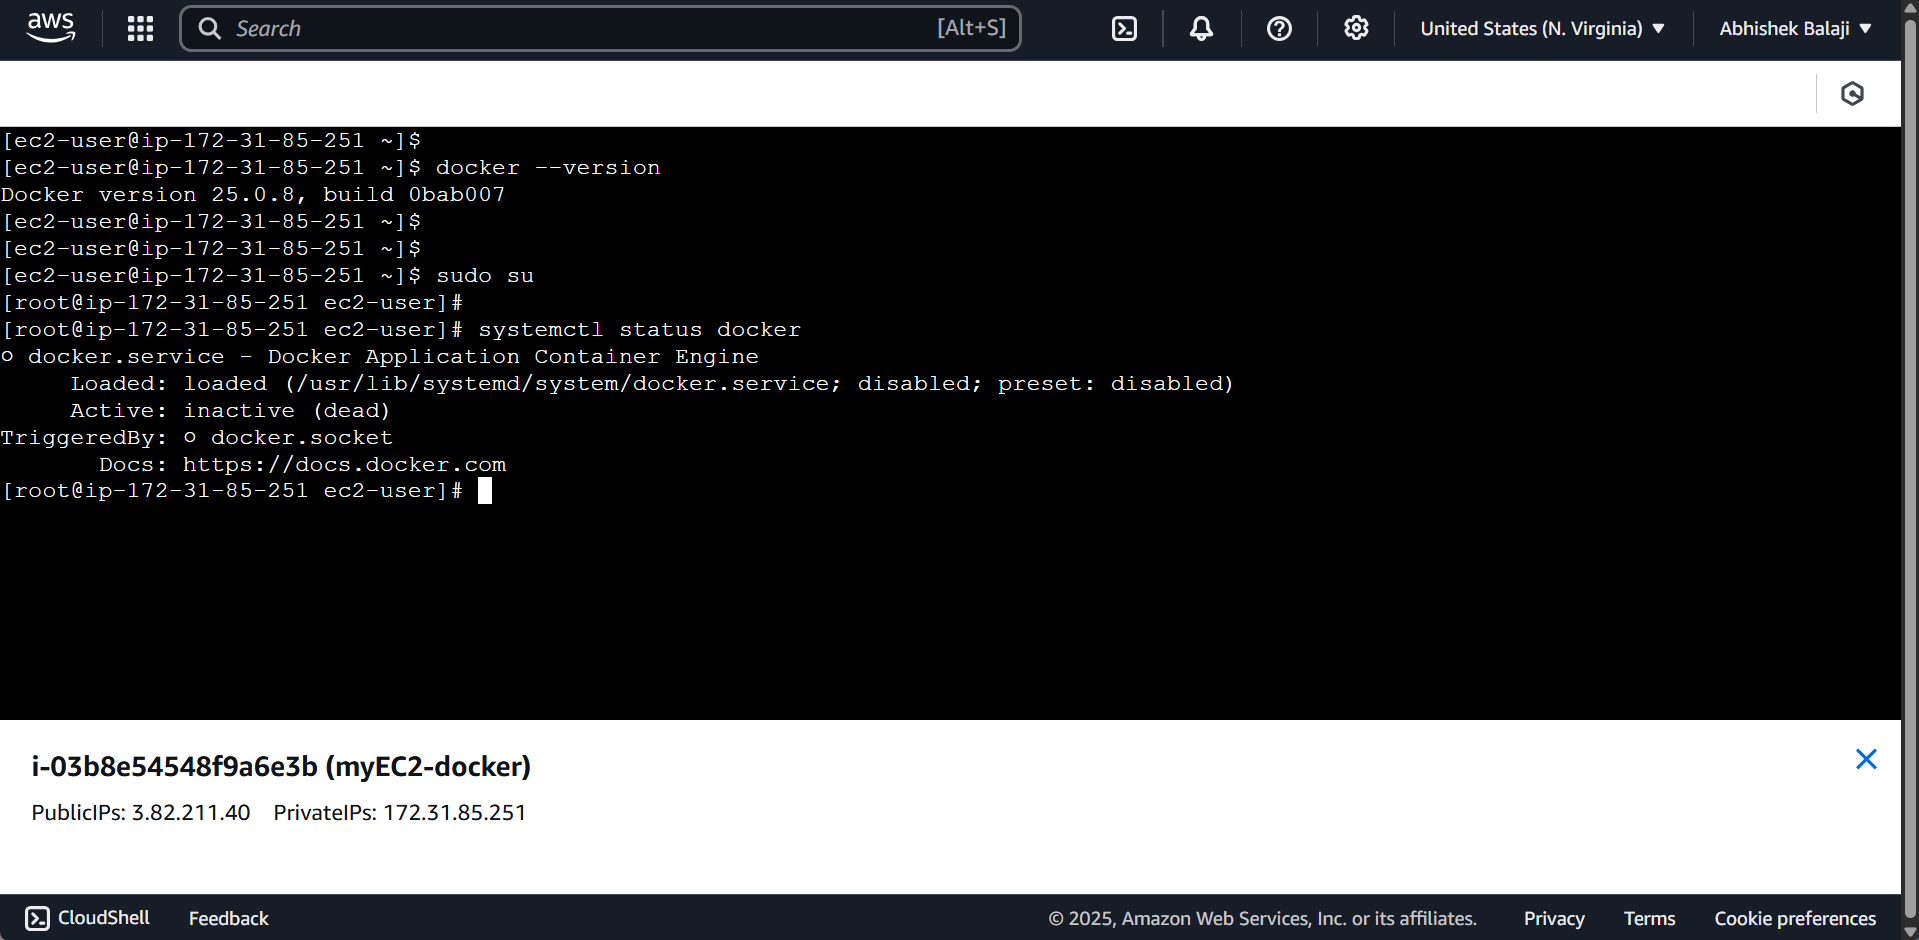
systemctl status docker
By default, the Docker service is inactive. It’s our responsibility to start the service using the following command:
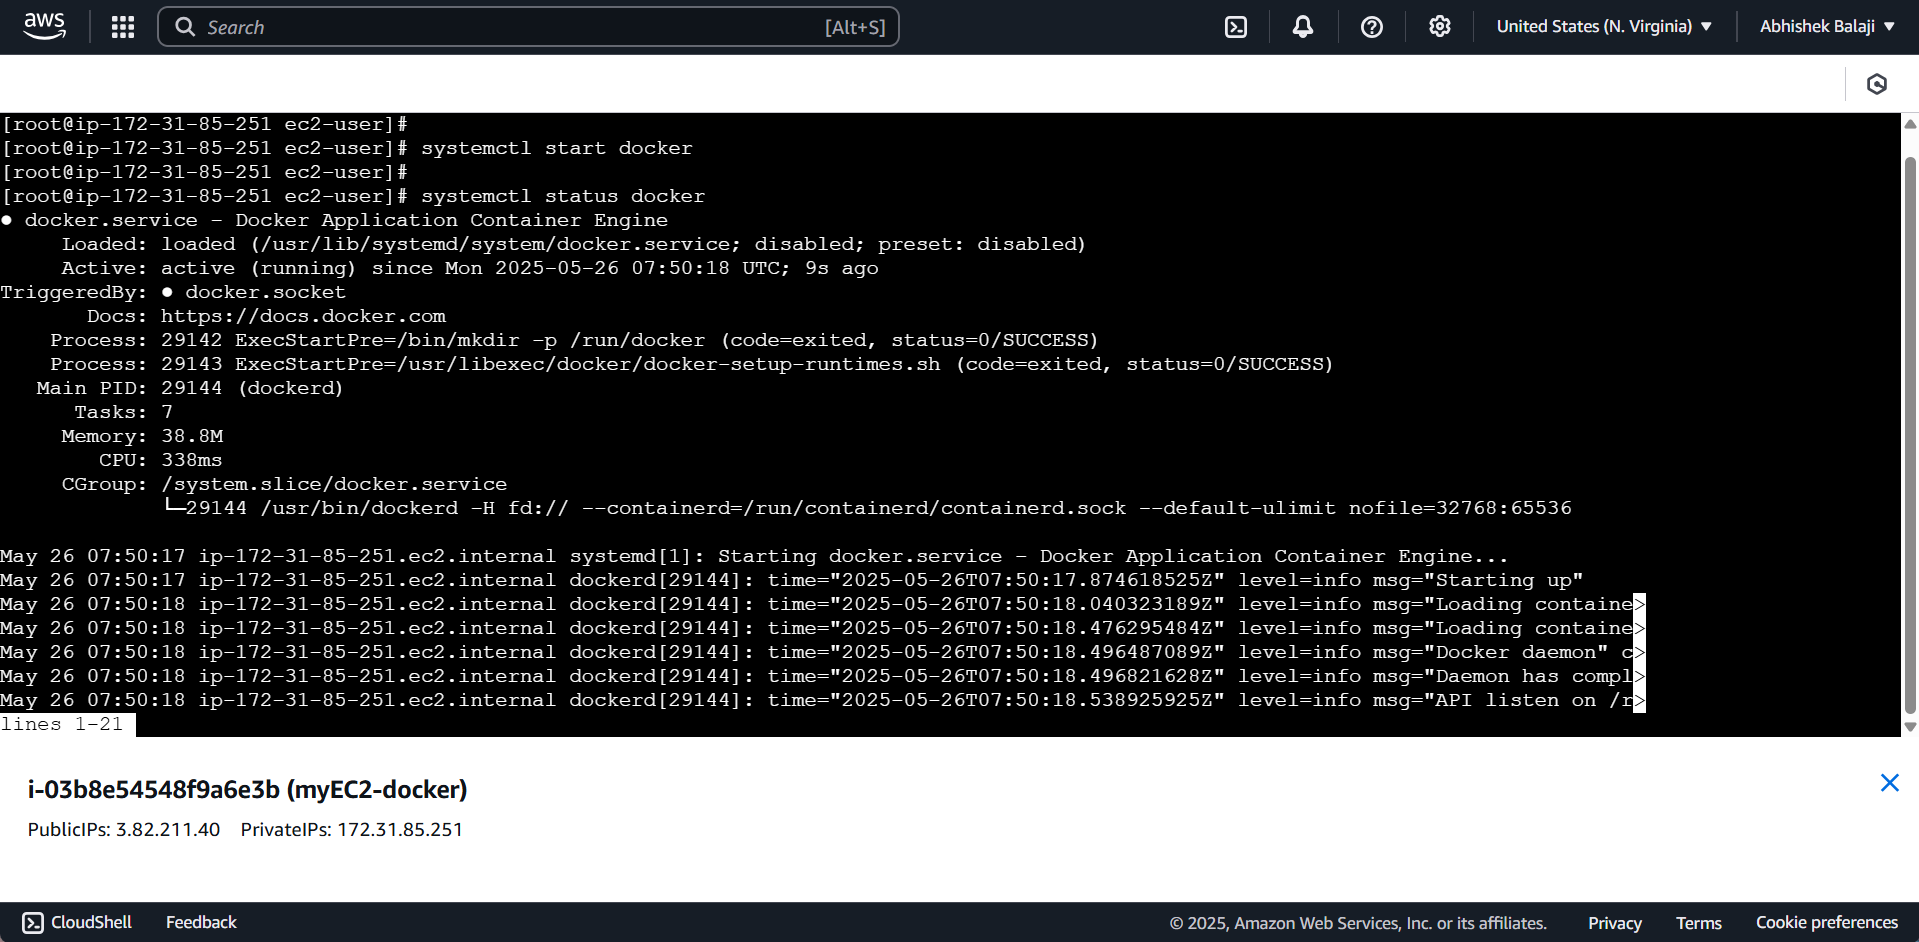
systemctl start docker
The Docker service should now be active and running.
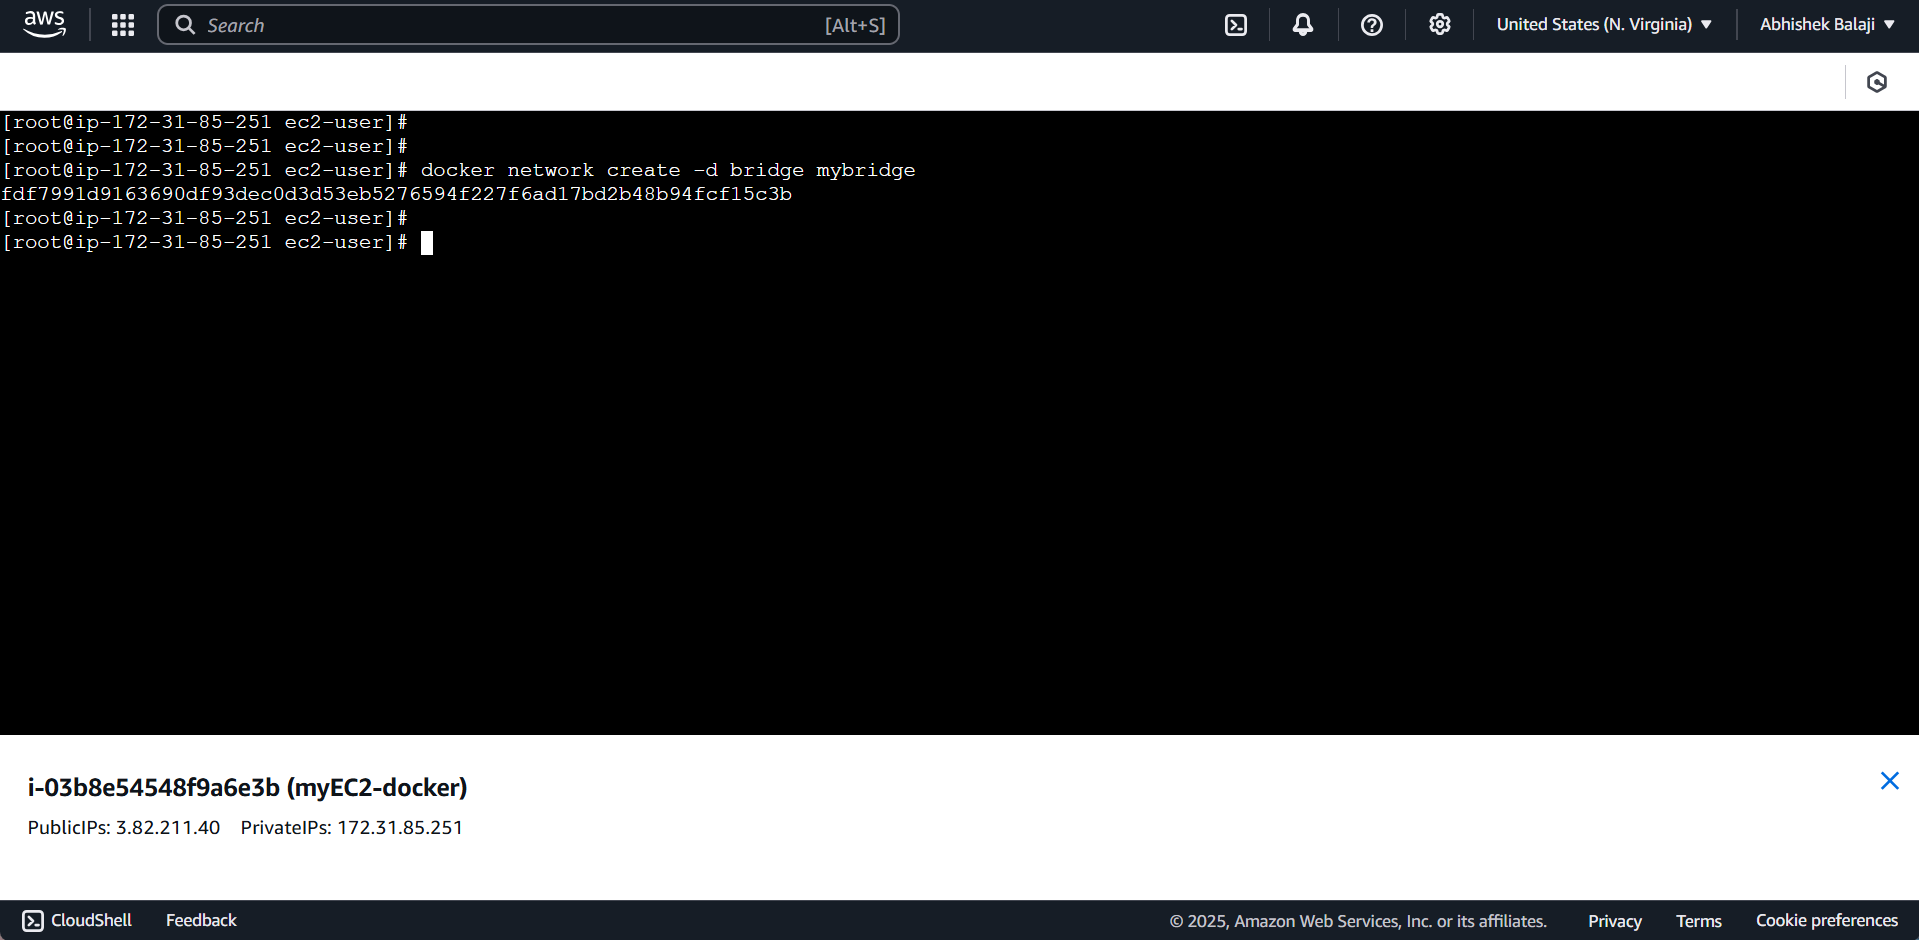
Now that docker has been installed. Let us create a custom docker bridge network. By using the docker command:
docker network create -d bridge mybridge
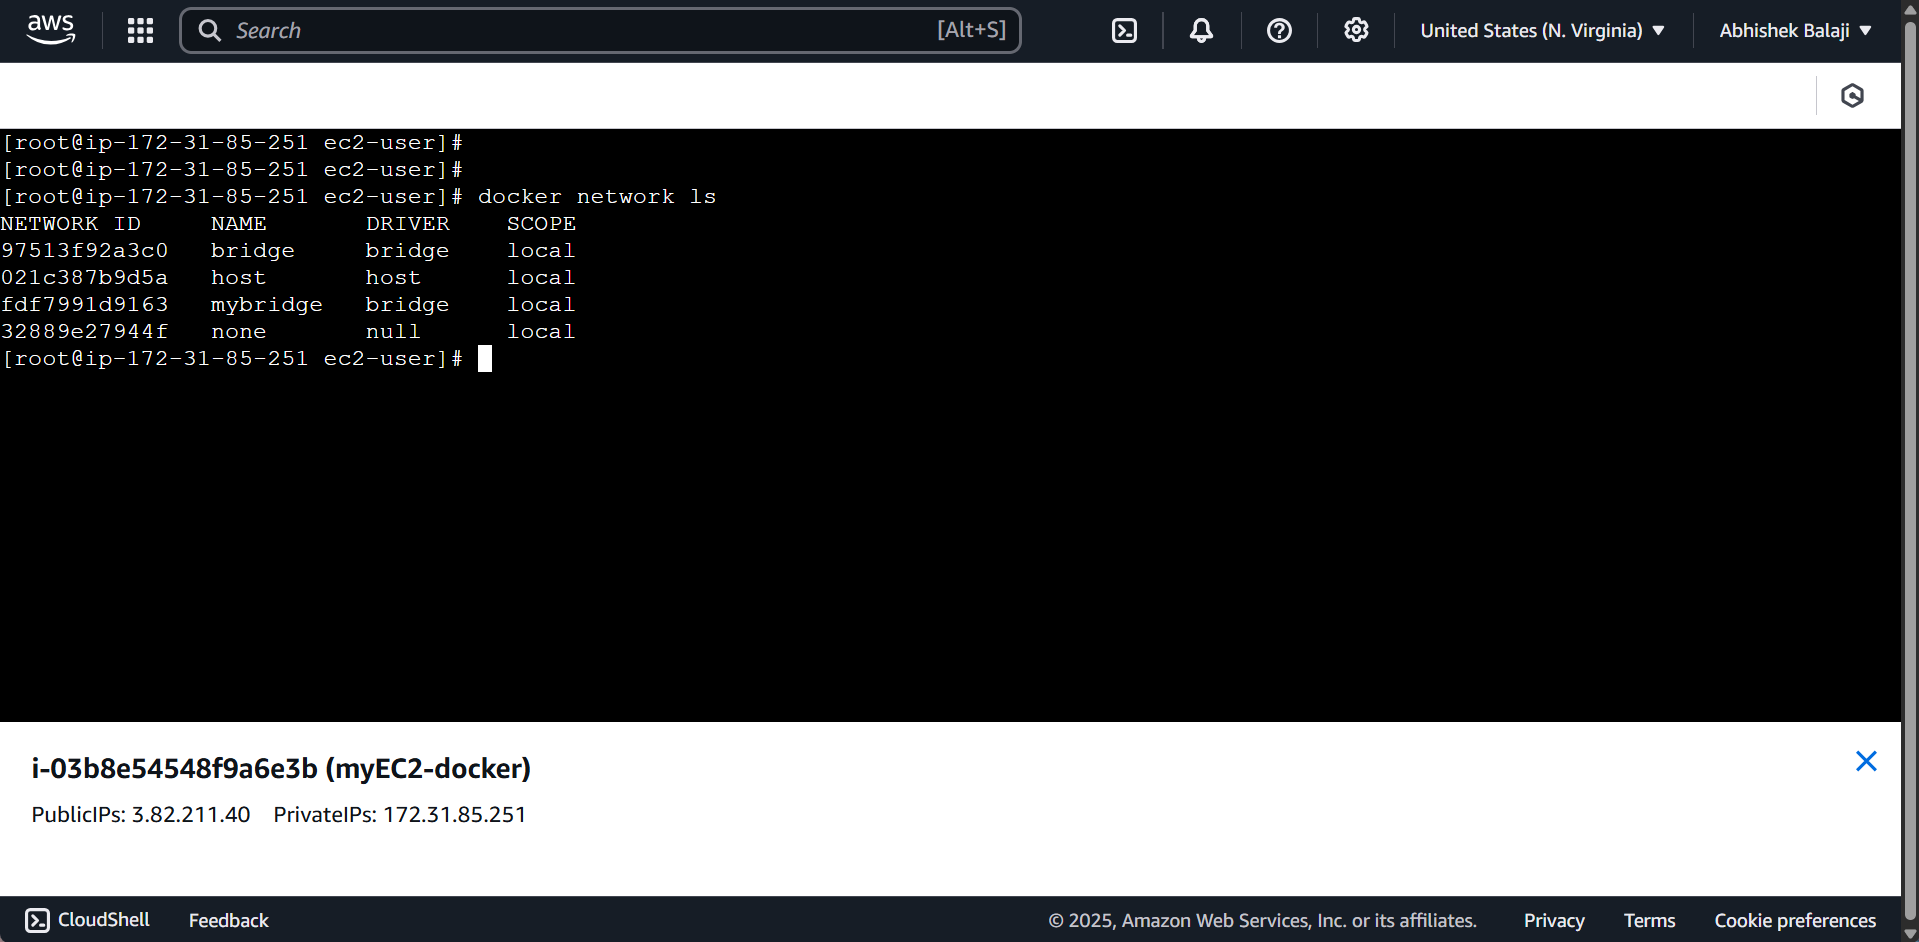
docker network ls
This Docker command is used to list all existing networks within the Docker environment.
Now that we’ve created a custom Docker bridge network, we can proceed by pulling a Docker image from Docker Hub. For this project, I will be using the Ubuntu image
docker pull ubuntu:latest
This Docker command pulls the latest Ubuntu image from Docker Hub. If you have a Docker Hub account, log in; if not, feel free to create one.
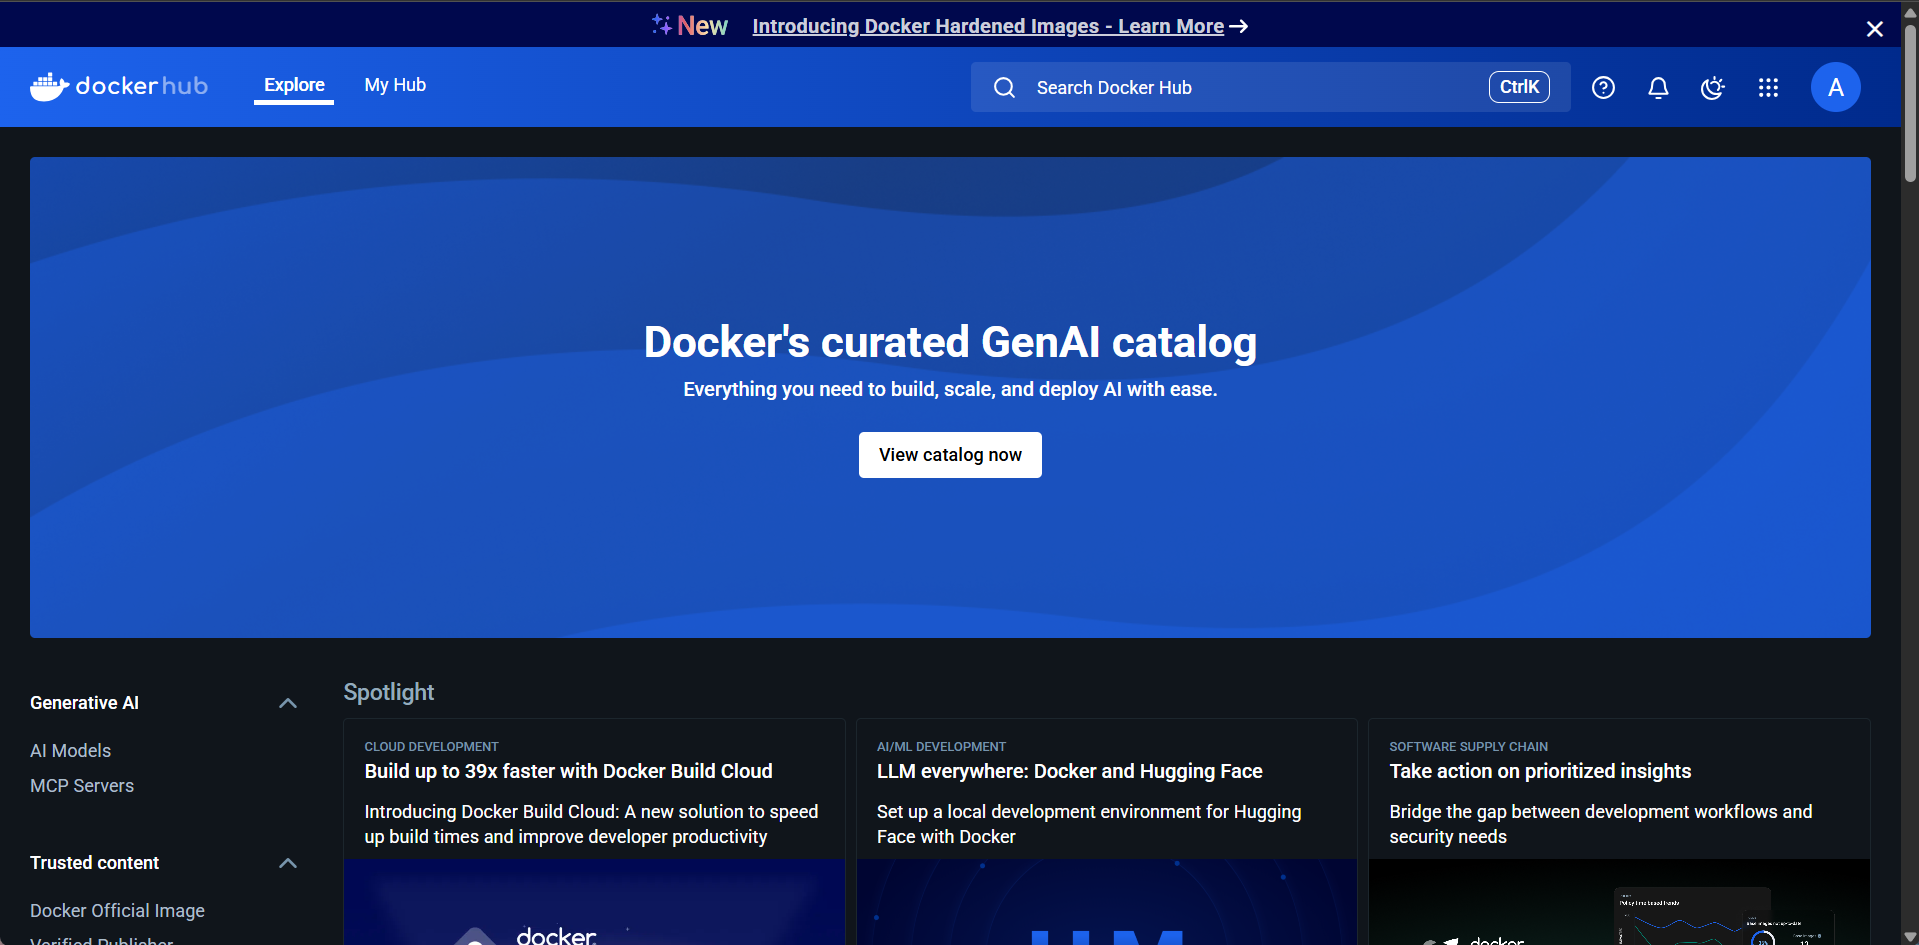
In the search bar, type in ubuntu
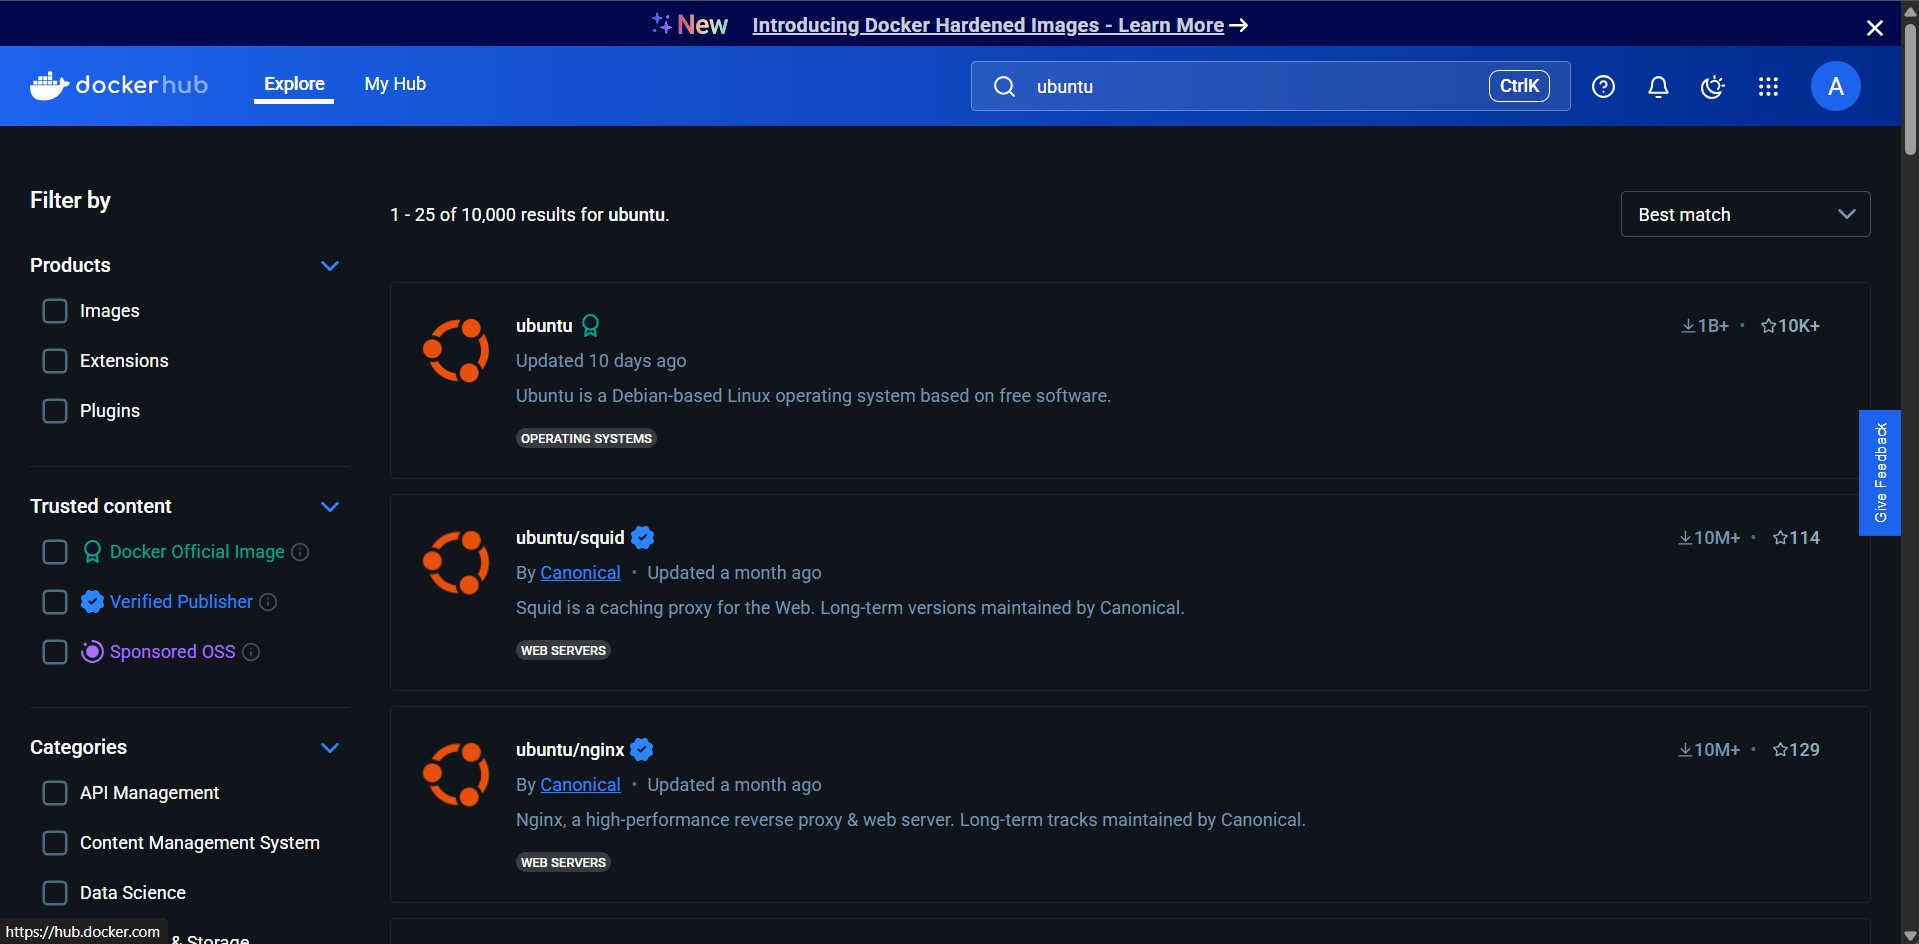
Click on the latest search result, where you’ll see the verification badge confirming that it’s officially verified by Docker
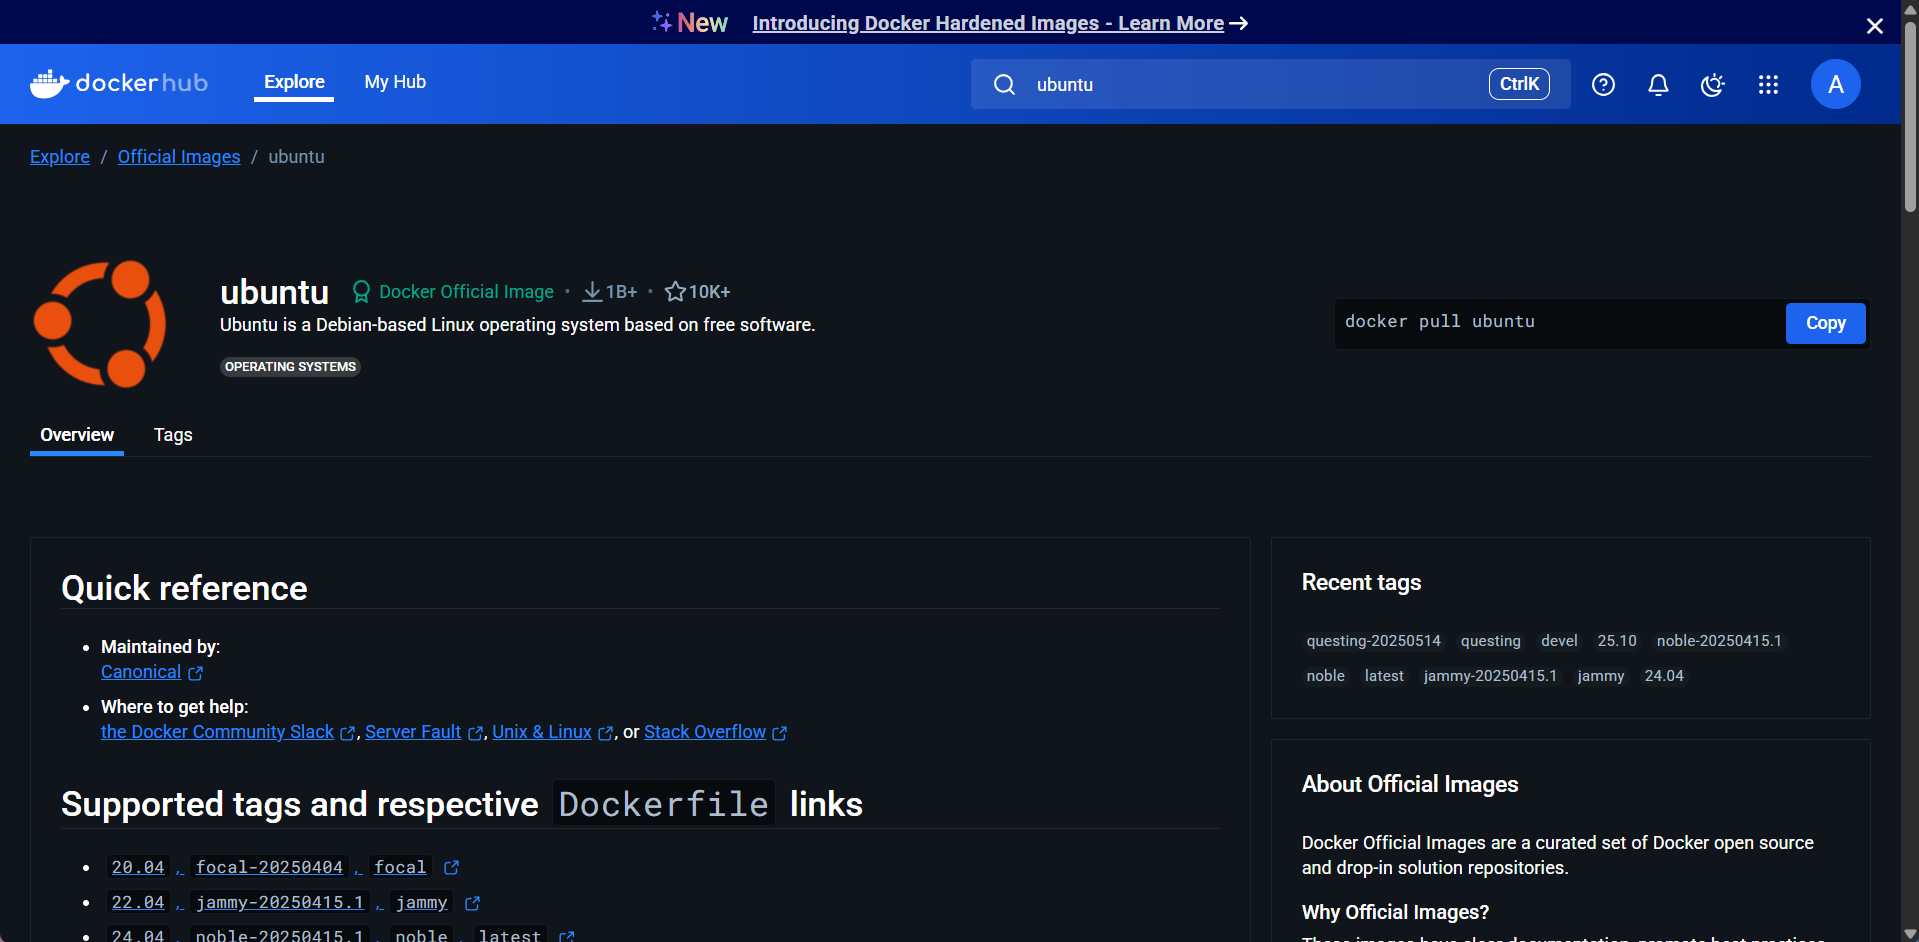
In the top right corner, you’ll find the docker pull ubuntu command. Copy it, then paste it into your terminal to start pulling the Ubuntu image from Docker Hub onto your EC2 instance
docker pull ubuntu
By default, Docker pulls the latest version of an image. Users can also pull specific versions by specifying tags.
docker pull ubuntu:<version>
Replace <version> with the desired tag, such as 20.04 or 18.04.
To check for any existing Docker images in your environment, use the following Docker command:
docker images
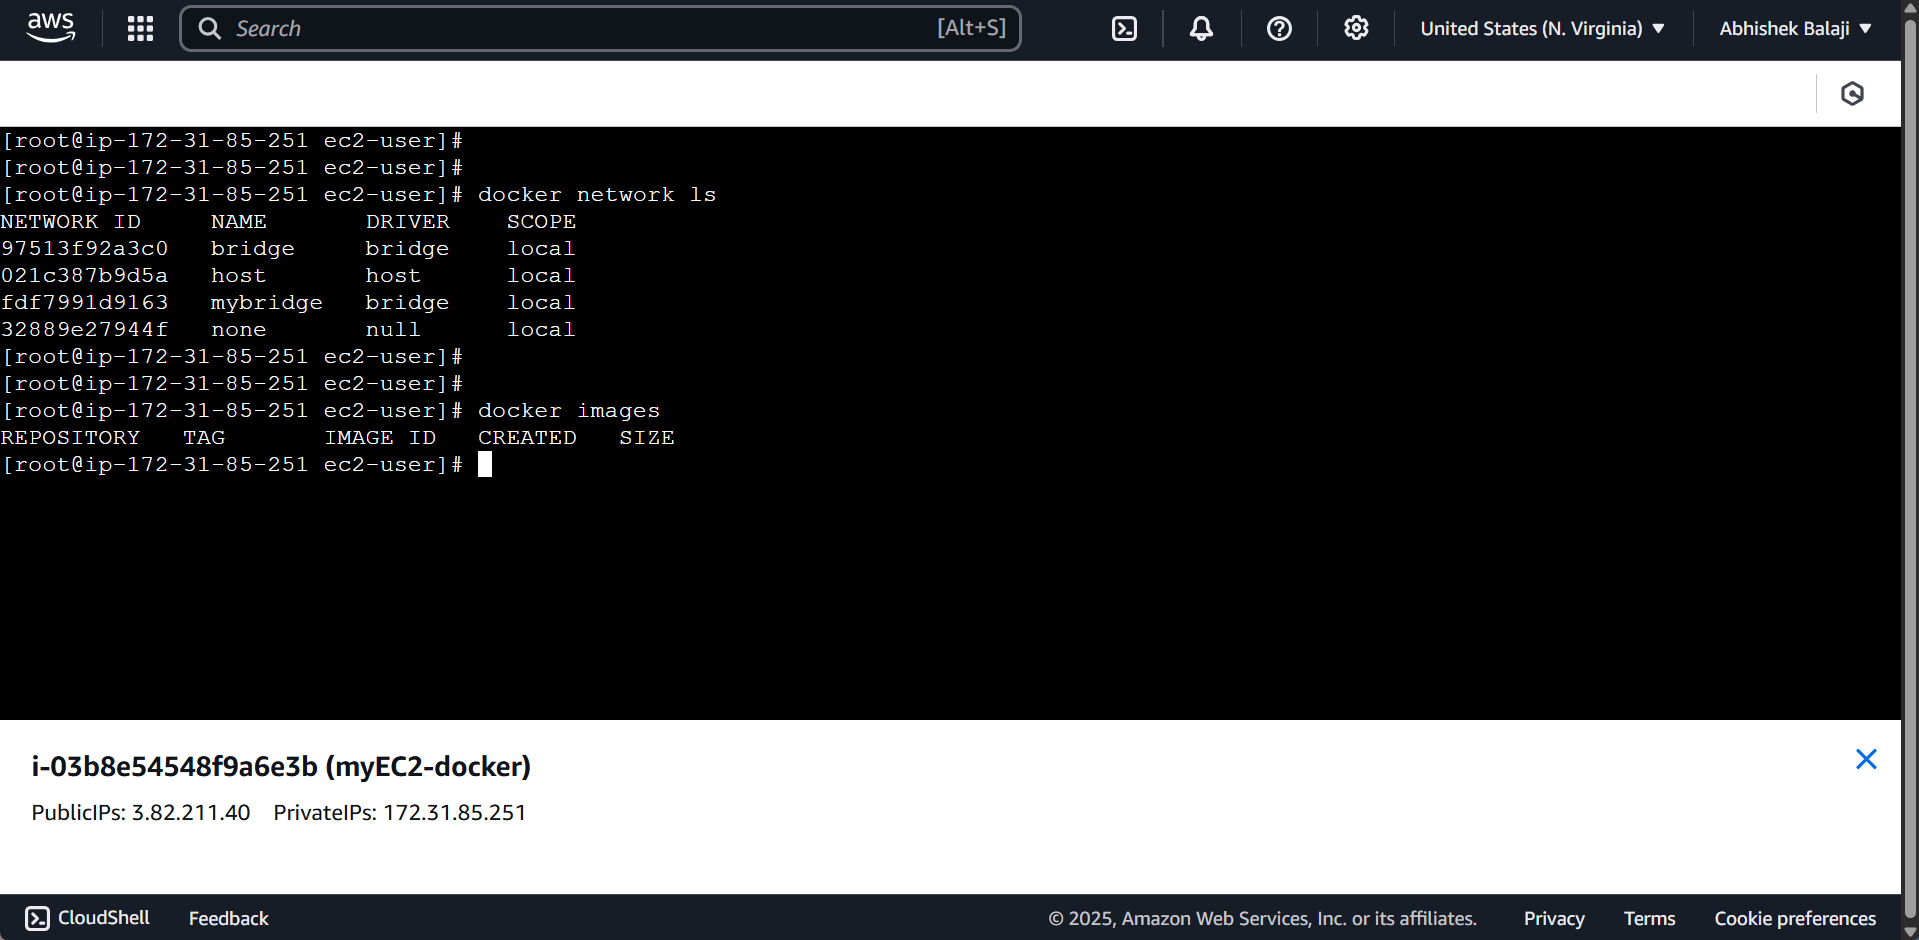
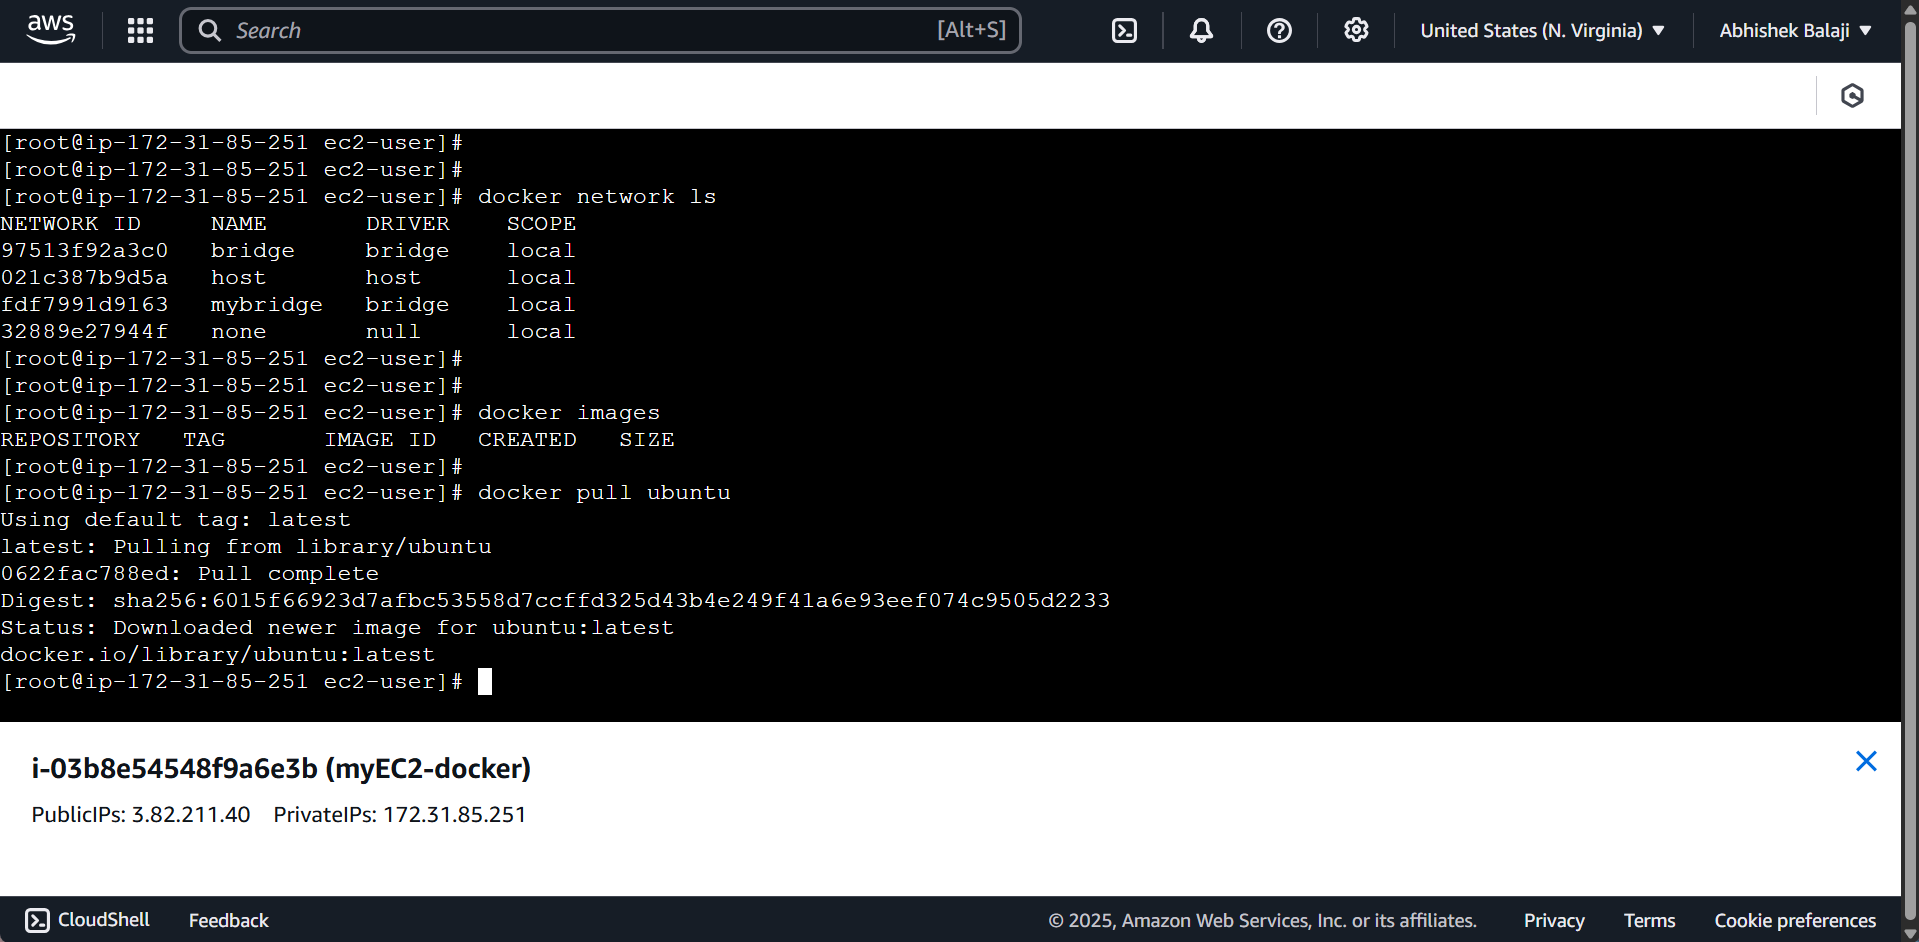
Now list out the docker images by using the command mentioned above:
docker images
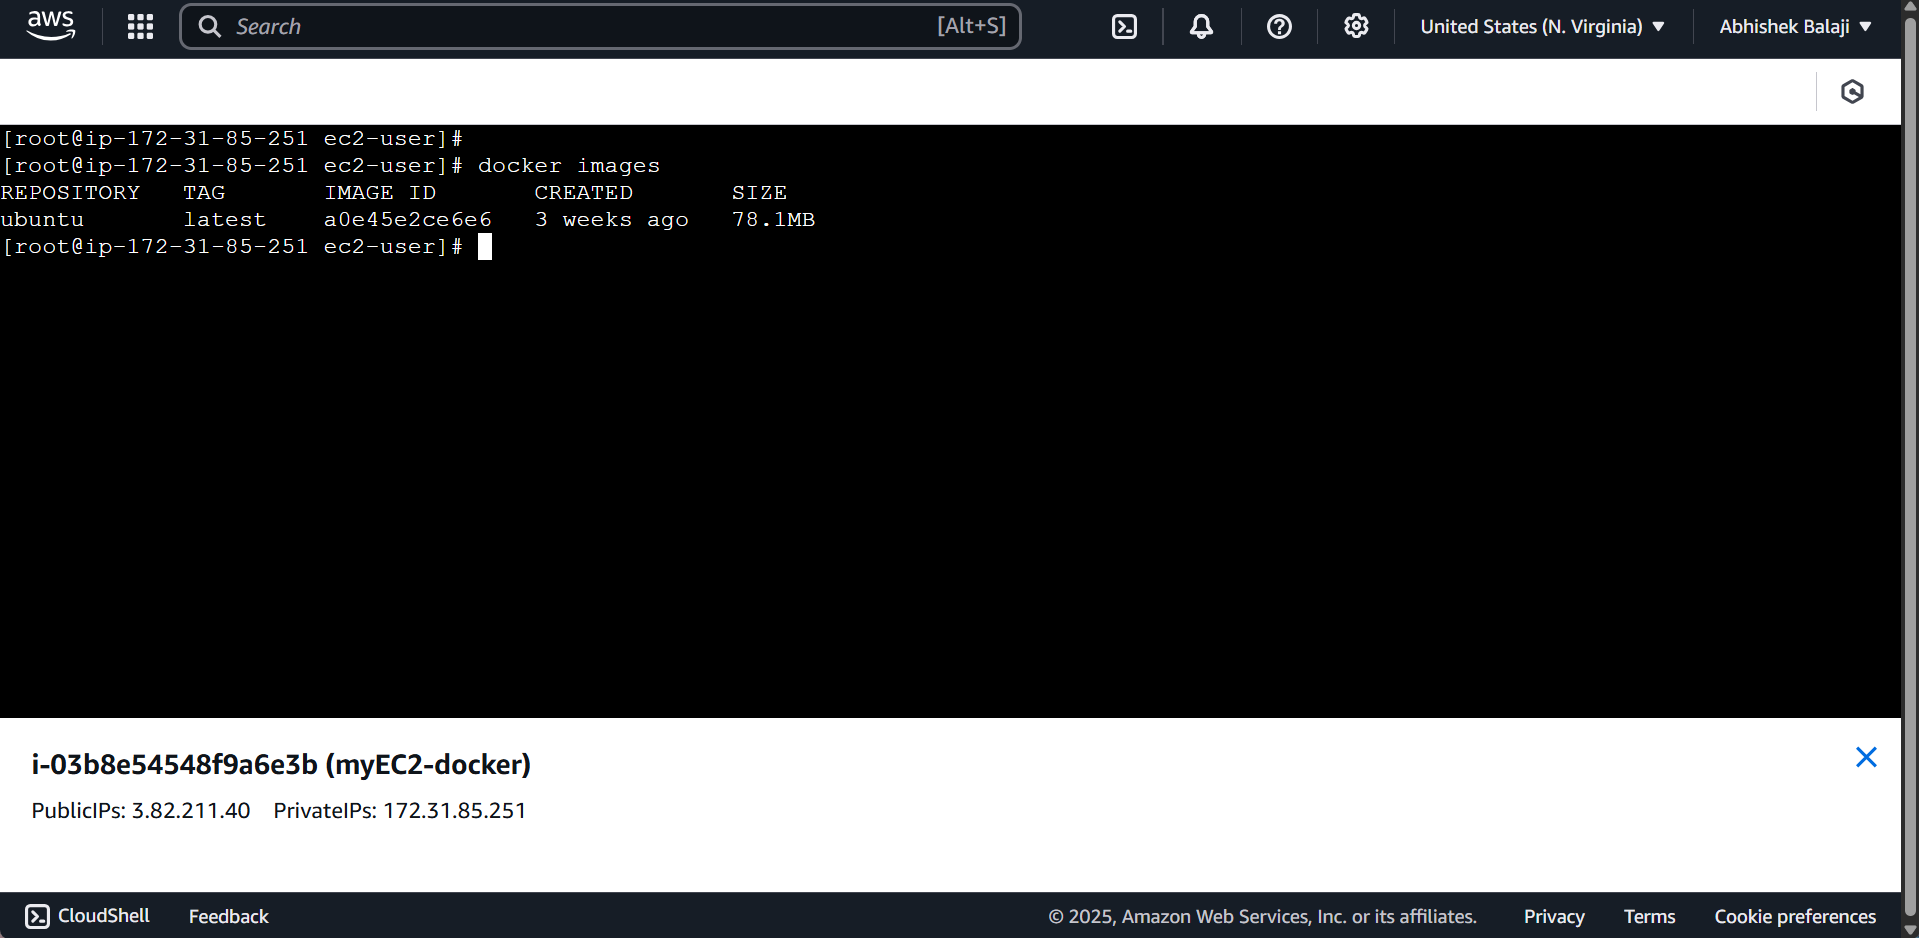
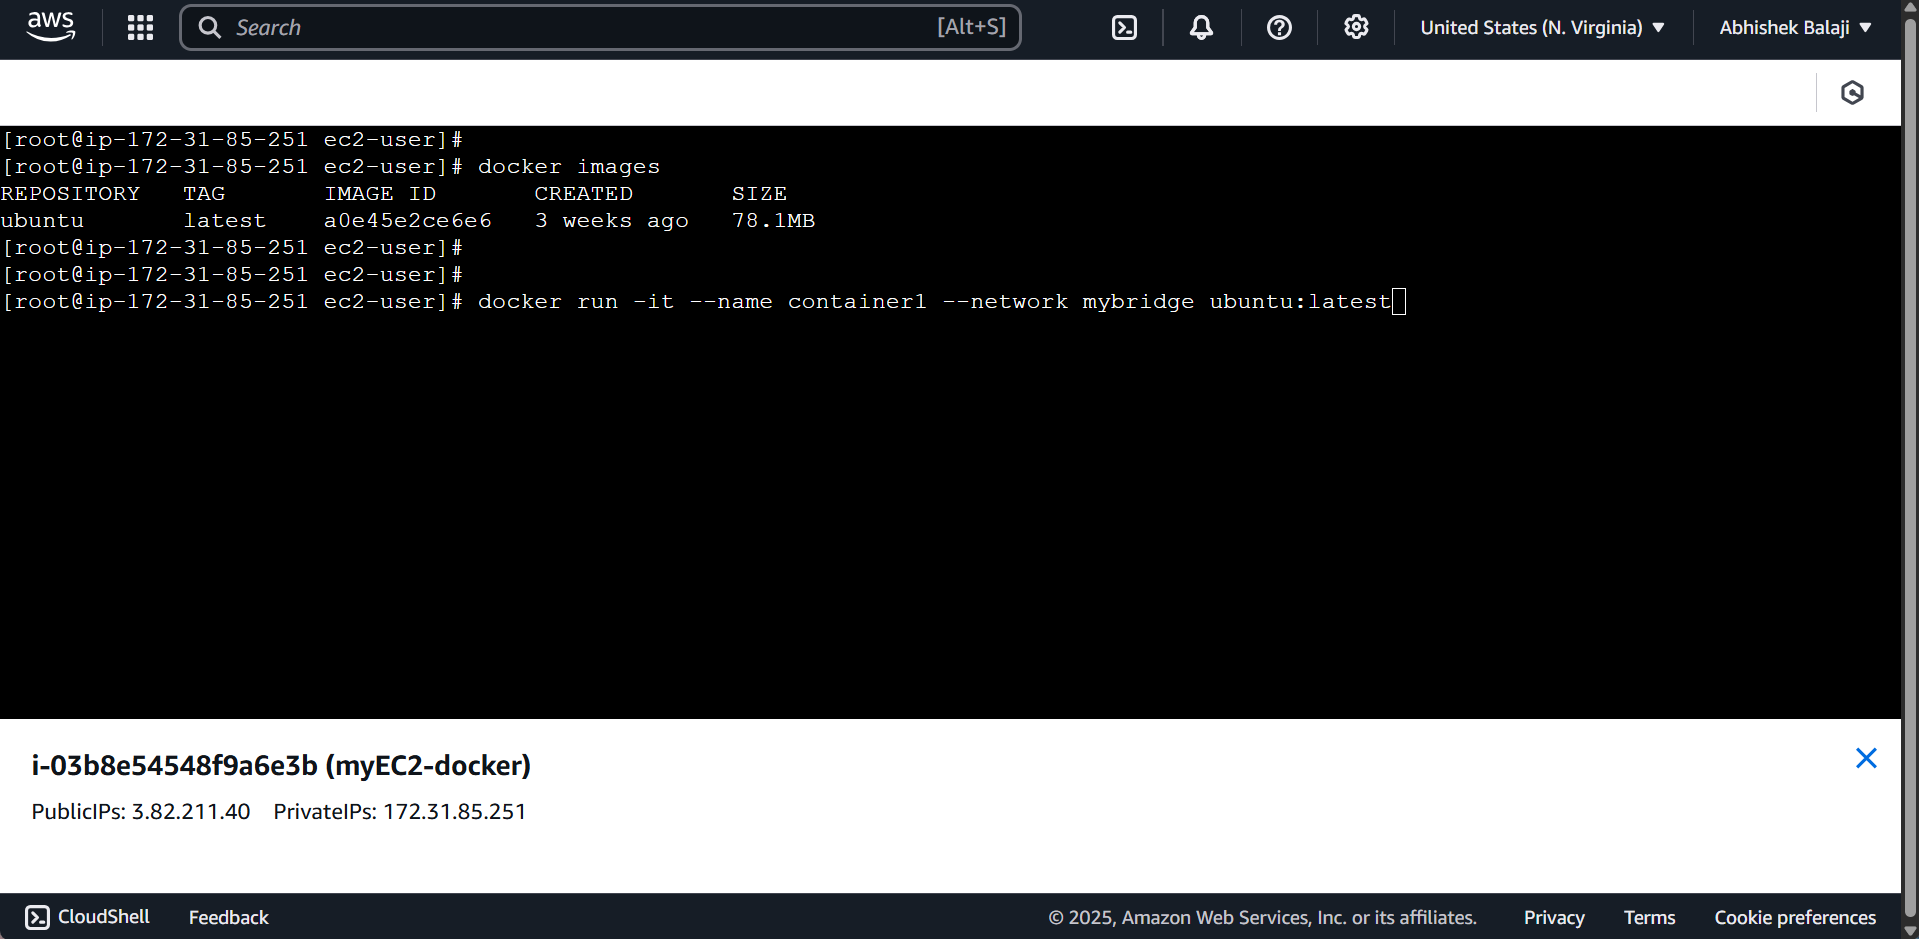
From this docker image, we can go and create containers by using the command:
docker run -it --name container1 --network mybridge ubuntu:latest
docker run — Starts a new container from an image.
-i — Keeps the container’s input open so you can interact with it.
-t — Allocates a terminal session so you can see and type commands inside the container.
--name container1 — Gives the container a friendly name, here it’s
container1, so it’s easier to manage.--network mybridge — Connects the container to the custom Docker network named
mybridge.ubuntu:latest — Specifies the image to use; here it’s the latest version of Ubuntu.
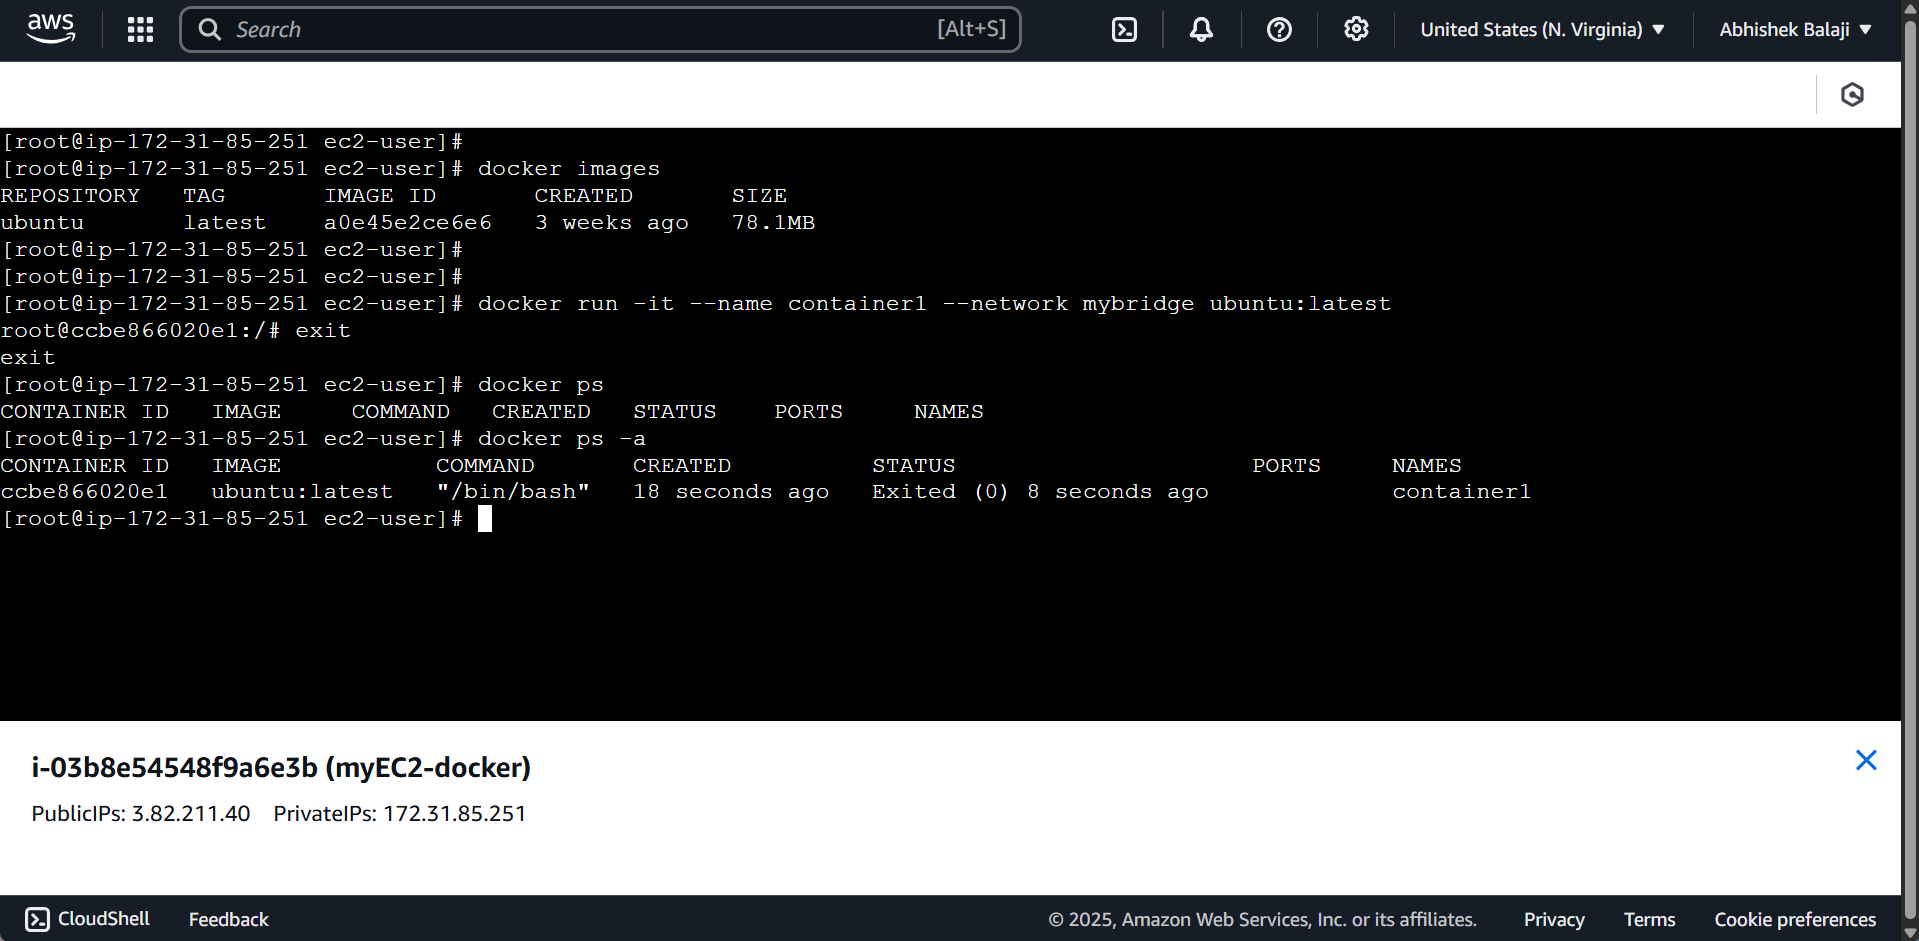
To list all actively running Docker containers, use the following command:
docker ps
To display all Docker containers regardless of their state, use the following command:
docker ps -a
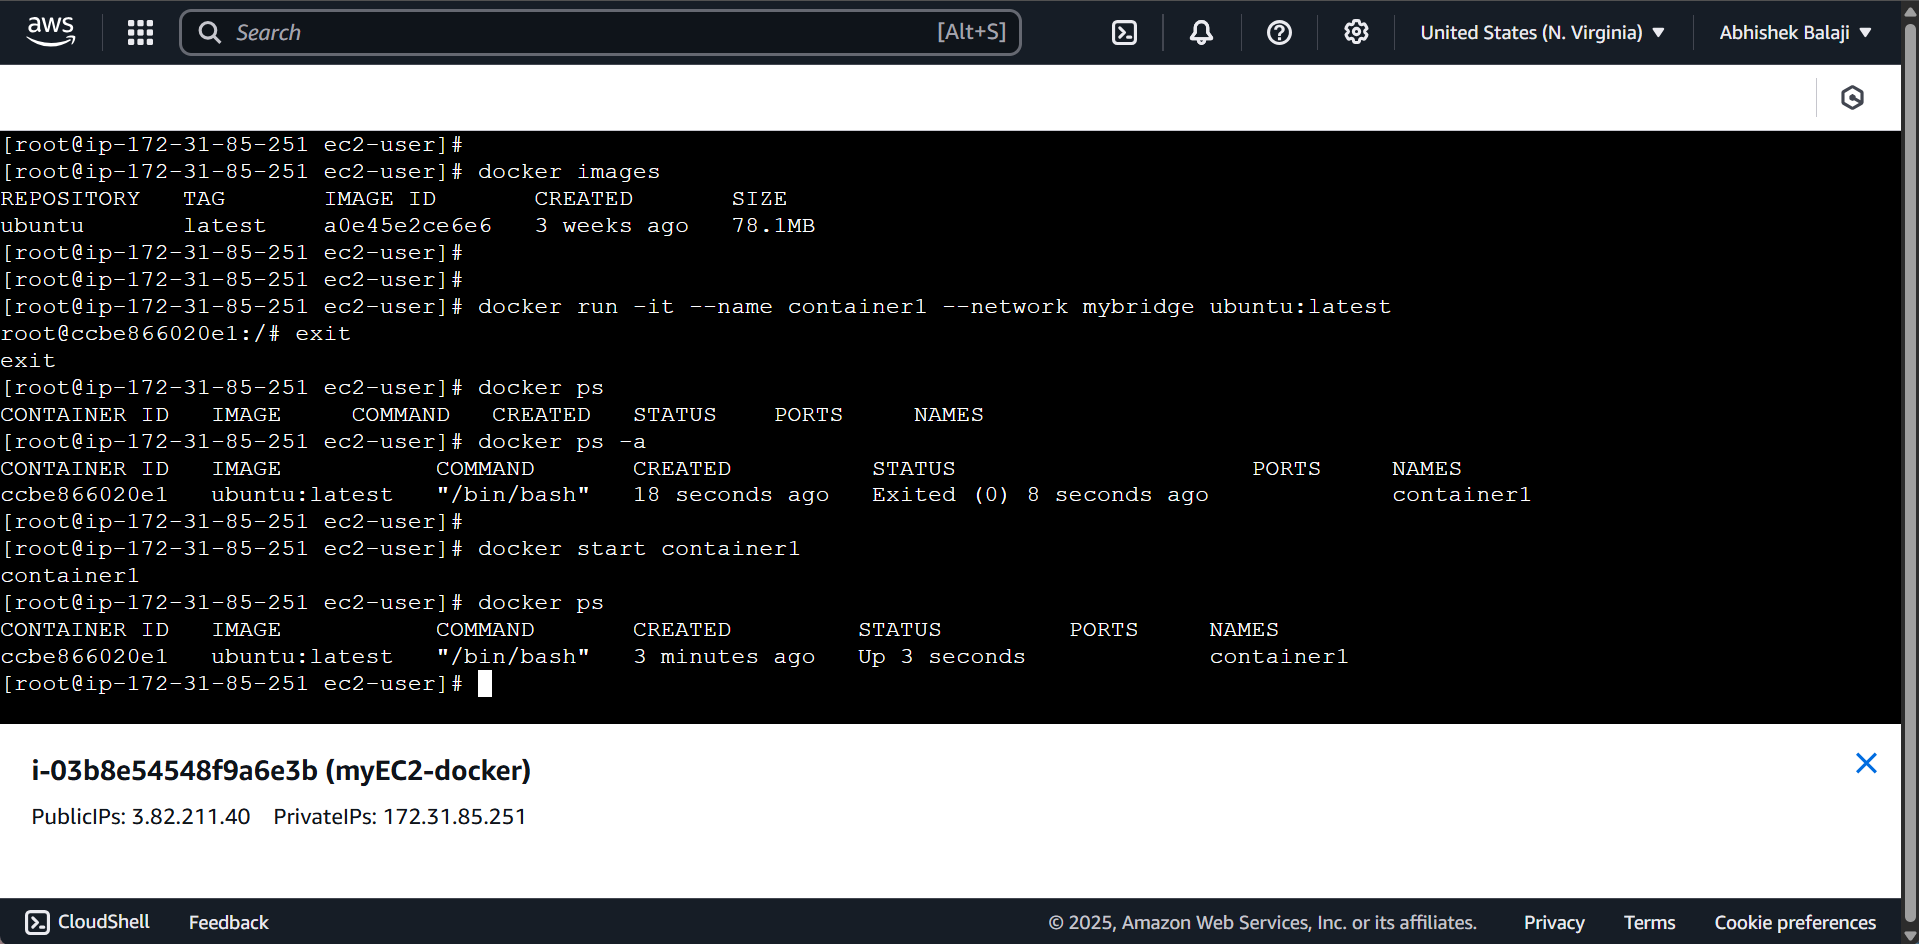
To start any Docker container that has exited, use the following command. In my case, it is:
docker start container1
As you can see above, container1 is running
Let us go ahead and create another container2, using the docker command:
docker run -it --name container2 --network mybridge ubuntu:latest
docker run — Starts a new Docker container from the specified image.
-i — Keeps the container’s standard input open (interactive mode).
-t — Allocates a pseudo-terminal so you can interact with the container’s shell.
--name container2 — Assigns the name
container2to this container for easy reference.--network mybridge — Connects the container to the custom Docker bridge network named
mybridge.ubuntu:latest — Specifies the Docker image to use, in this case, the latest Ubuntu image.
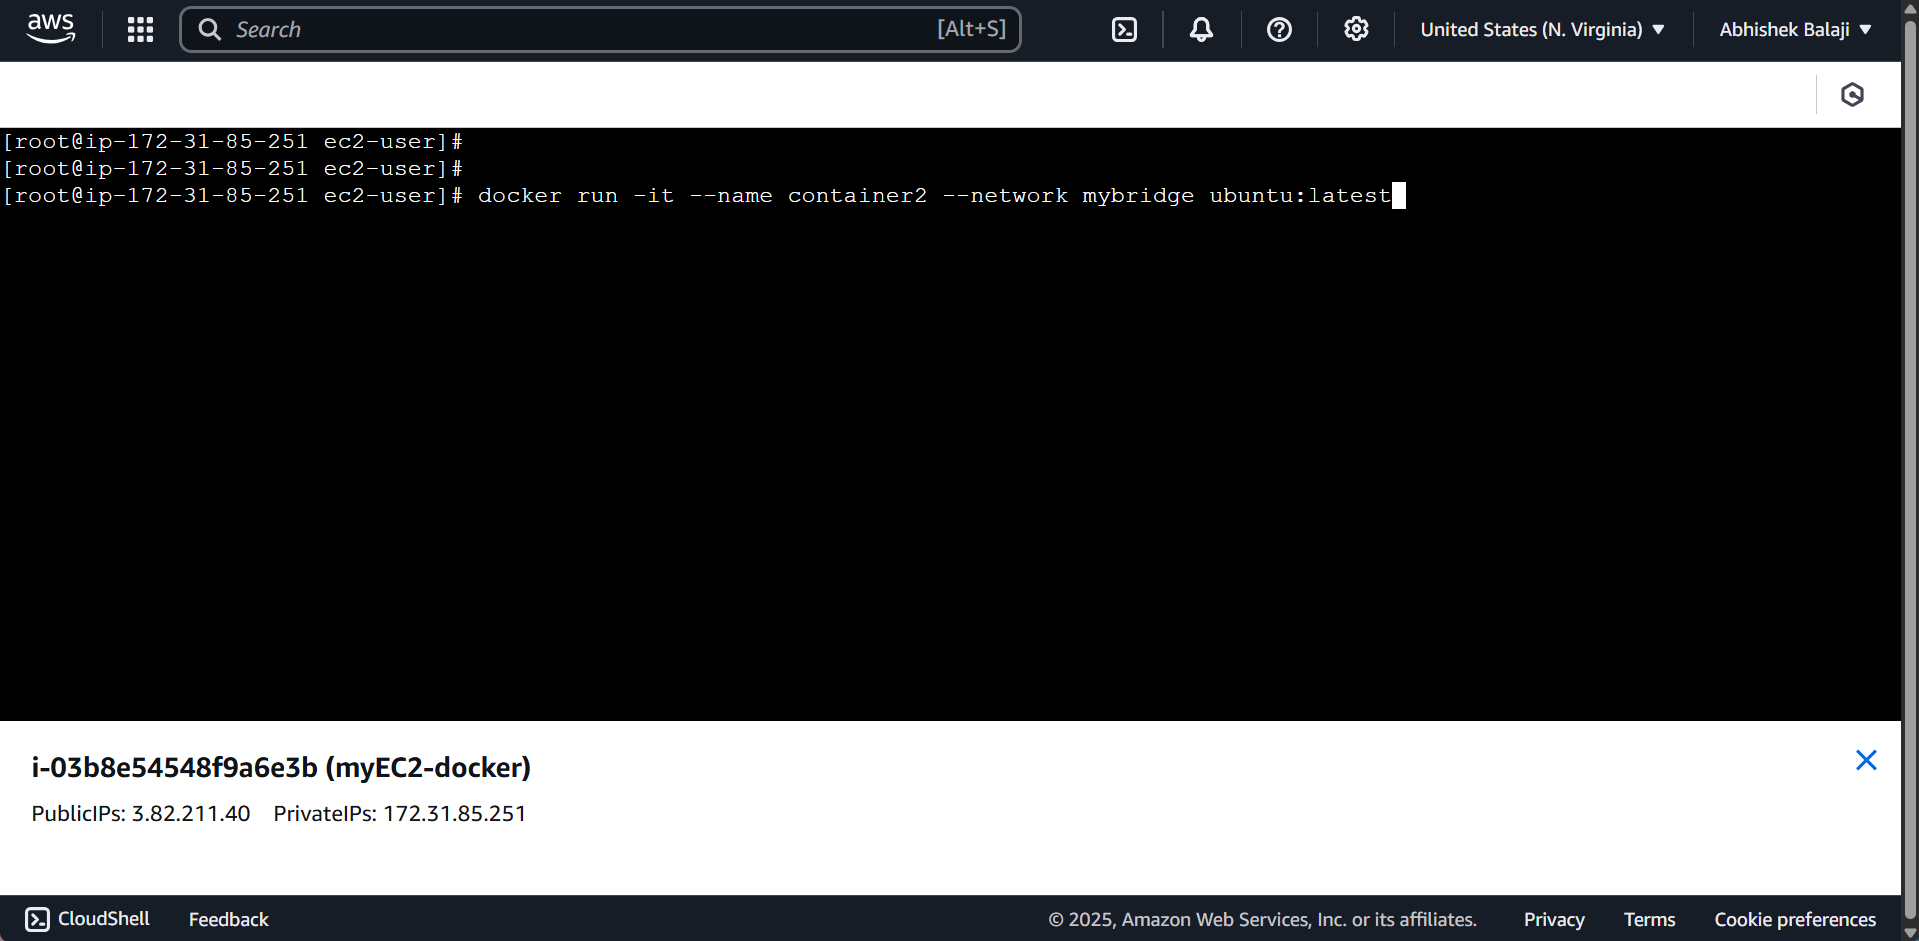
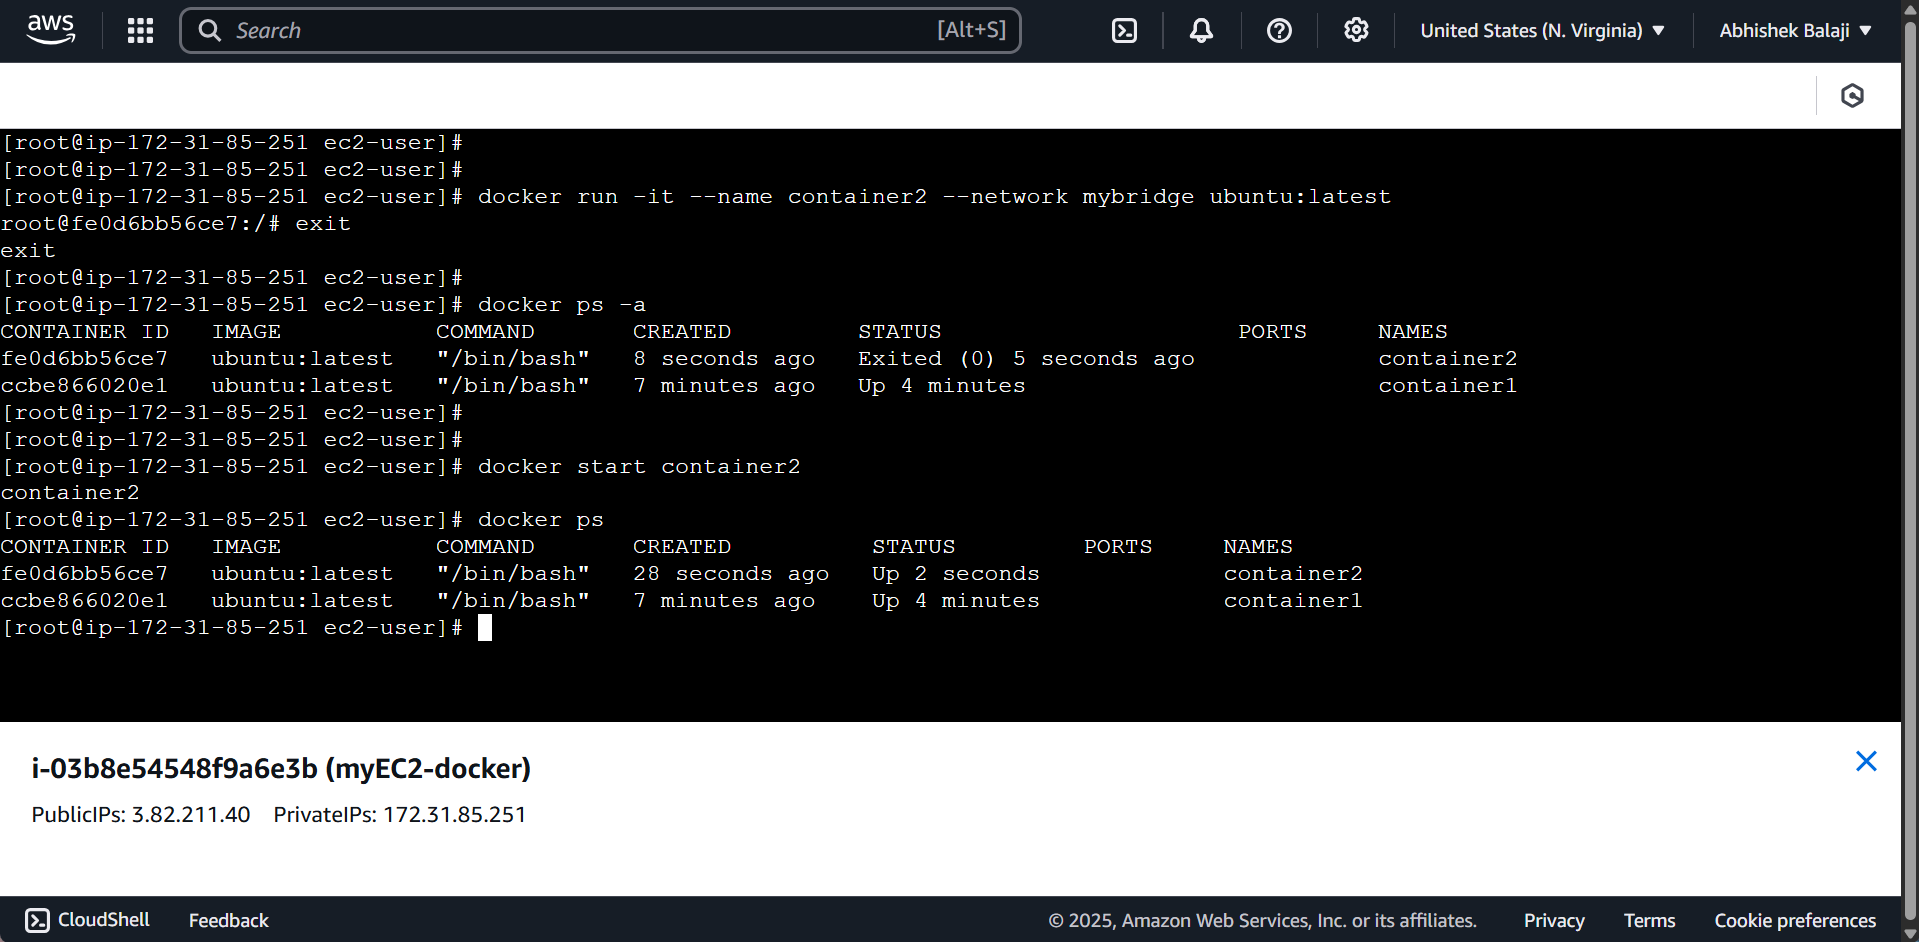
Now that we have created 2 containers within the custom docker bridge network. To verify this action, use the docker command:
docker network inspect mybridge
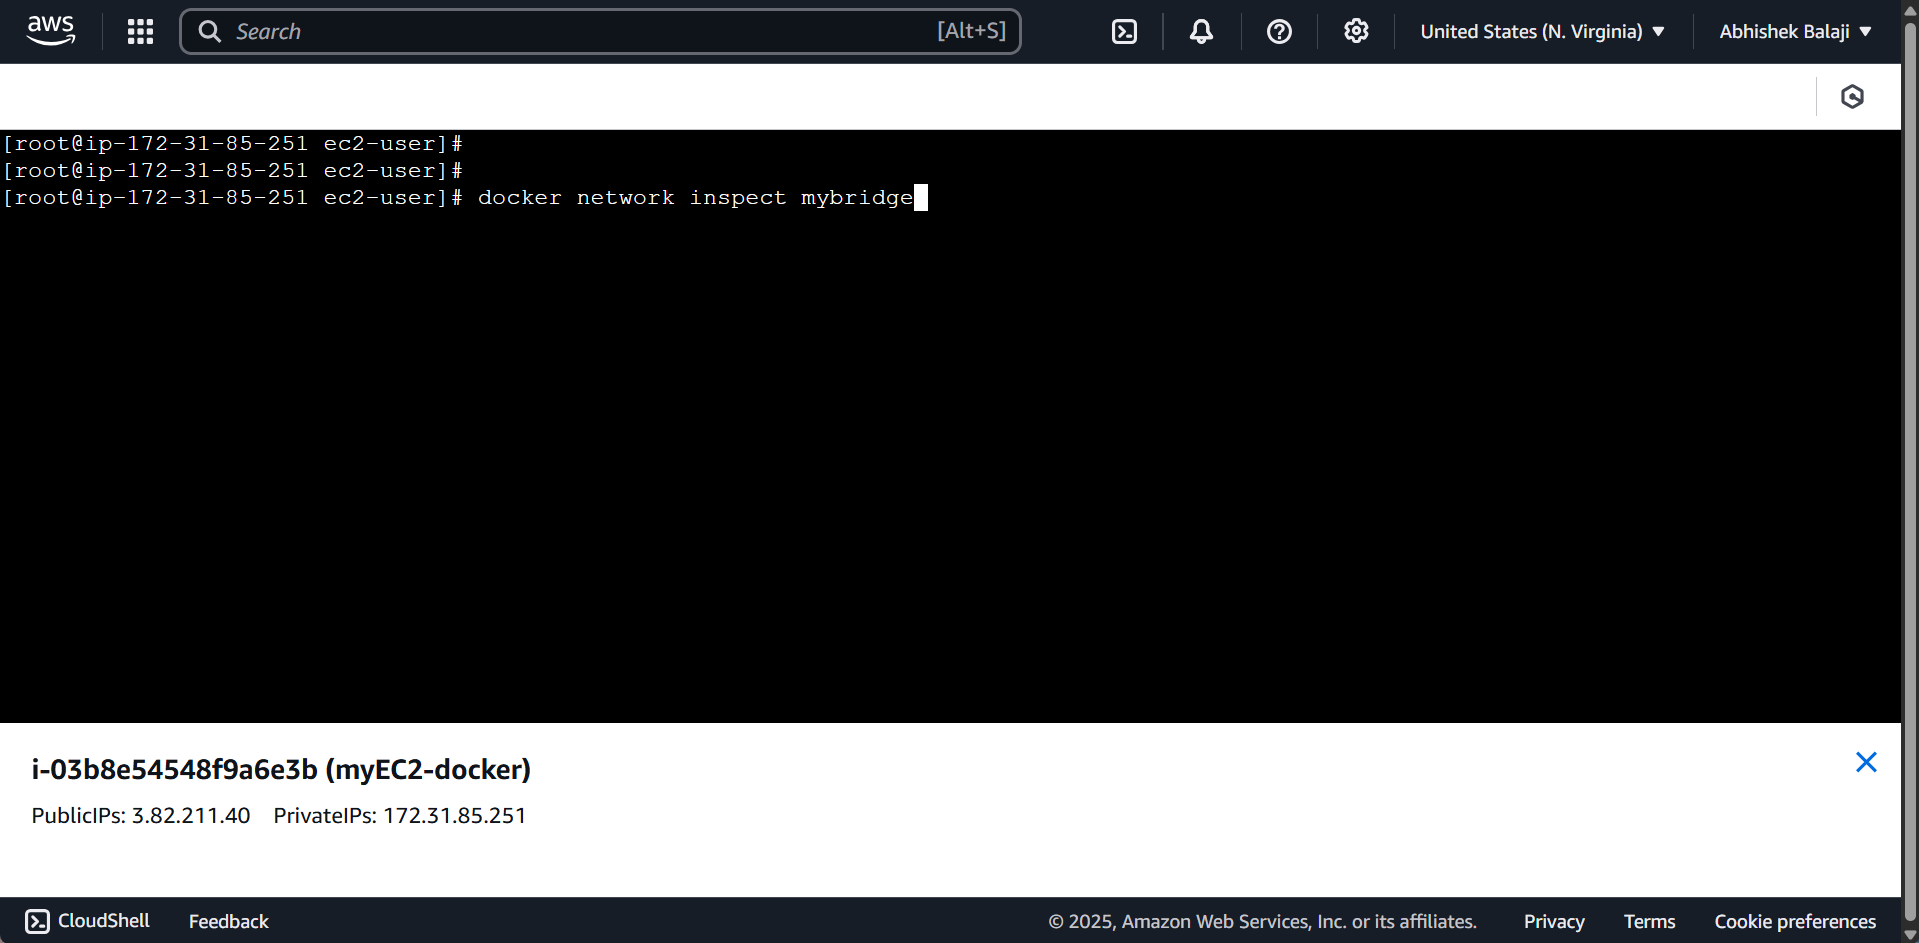
This Docker command displays detailed information about the mybridge network.
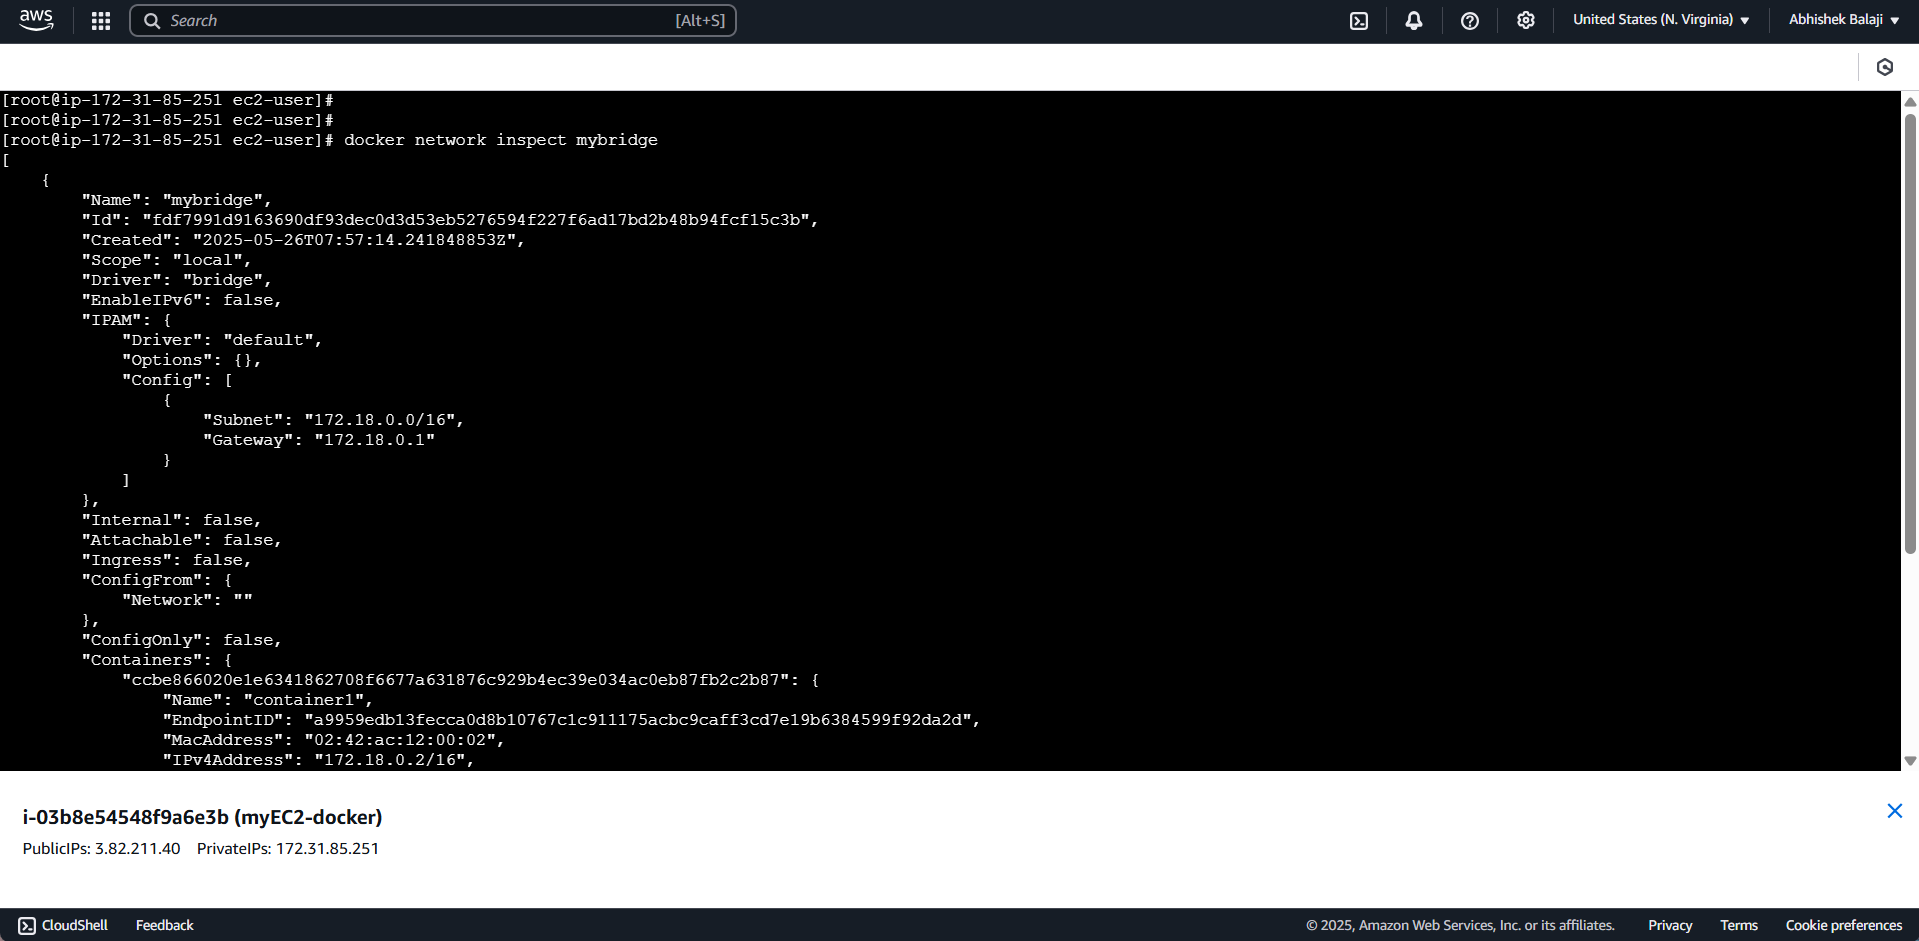
Now, scroll down to the bottom to view the containers and their detailed information.
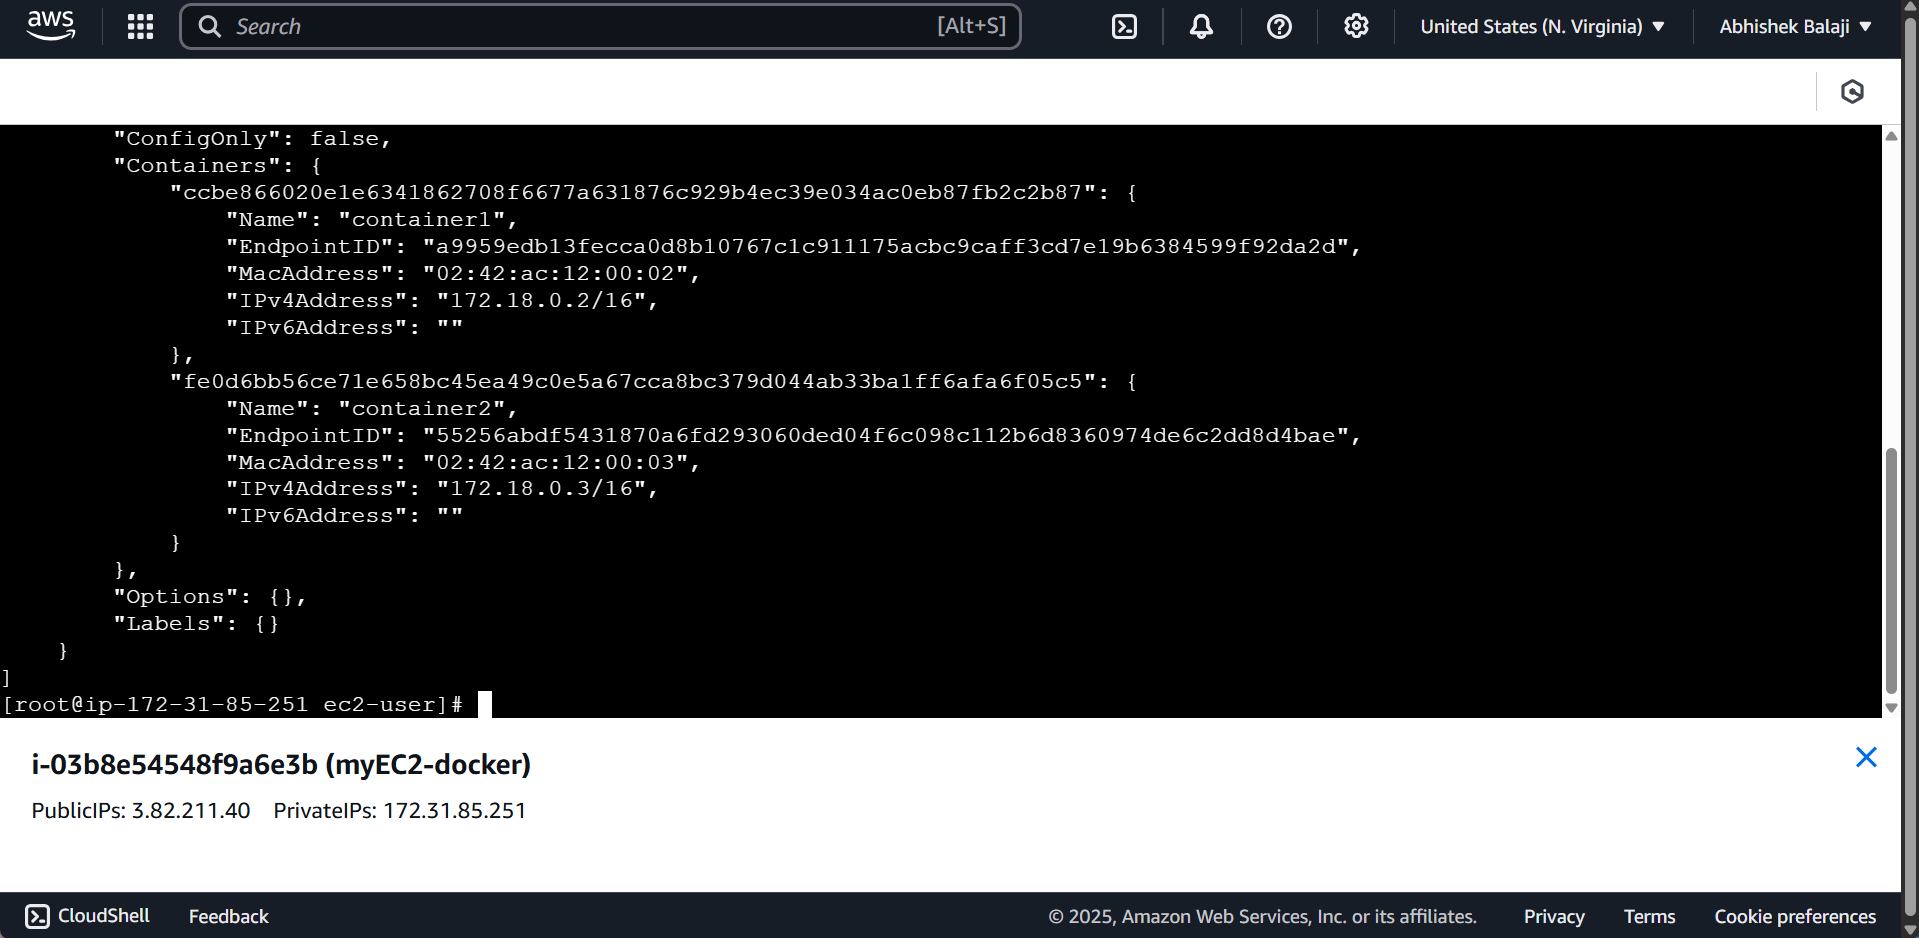
As shown in the image above, both container1 and container2 are visible along with their key details.
Now, we can perform a ping operation from one container to another. Let’s start by accessing container1 and pinging container2.
docker exec -it container1 /bin/bash
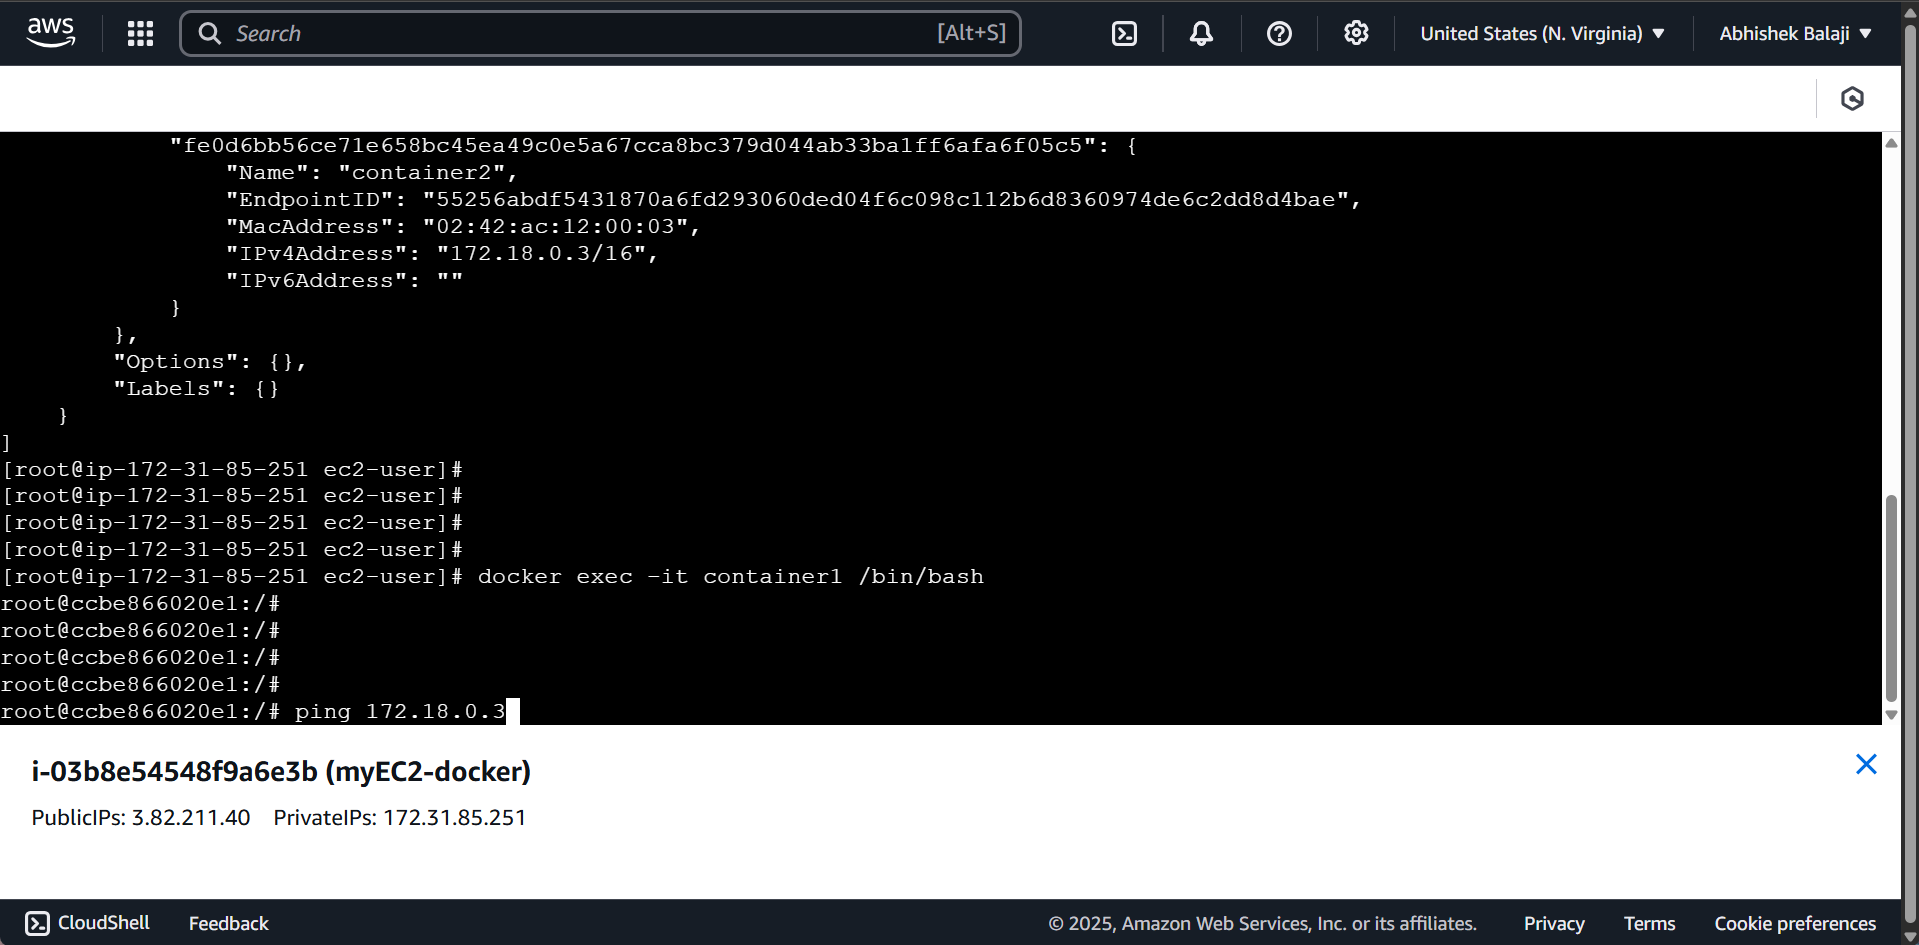
Now, perform the ping operation on container2. Copy the IP address of container2 and use it in this command:
ping 172.18.0.3
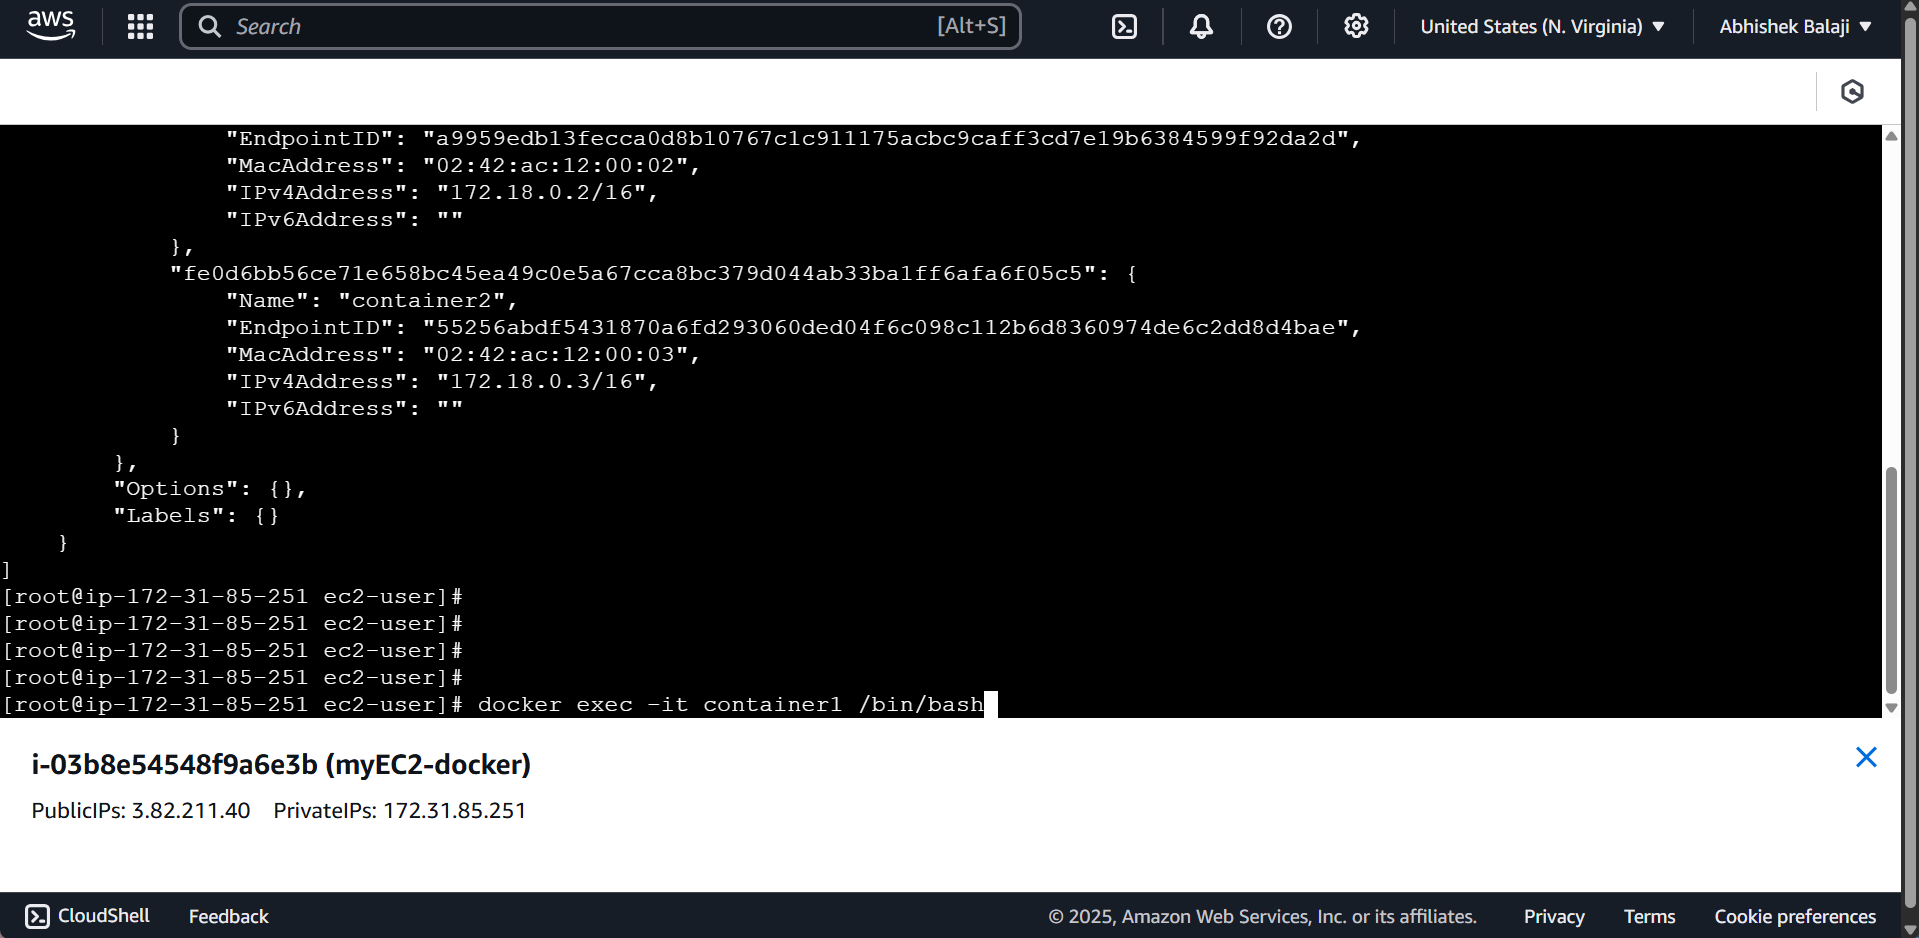
I have successfully accessed Docker container1.
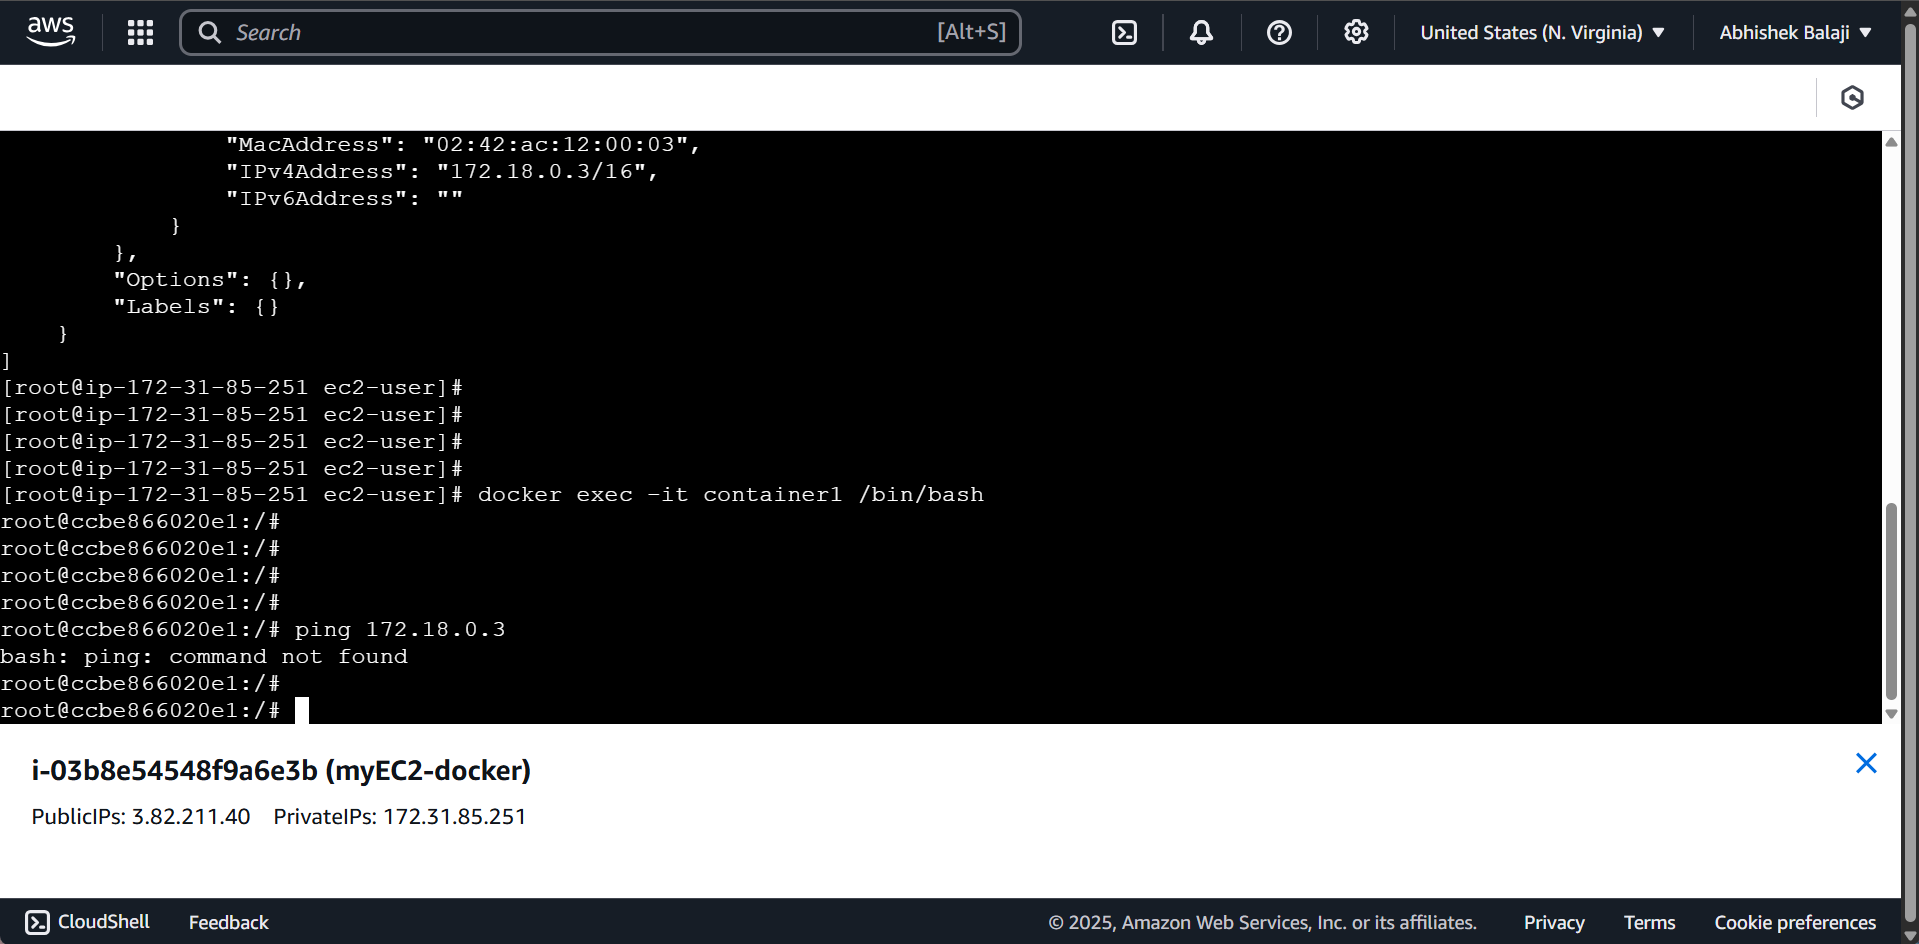
By default, the iputils-ping package is not installed. Go ahead and install it using the following command:
apt update && apt install iputils-ping -y
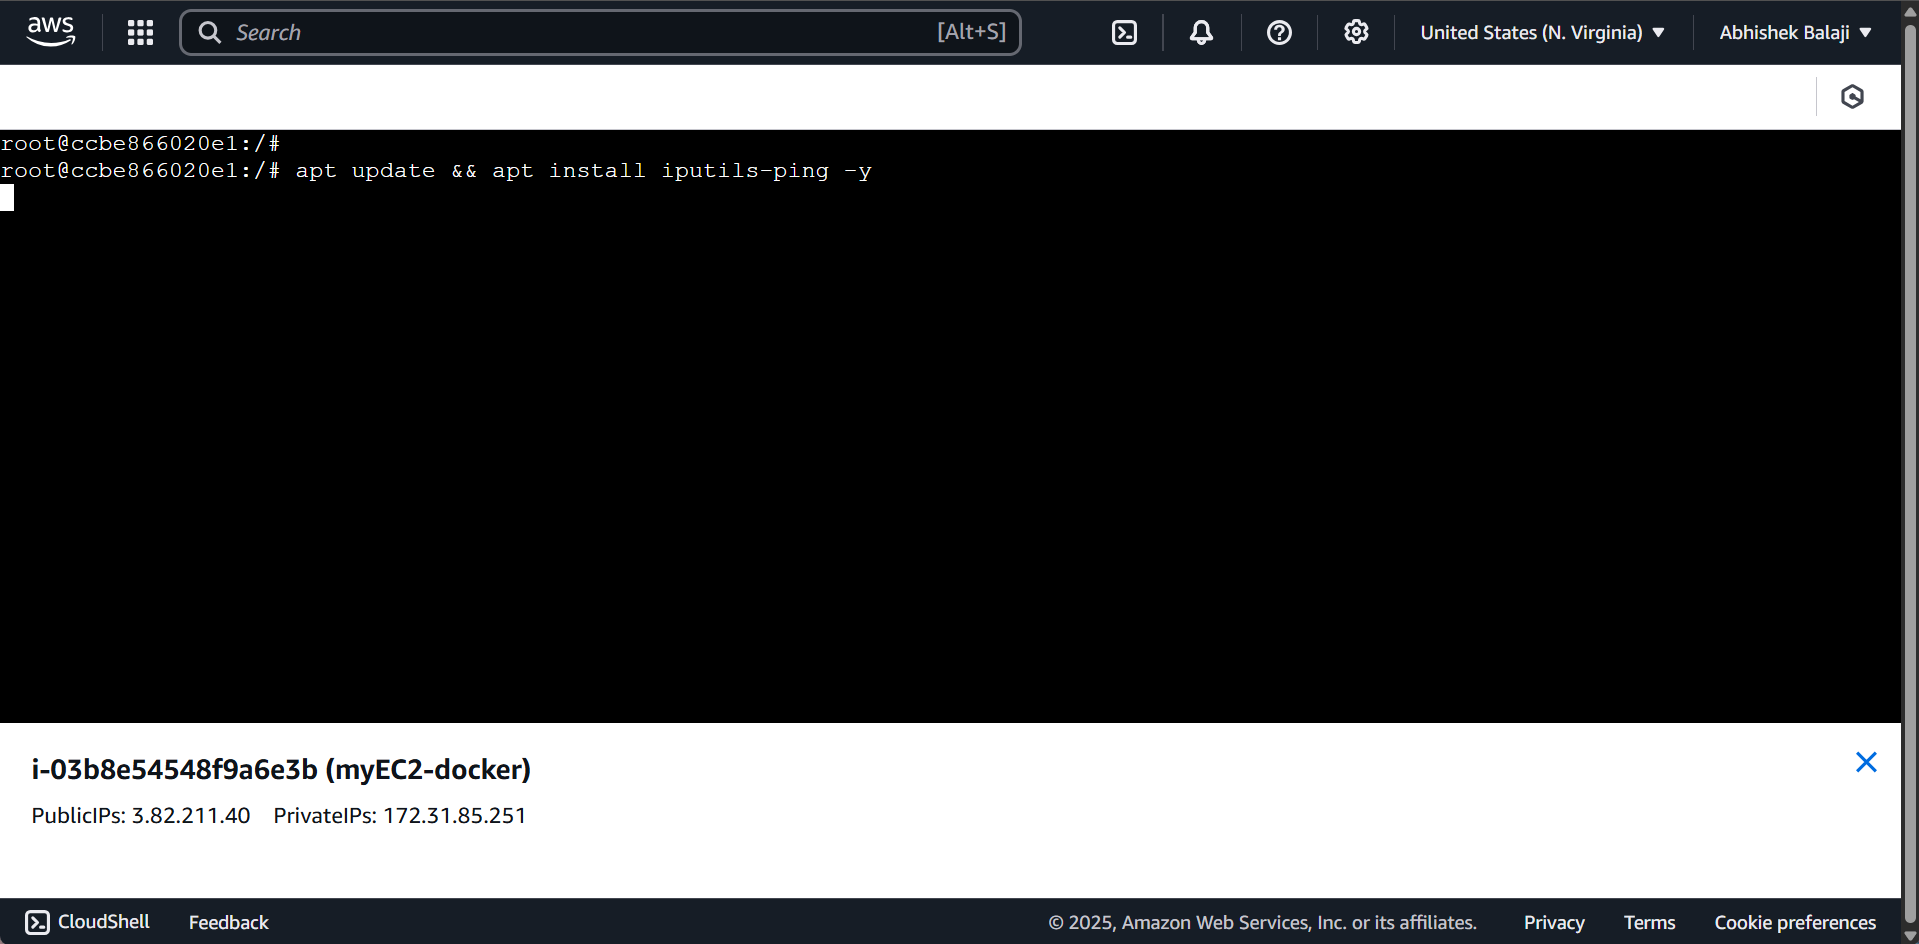
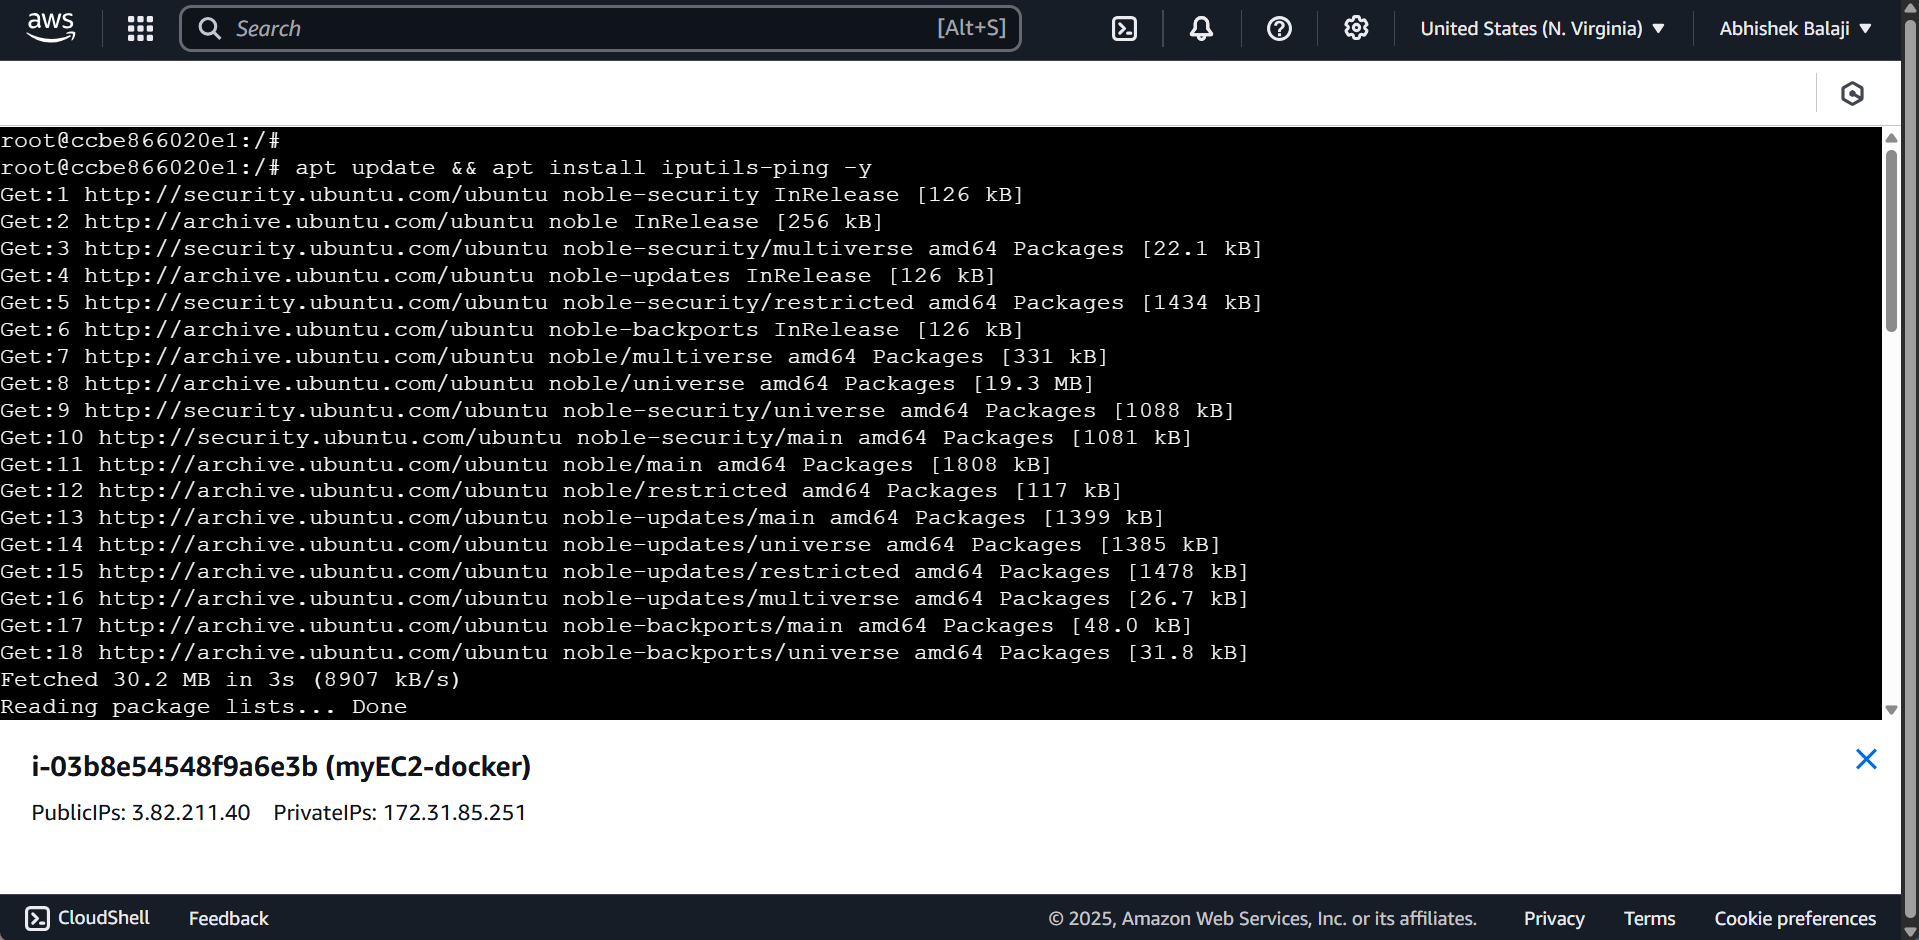
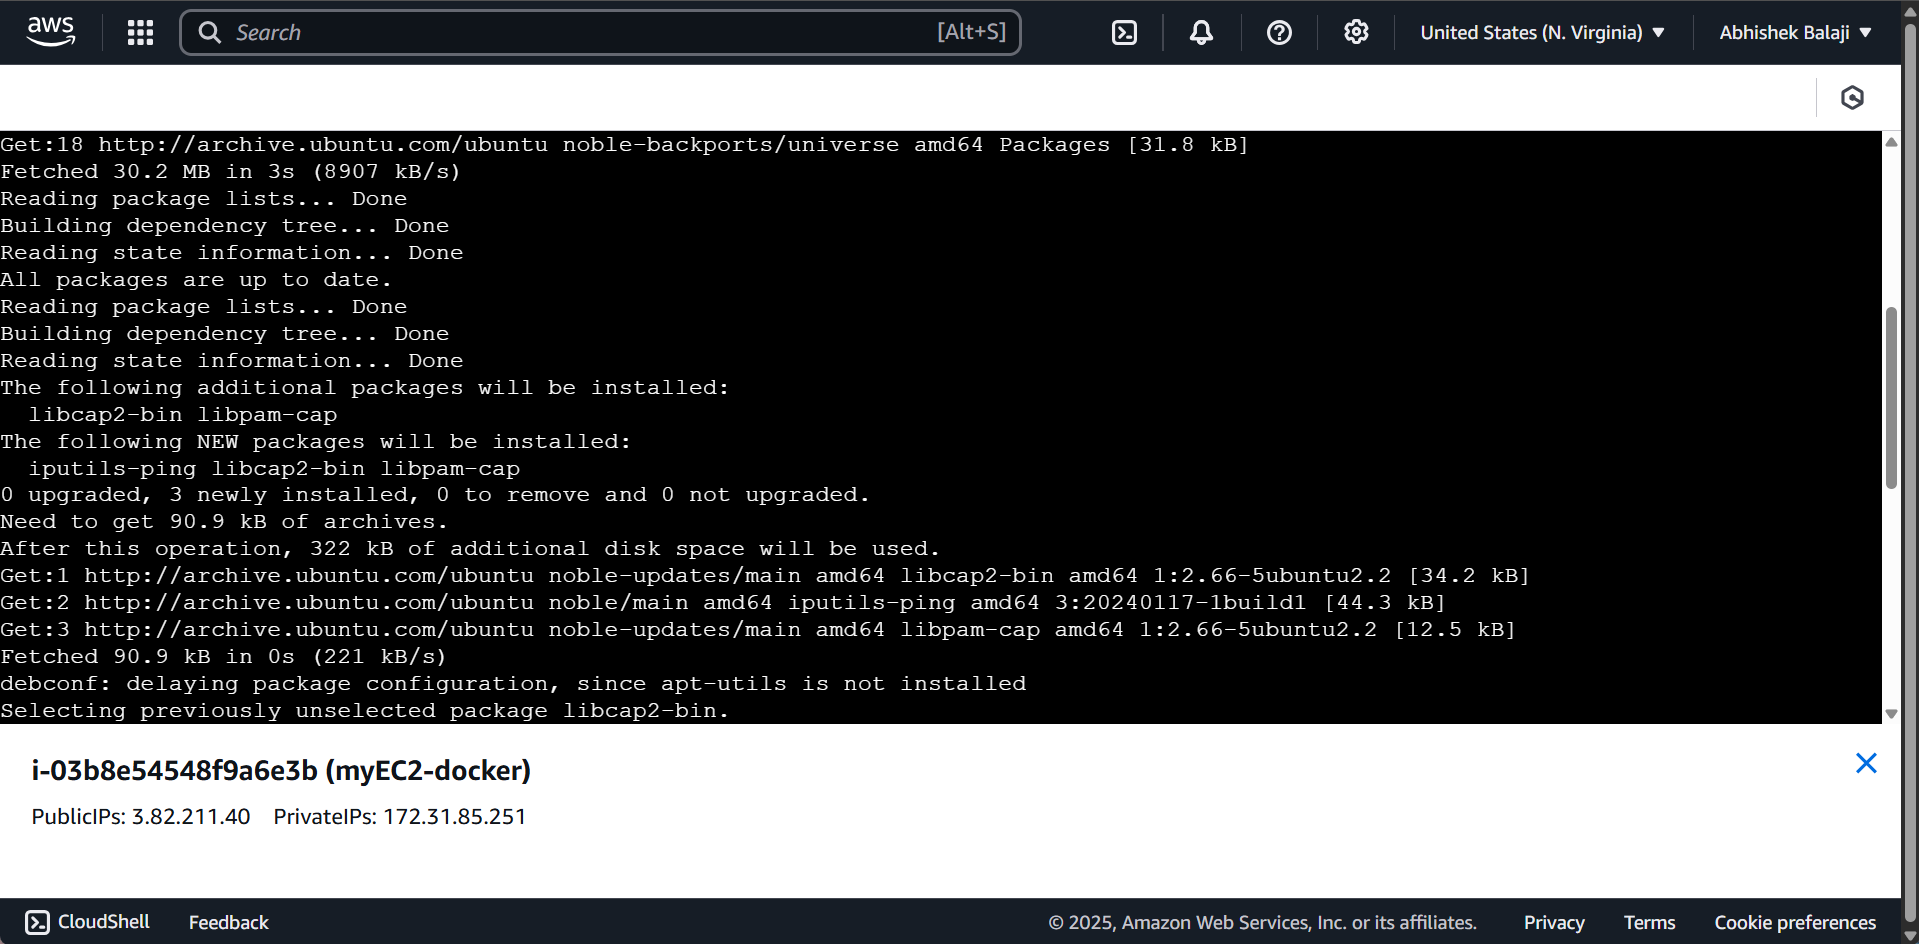
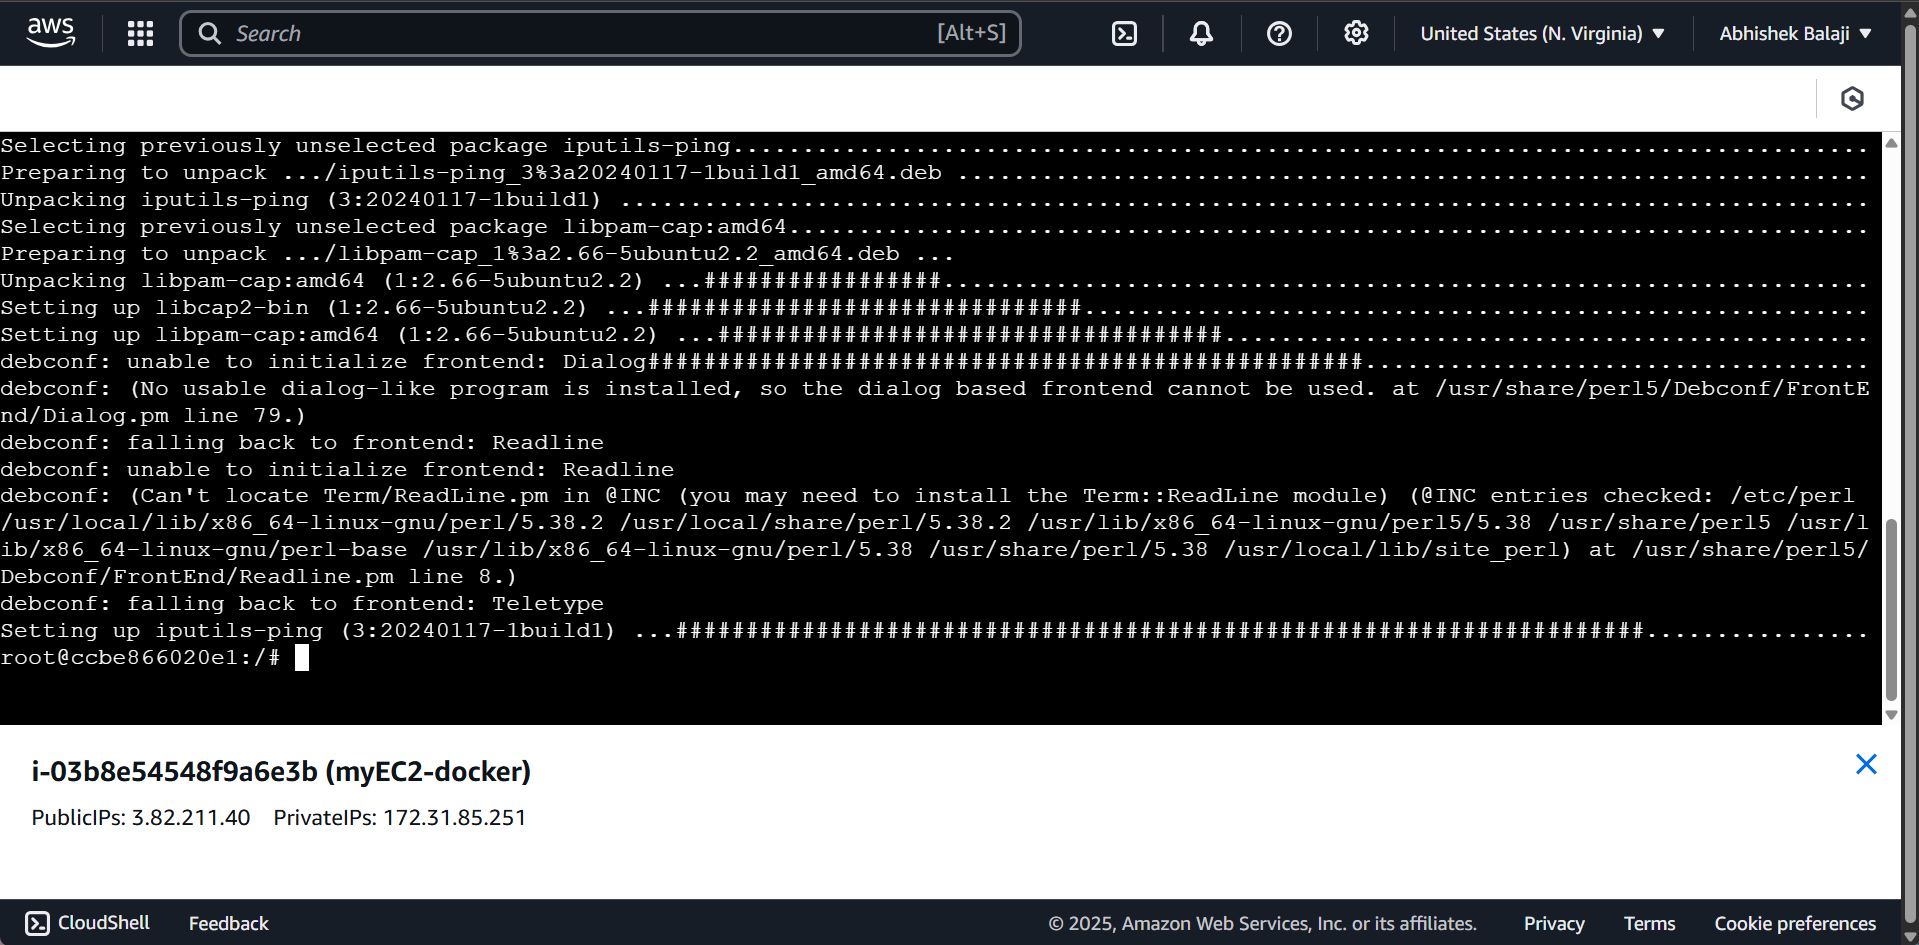
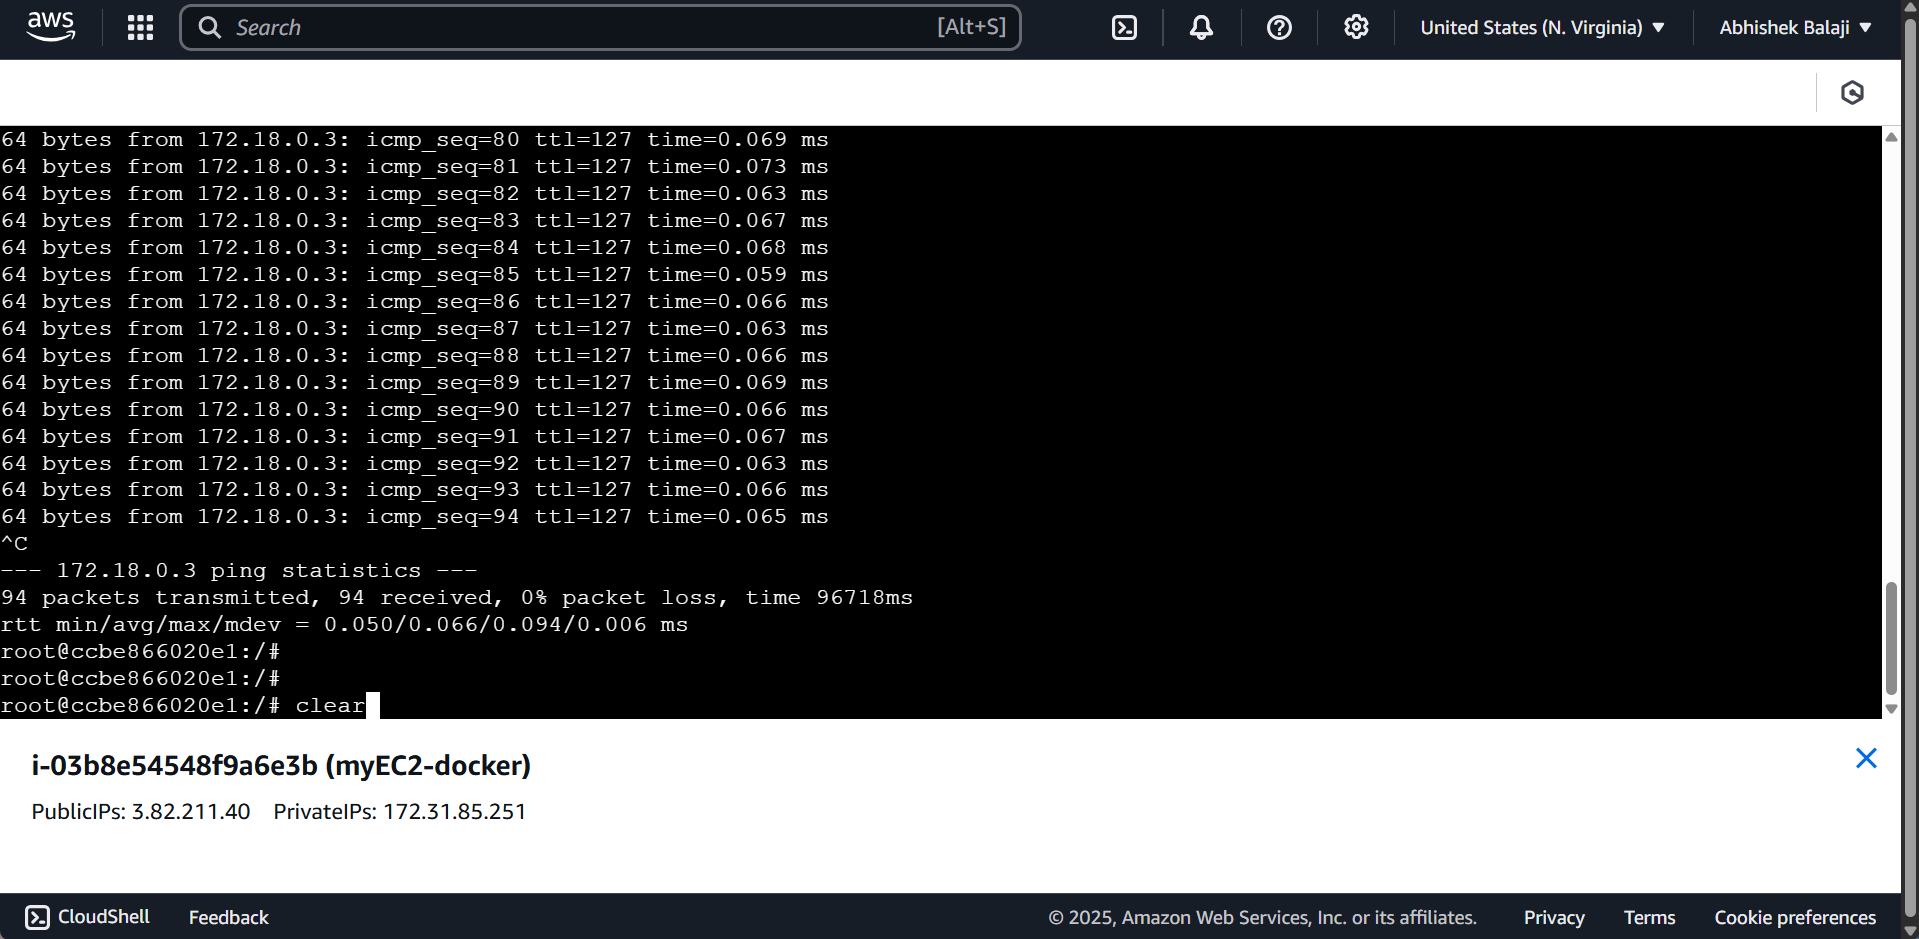
After updating and installing the iputils-ping package, proceed to perform the ping operation.
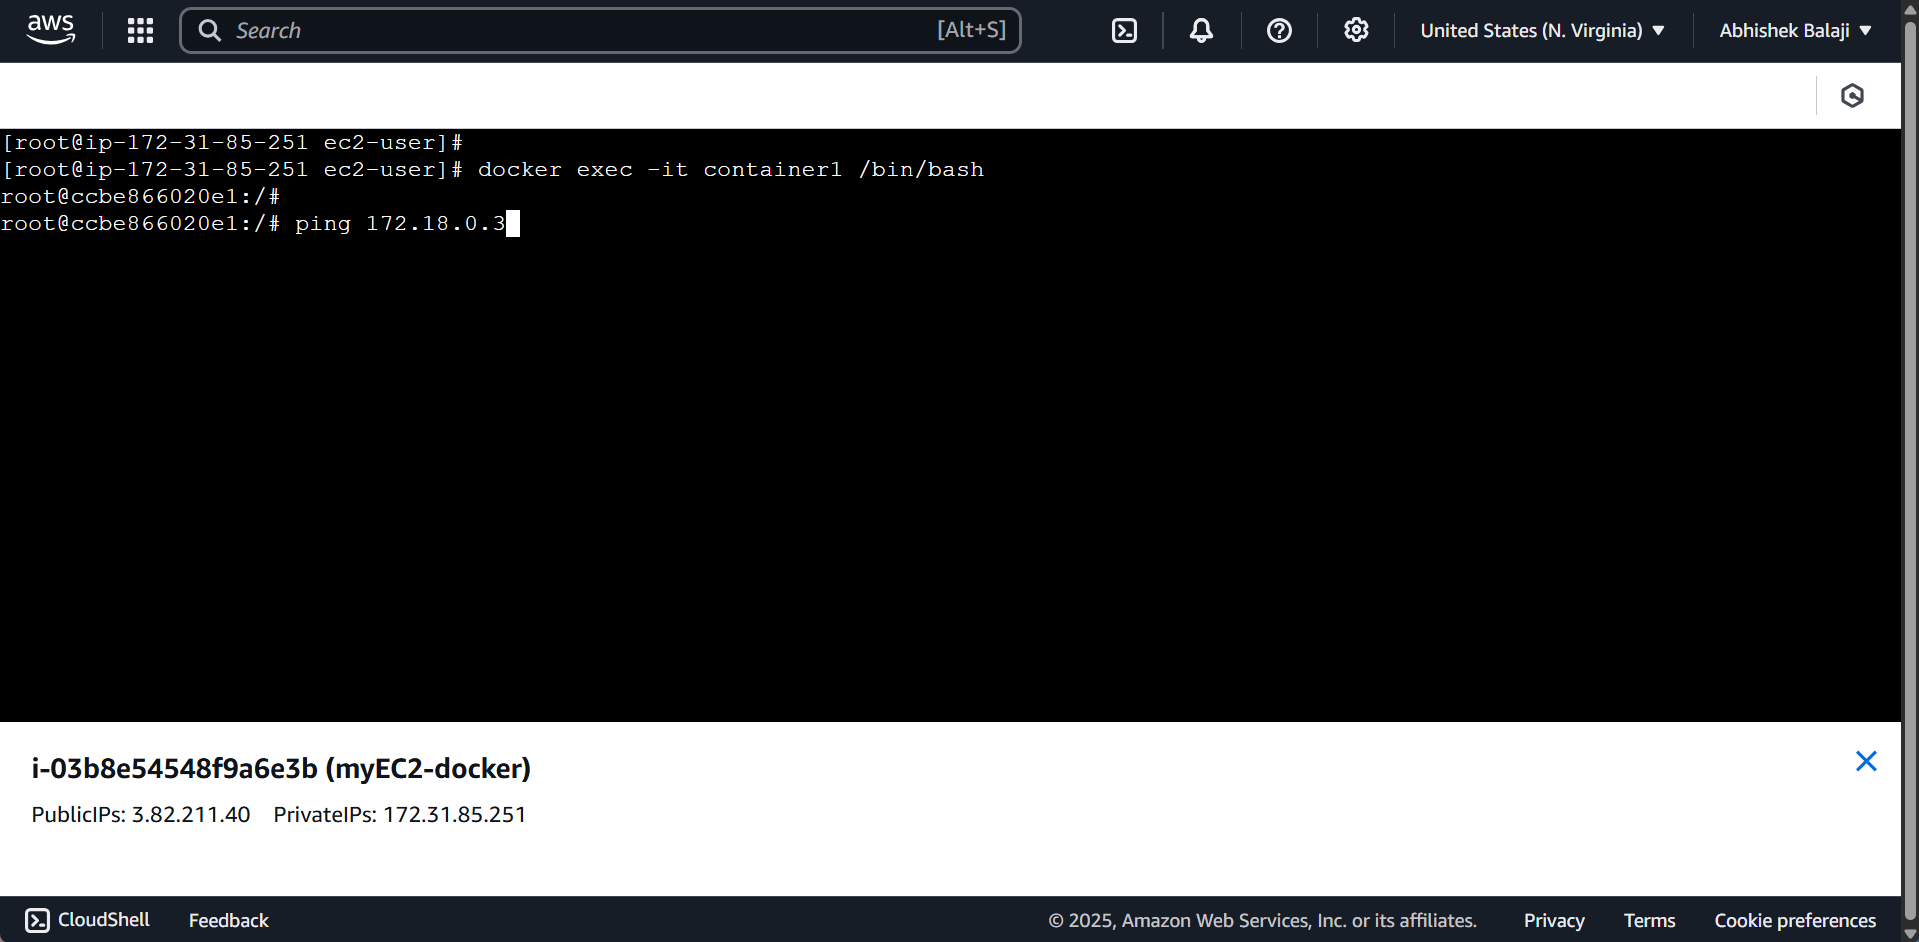
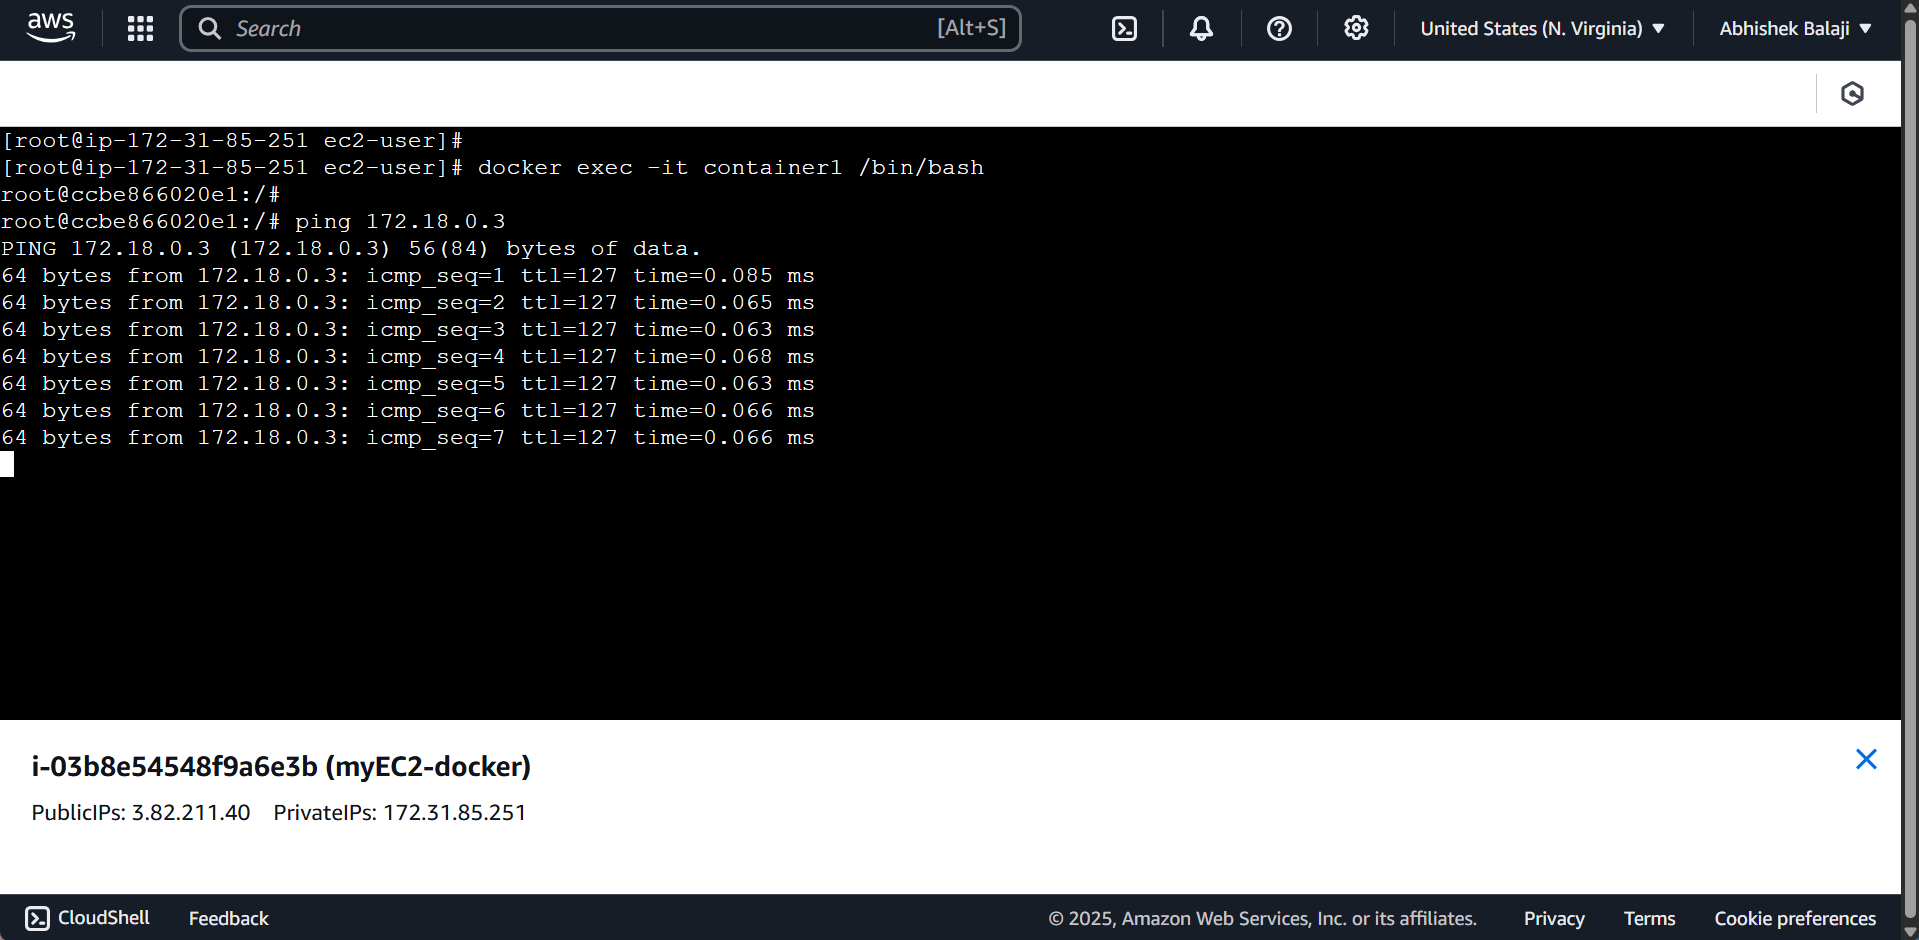
We have successfully pinged container2 from within container1 using the Docker custom bridge network.
One of the main advantages of using a custom Docker bridge network is that you can also ping containers by their hostnames. For example:
ping container2
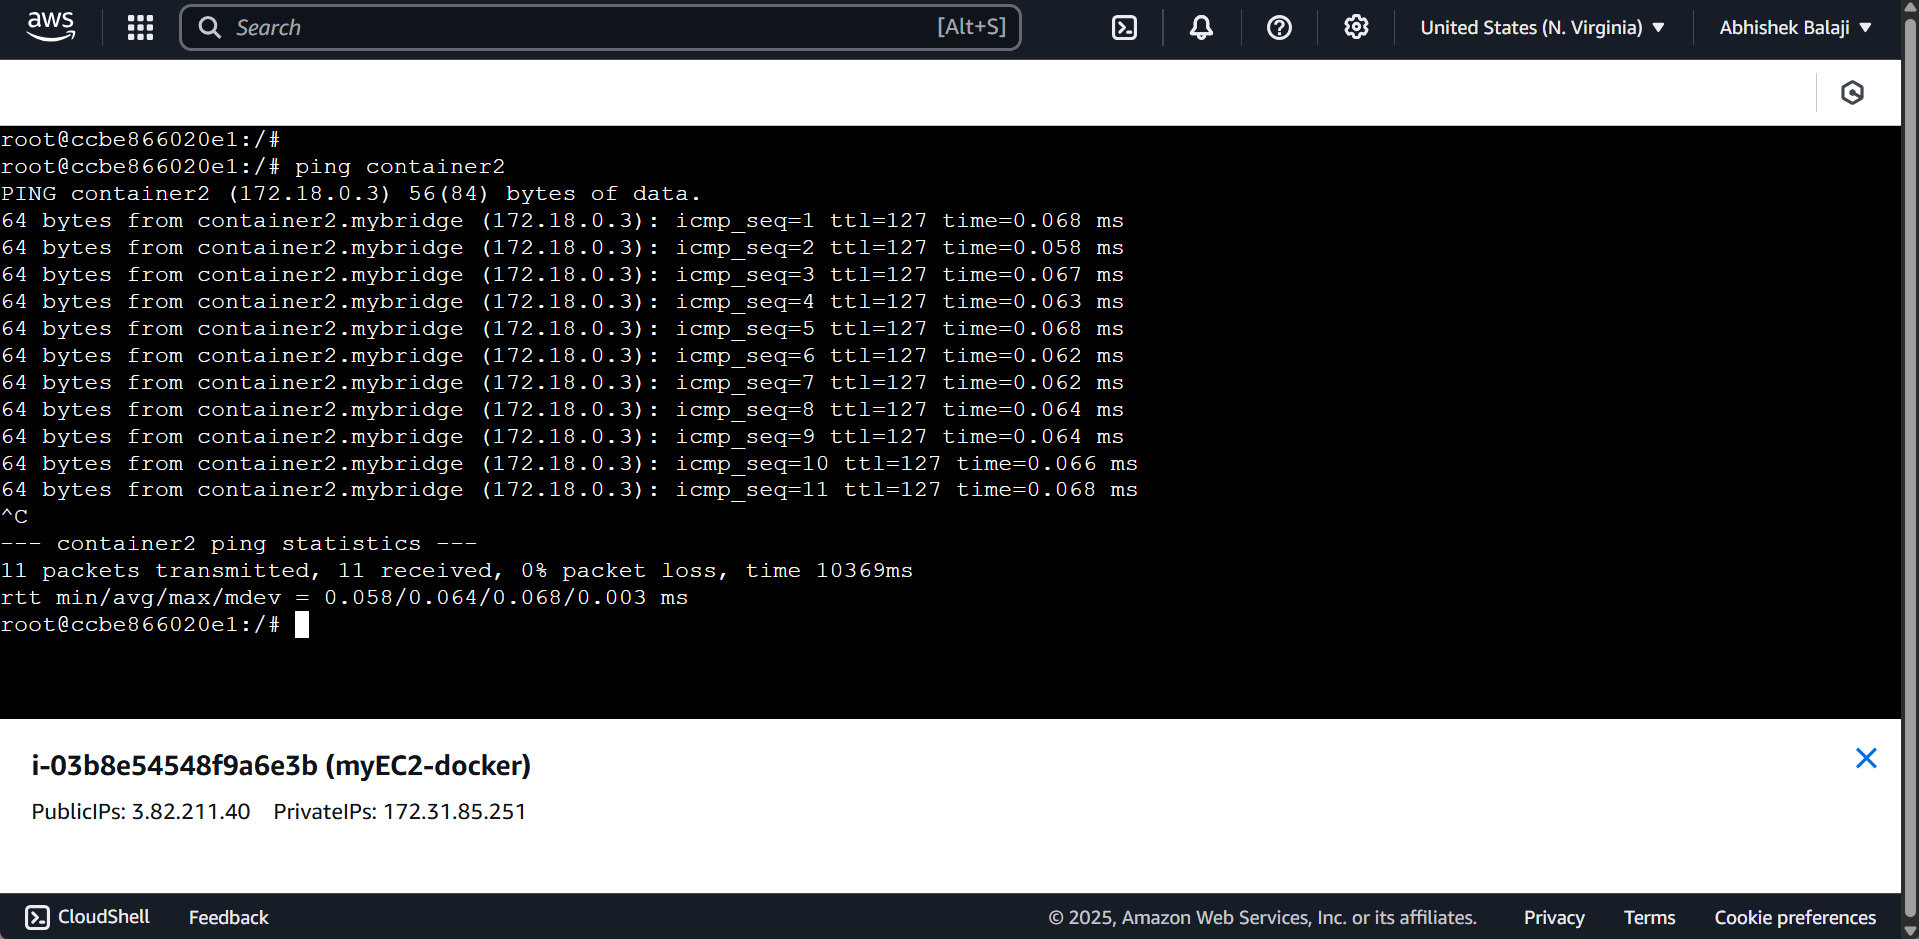
This command won't work on the default bridge network—only pinging via IP addresses is allowed there, not hostnames.
Note: Creating a custom Docker bridge network allows containers to communicate using hostnames, whereas the default bridge network only supports communication via IP addresses.
This improves clarity, scalability, and ease of container management in multi-container environments.
Note: Once inside a Docker container, it's a good practice to update the package lists using apt update to ensure access to the latest available packages.
Conclusion
In this mini project, we successfully launched an AWS EC2 instance using Amazon Linux AMI and installed Docker to simulate containerized networking. We created a custom Docker bridge network to enable communication between containers, deployed two Ubuntu containers (container1 and container2), and demonstrated successful inter-container communication using both IP addresses and hostnames—a key advantage over the default bridge network.
This exercise provided hands-on experience with:
Setting up Docker on a cloud-based Linux instance
Creating and managing Docker containers
Establishing custom network bridges
Executing inter-container communication and troubleshooting missing packages
Understanding how custom Docker networks enhance container communication is essential for building scalable and modular containerized applications.
Thank you for reading